Wings – Structure


Wings 16 (6.0 hrs)

Again, I’ve done a poor job of updating in a timely manner.  This post encompasses a couple of sessions from last weekend.  During this time I have continued to prepare all of the wing skins for priming and riveting to the main skeleton.

I began by completing the deburring of the leading edge skins and ribs.  I also prepared all the surfaces for priming with scotchbrite pads.  When I scuff the skins, I use the grey scotchbrite pads, which are less abrasive than the maroon ones, and I use a very light and quick touch.  The idea is to scuff, but not penetrate, the alclad. Leaving the alclad in place should increase corrosion protection. 20140327-162309.jpg20140327-162320.jpg

Next up I set about removing the blue vinyl from all eight skins.  I completely removed the vinyl from the interior surfaces that will be primed and using the soldering iron I removed the areas around the rivet holes on the exterior skins. 20140327-162352.jpg

In the process, I’m trying to increase my use of checksheets.  As such, I put the following list of to-do items on each wing skin, so I can be sure not to forget something like deburring the edges. 20140327-162336.jpg

20140327-162411.jpg

20140327-162447.jpg

With all of the skins removed the wing skeleton looks naked!20140327-162503.jpg

Finally, I began deburring the wing ribs. I deburred the outsides of all the ribs.  I’m going to wait before I debur the insides.  I lost my good deburring bit, and the countersink I’m using doesn’t work well if you are at an odd angle… and its a little bit slower.

I ordered a new countersink bit (2 actually) and I also put in an order to Aircraft Spruce for the Gertz Pitot tube bracket.  I’m still considering whether or not I should install the landing light mounting brackets in the leading edge now or wait until I have the lights in hand and retrofit the leading edges.  I made a post on Rivetbangers… so we’ll see what the guys think.  I’ll post the thread here in a later post.  Cheers -PLB


Wings 15 (6.0 hrs)

This post encompasses two shop sessions over the past weekend.  I worked on the stall warning sensor Van’s includes with the wing kit, and completed deburring the wing leading edges.

First, I completed the drilling that I had missed from a previous session.  Then I set about removing the blue vinyl.   I used to use a ruler for this, and I did for the first part of this session.  However, using the soldering iron freehand is plenty neat enough, and much faster.  No more ruler.

Next, I deburred all the rivet holes and edges of both leading edge skins.  Finally, I deburred all of the ribs and prepared the ribs for priming by roughing the surfaces with the scotch-brite pads.

With this work completed, I turned my attention to the installation of the Stall Warning Sensor Van’s includes with the wing kit.  With AOA systems common in newer avionics suites, some builder’s opt to not install the stall warning.  The argument being that if you here too many warnings, too often you may condition yourself to ignore the warning.  I disagree.  Ignoring warnings is really a factor of training, not building.  Further, some people complain that they get rags or clothing caught and torn on the vane.  Rag life expectancy is not, IMHO, a valid argument against a stall warning.  Since the warning is included in my kit, and its predrilled, I see absolutely no reason not to install it.  This past weekend I was able to prepare the access plate, and begin preparing the sensor attachment itself.  More will be done after I complete the dimpling of the skin.

In this first photo you can see the stall warning access cutout in the top right of the skin.

20140318-130537.jpg

20140318-130546.jpg

The instructions Van’s includes with the stall warning sensor are written as if you DO NOT have a pre-punched or pre-cut skin.  That might seem obvious, but it took me several readings of the instructions to understand.  20140318-130628.jpg

20140318-130636.jpg

Access plate.20140318-130643.jpg

Here is where the actual sensor will be on the leading edge. You must use a file to connect the two holes.  20140318-130654.jpg

The results of my file work.  Still needs a little touch up, but I’m happy with the results. 20140318-130715.jpg

20140318-130726.jpg

Access plate after dimpling. 20140318-130735.jpg

Squire was helping me out as always.  His favorite method for helping is to lay directly under my feet so that I am constantly tripping over him while holding sharp, hot, or heavy objects. Its fun.20140318-130745.jpg

Lastly, a quick note on the fuel tanks.  I installed the z-brackets incorrectly.  After some thought and consulting with other builder’s I decided to allow the sealant to cure before correcting the error.  When I drill out the rivets, the shop heads will be left in the tank.  Luckily, the pop rivets contain magnetic material.  With the proseal dry, they should be able to rattle around the tank.  I bought two telescoping magnets.  One has a flexible head and LED.  The other has a longer reach and a stronger magnet.  A large inspection mirror was a welcome addition to the purchase.  Very poor picture provided below. 20140318-130525.jpg


Wings 14 (1.0 hr)

Since I’m waiting on the sealant to cure on the tanks before correcting my z-bracket mistake, I’ve turned my attention back to the leading edges.  They each need to be deburred, dimpled and primed prior to riveting.  Tonight I started the deburring process.

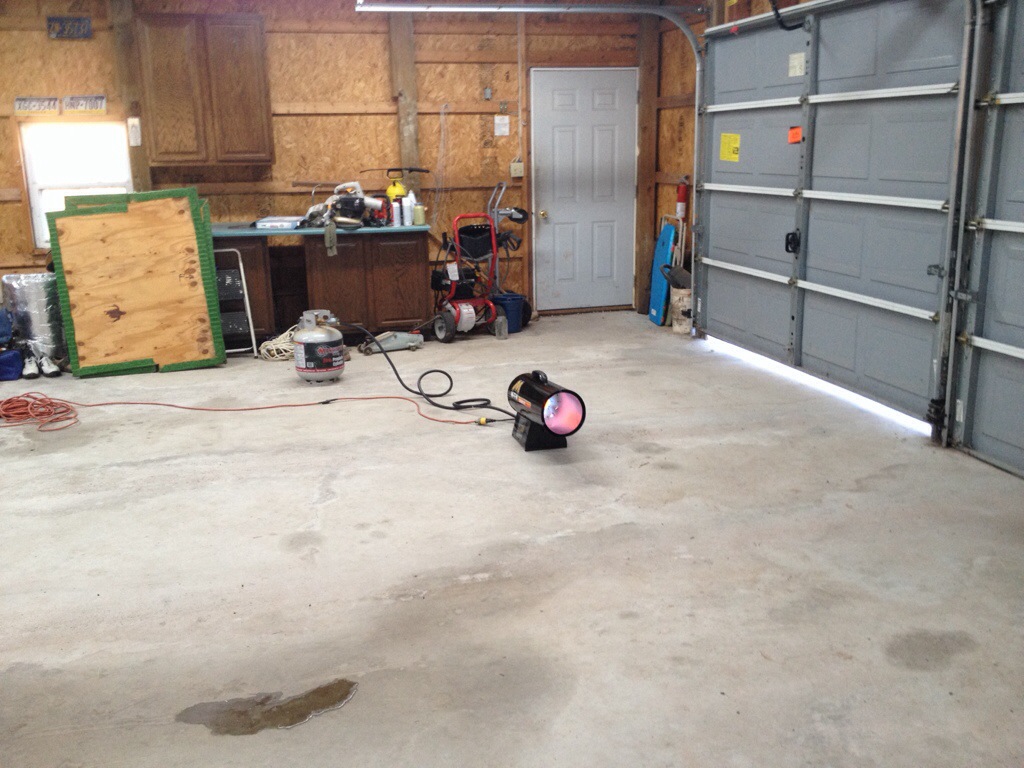
I bought a new propane heater.  150,000 BTU and only $200.  No thermostat though, just low, medium and high settings.  For $200 bucks I can’t complain. I also got a chance to play around with a new iPhone app that allows me to quickly and easily draw on photos and include text, arrows and other markings.20140313-205003.jpg

Here it is in action. 20140313-205013.jpg

20140313-205059.jpg


I also needed to remove the blue vinyl covering.  Which I also started tonight. 20140313-205123.jpg

I started removing the clecos in order to deburr when I noticed I had not final drilled the bottom line of holes.  It will only take a few minutes to re-cleco and drill the skins to the spar.  20140313-205132.jpg