Wings


Ailerons 14 (1.0 hr)

Now that the flaps and ailerons are complete its time for connecting the bell crank and pushrods. This should be a relatively quick project. Unfortunately, today’s weather cut my shop time short.

I started out by measuring the two push rods. Be careful, there are separate measurements for the RV-7 and the RV-8. (null)

(null)

I wrapped a yellow post it note around each pushrod to get a perfectly circular measurement. As always, I marked the bad side with “X”s so that I know which side of the line to cut. I will clean up with a file before priming. Speaking of priming, I haven’t quite decided on which primer I will use. I sometimes use the basic self-etching primer in a can for small parts, but these parts are important enough that I may break out the AKZO. We’ll see which I pick.

(null)

(null)

Before I cut the rods, I wanted to make sure I understood how everything connected. I also needed to do some organizing. Turns out there are several types of bolts that I have never separated into different bins. I took care of that quickly. I also cleaned out some of the holes on the powder coated bell crank. Van’s does not do a good job of deburring these parts prior to powder coating. Steel isn’t nearly as susceptible to stress cracks as aluminum, but still its slightly annoying. I debated cleaning it up further, which would require additional primer. In the end I decided if its good enough for Van’s, its good enough for me. (null)

Then I cut the push rods to size. (null)

(null)

There is a lot more snow than it looks like in this picture. The wind is pushing it into drifts. By this time we had close to a foot, and it was still coming down. I figured I shouldn’t push my luck and decided to head home. (null)

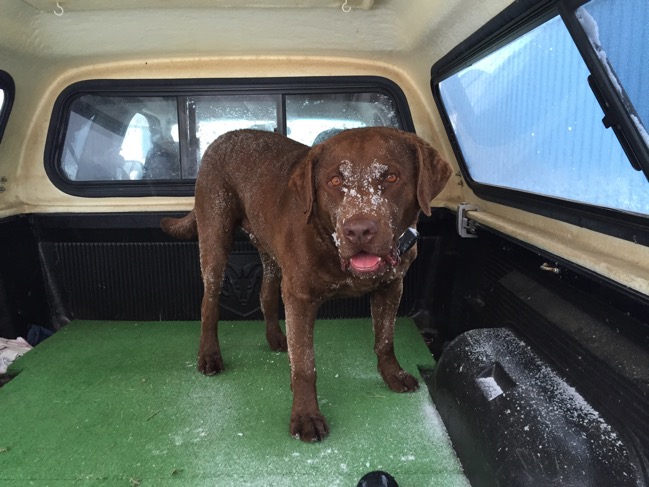
Squire quite enjoyed himself!(null)

Four wheel drive or not, with the windshield wipers struggling, I’m glad I went home before dark. It gave me the opportunity to shovel. YAY!(null)


Flaps 13 (4.0 hrs)

Today was a repeat of yesterday’s session, except with the left flap. I did everything in the same order, with one tiny exception. I didn’t cleco the top skin on while riveting the rear spar to allow a little more maneuvering room as shown here. (null)

It was brutally cold in Maryland today. Super high winds, and temperatures in the single digits. With the kerosene torpedo heater cranked full blast it was all it could do to get the temperatures in the hangar into the high 30’s. While much more comfortable than outside, it was not a fun work environment. My dog wrapped himself in his blanket and strategically positioned himself for maximum warmth. (null)


Flaps 12 (6.0 hrs)

Time to finish up the flaps!  Here is the right flap clecoed and placed in the makeshift cradle I made yesterday (null)

The first step was to rivet the rear spar while I could still access it. I used my long thin tungsten bar as shown in this picture. While it was a bit of a pain in the ass, it didn’t take too long to finish it up. (null)

No real pictures of the next step… I riveted all the interior ribs. I then riveted the inner rib that will be closes to the fuselage and provide the connection point for flap controls. Use MK-319 BS blind rivets. I also opted to use the same type of blind rivet for the rivet immediately under the nutplate.(null)

After I riveted all the ribs, it was time to set up the pneumatic squeezer for the outside rib and the spar. I made quick work of the rib. (null)

Then it was time to blind rivet the spar to the ribs. I double checked that everything was complete before closing up the flaps, as I would no longer be able to access the areas to fix mistakes.

(null)

The last two steps were to use the squeezer to rivet the lower spar edge and hinge, and then to buck the top skin and spar. My wife sent me a message as I was starting that it was snowing and I should leave the hangar soon since I was in her car… which is a bit squirrelly on the road. I looked outside… no snow. In the quick time that I finished the spar, we had close to 2 inches on the road! Time for some e-brake slides between the hangars on my way out!

Here is the final product! One flap done… one more to go. I should be done tomorrow!(null)

(null)