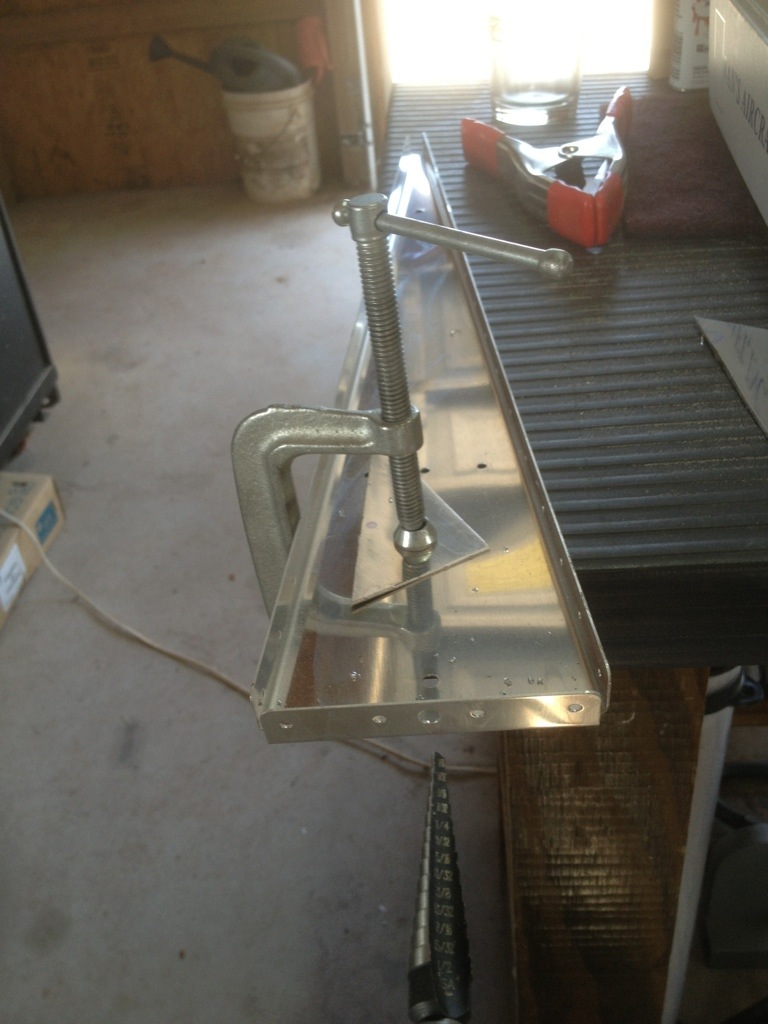
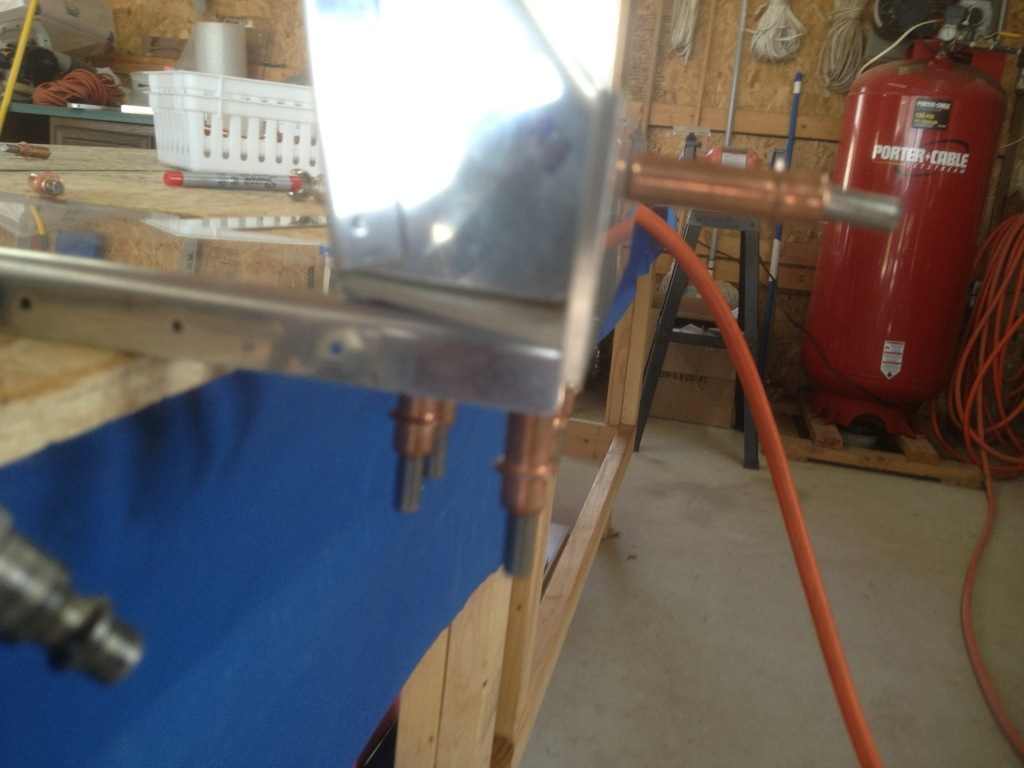
Here’s what I accomplished today. I cut the shim and bottom attach strip. I also trimmed the rudder horn and clecoed those items together. Drilled the bottom rib with a unibit for a 3/8″ diameter hole. Otherwise, not much progress today. Several tasks that need to be completed, and some issues that require some thought before I progress.
- The bottom rib on the rudder causes a slight bulge in the rudder skin towards the trailing edge. This may be due to the trailing edge being slightly over bent. The trailing edge is very straight in every other area. I clecoed on the rudder skeleton and everything seems to be true and correct.
- I only fabricated one R-716 lower attach strip. I’ll need to go back and cut another one.
- I have two rivets on the vertical stab and a few rivets on the horizontal stab that I’ve decided to drill out, as soon as my new rivet removal tools and oops rivets arrive.
- Put a dab of RTV at the front of the stiffeners near the trailing edge to protect the skin from vibration contact with the stiffeners.
I also have a few things I need to consider.
- The rudder leading edge seems to be the perfect bend amount, except for two things. First, and most dismaying, is the stiffeners left tiny dents toward the trailing edge from too much pressure during the bending. I tried to photograph them, but they are too small to make out in the pictures. The second issue, is mentioned above. The bottom rib causes a bulge. I think this can be solved with a little bending / shaping of the bottom rib.
- One problem rivet on one of the stiffeners. Unfortunately there is little that I can do about this rivet unless I were to replace it with a pop rivet, which to be honest, it might need.
- Rudder happiness. I’m not sure I’m happy with the way the rudder is turning out. There are no major issues but several problems now are causing me to consider buying a new skin and stiffeners and then….. starting over.
- The bolt hole drilled to 3/8 with the unibit is offcenter slightly. Not sure what to do here.
Final note. I’ve got several items on the way from Cleveland and Avery Tools. 1/8″ and 3/32″ pop rivet dimple die sets, new drill bits, an oops rivet set, 1/8″ and 3/32″ punches for rivet removal, a self centering rivet removal drill adaptor, and a pair of quick release pins for my yokes.


