¡VIVA CHILE!
In early January, I traveled to Santiago, Chile as part of a short term study abroad trip for my MBA program.

When I travel, I try to meet new people wherever I can. RV builders and pilots are an added bonus! Knowing the trip was coming, I contacted Fernando Abasolo via VAF to see if he’d be interested in grabbing a beer while I was in Santiago. Fernando did much better than that. I was able to bum a ride and go flying directly over Santiago!
Fernando was nice enough to pick me up at my hotel and drive me to his hangar where CC-PXG waited. The airport is Eulogio Sánchez Airport (ICAO: SCTB), also known as Tobalaba Airport. Interestingly the airport is owned by two flying clubs, with one being the Club Aéreo de Carabineros de Chile. Carabineros, a name derived from cavalry units, are the national police in Chile. The first thing I immediately noticed was a fantastic paint job! But Fernando’s attention to detail didn’t stop there. He has incorporated several unique modifications.
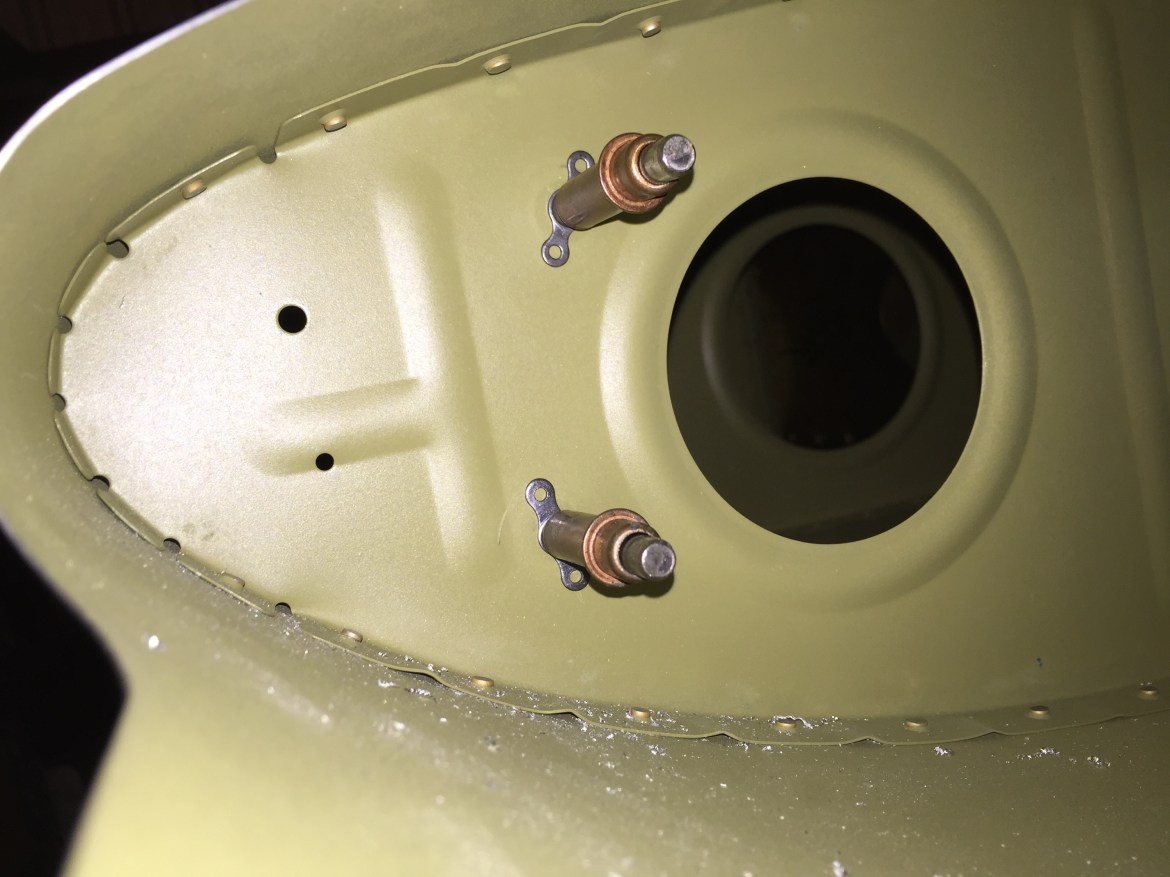
First among these modifications is his oil filler door. He has made a hidden latch inside the air intakes of the cowl. (Shown here)
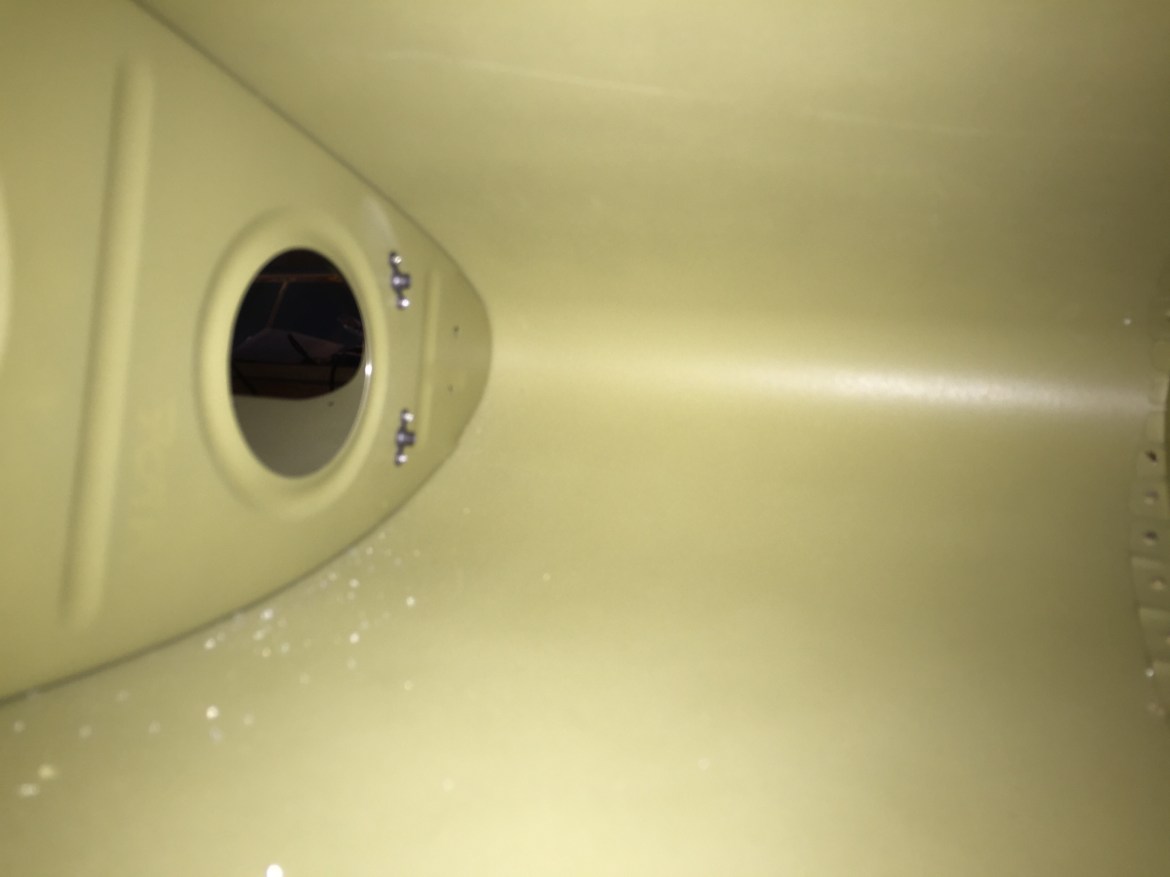
Additionally, he has modified the inside of the door to prevent flex and opening in flight.
Also modified are his front and rear rudder pedals, unfortunately I don’t have pictures of these modifications just yet.
After a little plane clean up and hangar talk it was time to take to the air. I was very excited to see the landscape from the air. Fernando is a Captain with LAN Airlines flying the Airbus A320, and his proficiency and professionalism was immediately apparent in the air. Further, he has had quite the saga with his plane. There are now a handful of RV’s in Chile, but the path for experimental has been difficult. Fernando was the first to receive permission to fly aerobatics. Experimental aviation is impacting aviation worldwide, and in an industry besieged by rising costs and regulation it’s exciting to see breakthroughs like this. (Video of the flight is available here on Vimeo.)
Santiago is a big city with a third of the population of the country and with nearly 8 million people there is quite a lot of sprawl. The city is modern and has absolutely beautiful scenery. It sure beats Charm City!
Santiago is absolutely gorgeous, both on the ground and in the air. In this photo you can see the Gran Torre Skyscraper, which at 64 floors is the highest skyscraper in Latin America. Additionally at the base, you can see another large square building. This is a 6 story epically big shopping mall. In fact, its the biggest shopping mall in Latin America. My friends and I visited it, and it was quite a spectacle on its own.
During the school portion of our trip we stayed at the swank W Hotel Santiago, which you can see here. The rooftop pool has a spectacular view!
In addition to flying, I had a great time in Chile. Fernando took me out drinking one night, and my fellow students and I from Baltimore had a terrific time. We found Chilenos to be generous and friendly. I’ll have a soft spot for Chile in the next World Cup. Pictured here are the members of the Baltimore cohort from the Smith School of Business at The University of Maryland. Sarah, Myself, Brennan, Chuck, Elizabeth, Drew and Julia. A great group!
Fortunately my wife was able to join me towards the end of the school activities, and here we are at Kingston Family Vineyards. For the sommeliers who may be reading this post, the Kingston Family is from California and they operate a small vineyard near Santiago. They were the first vineyard to introduce Pinot Noir to Chile, and have some excellent examples that I highly recommend.
As if Chile wasn’t enough, my wife and I continued on to Lima Peru for a four day stay in Miraflores. The food lived up to the hype. We ate enough ceviche and fresh seafood to feed a village.
And finally, two more photos of my beautiful bride of seven years! Here she is at a brew pub in Lima. If you’re a fan of beer, I recommend you check out www.untappd.com and download their app from the App Store. Maria is drinking a Pisco Sour, the national drink of both Chile and Peru. (Be careful… both Chilenos and Peruvians think the other nation stole Pisco from them). Pisco is a distilled liquor made from grapes… and it sure is good!


