Peter


About Peter

plbarrett.com | Certified Flight Instructor (Single & Multi-Engine, Instrument, and Advanced Ground) | Commercial Helicopter

Seat belts and wing fairings

Worked on several small projects today. First, I installed my Crow 5 point harnesses. Super easy. AN-5 bolts, castle nuts, and cotter pins. I did a little fitment to get them close to the appropriate fit, but I didn’t trim any excess. I will do that later. I also connected the rear seat push to talk to the stick and made a molex connector for removal. I have stick boots on order from Classic Aero.

I also installed the rubber on the wing fairings. The fairings needed just a little bit of trimming. A little water based lubricant on the fuselage helped get the rubber in place. I also used a little heat to make the rubber more pliable. I’m very happy with the results. I’m going to leave the fairings on until the day before the DAR inspection so that rubber will hold its shape as much as possible. Hopefully that will make reinstallation a bit easier the second time around.

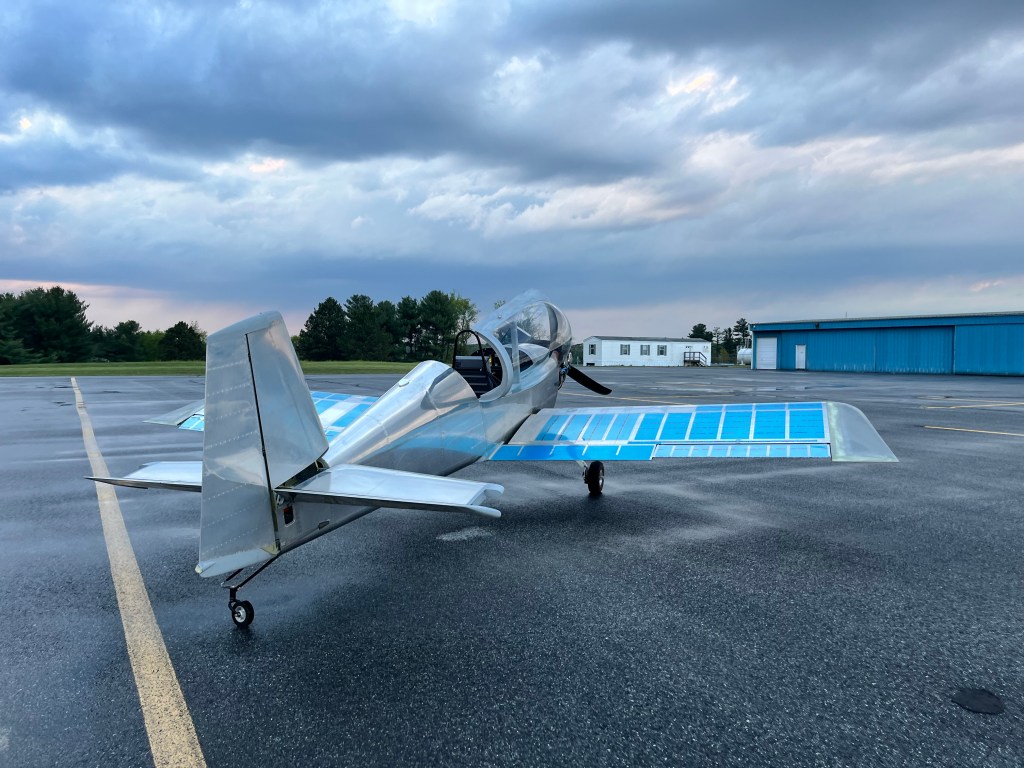
Finally, I removed all of the remaining blue plastic from the aircraft. In the process I had to remove the flaps, which identified I had missing lock washers!! After removing all the blue plastic I used acetone to remove the red writing on the original aluminum. I used some goo-off to get some tape adhesive from various spots. I want to do some more cleaning up… a little buffing some areas where a little corrosion has built up. Just general cleanup.


Magnetometer and AHARS Calibration

Tonight I worked to calibrate the magnetometer and the AHARS. It was rather windy when i got to the airport, and you need good GPS data to calibrate both, so i had to wait until the storms passed. First up was the AHARS calibration. This was pretty easy. Basically level the aircraft in flight attitude and let the G3x figure out pitch and roll offset. I also needed to do a vibration test on the AHARS once the engine was running. Next I did a magnetic interference test. Basically you start and turn off all the various electrical gizmos that could cause interference and manipulate the controls etc. You do this in 10 second increments. The magnetometer (which is in the left wing tip) passed the interference test.

I taxied to an open part of the airport and used my compass to ensure I was facing due north. I guess you can do the magnetometer calibration with the engine running and just taxi it. But I chose to shut down and just push the tail around. Basically all you have to do it rotate the plane 360 degrees and 30 degree segments. The display tells you what to do and when. Dirt simple. And I got a successful calibration.

Now with the aircraft warmed up, I taxied back to the hangar, tied her to my truck and did a full power run-up for the AHARS vibration test. This also passed. So now I have a fully tested and calibrated AHARS and magnetometer.  I also setup all the airspeed marking limitations tonight in the EFIS.


First Taxi Test & Brake Wear In

Tonight I set about taxiing for the first time! My goal was two fold. First, I wanted to taxi test that everything was working, and break in the brakes. Second, I wanted to use the taxi test as an engine warm up for a static run-up to adjust max RPM if required. Idle RPM is still not quite perfect either.

There’s not too much to note. The aircraft taxis like a dream. I’m by no means an experienced tailwheel pilot, but of the taildraggers I have taxied – this is the easiest and most maneuverable. It was definitely a wide grin moment for me!

For the brake check-in, I just ran the rpms a little high and periodically used the brakes to control speed.

The static run up wasn’t successful because I cannot get above 2400 RPM without the tail coming up, despite full nose up stick aft. I’ll probably just have to dial this in during flight testing.

OH, and I almost forgot. I also wanted to test that the cowling fit properly with the engine running and during the torque of starting. With the 200hp angle valve engine, the fit is TIGHT. Everything went perfectly!