Monthly Archives: April 2013


Rudder 8 (1.0 hr)

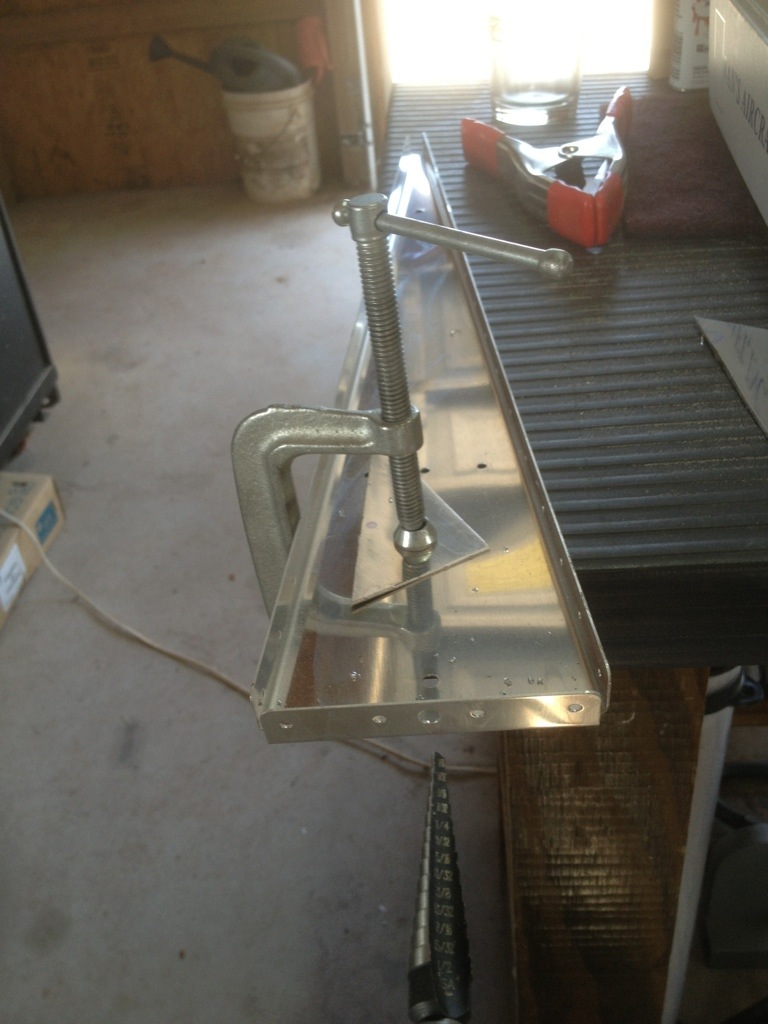
Here’s what I accomplished today. I cut the shim and bottom attach strip. I also trimmed the rudder horn and clecoed those items together. Drilled the bottom rib with a unibit for a 3/8″ diameter hole. Otherwise, not much progress today. Several tasks that need to be completed, and some issues that require some thought before I progress.

  1. The bottom rib on the rudder causes a slight bulge in the rudder skin towards the trailing edge. This may be due to the trailing edge being slightly over bent. The trailing edge is very straight in every other area. I clecoed on the rudder skeleton and everything seems to be true and correct.
  2. I only fabricated one R-716 lower attach strip. I’ll need to go back and cut another one.
  3. I have two rivets on the vertical stab and a few rivets on the horizontal stab that I’ve decided to drill out, as soon as my new rivet removal tools and oops rivets arrive.
  4. Put a dab of RTV at the front of the stiffeners near the trailing edge to protect the skin from vibration contact with the stiffeners.

I also have a few things I need to consider.

  1. The rudder leading edge seems to be the perfect bend amount, except for two things. First, and most dismaying, is the stiffeners left tiny dents toward the trailing edge from too much pressure during the bending. I tried to photograph them, but they are too small to make out in the pictures. The second issue, is mentioned above. The bottom rib causes a bulge. I think this can be solved with a little bending / shaping of the bottom rib.
  2. One problem rivet on one of the stiffeners. Unfortunately there is little that I can do about this rivet unless I were to replace it with a pop rivet, which to be honest, it might need.
  3. Rudder happiness. I’m not sure I’m happy with the way the rudder is turning out. There are no major issues but several problems now are causing me to consider buying a new skin and stiffeners and then….. starting over.
  4. The bolt hole drilled to 3/8 with the unibit is offcenter slightly. Not sure what to do here.

Final note. I’ve got several items on the way from Cleveland and Avery Tools. 1/8″ and 3/32″ pop rivet dimple die sets, new drill bits, an oops rivet set, 1/8″ and 3/32″ punches for rivet removal, a self centering rivet removal drill adaptor, and a pair of quick release pins for my yokes.
20130427-174344.jpg

20130427-174350.jpg

20130427-174357.jpg

20130427-174403.jpg

20130427-174414.jpg

20130427-191741.jpg

20130427-191755.jpg

20130427-191802.jpg


MARATHON! Vertical Stab 5 / Rudder 7 (13.0 hrs)

One day, two people, thirteen hours of work! With my buddy Chad’s help we were able to accomplish a lot in one day.

First up… dent repair! After walking out of the shop dismayed the other day I decided to do some research on repairing dents on skins. There are multiple solutions from covering it up with an epoxy before painting to using a rivet gun with a flathead rivet set. This post is the best solution I’ve found. Using a rivet gun frequently over corrects and flattens the aluminum material resulting in a domed bulge. Today, I set about correcting two of the three small dents that I made on the previous day. First was the mysterious dent left by the male dimple die. Using the above method, it is almost completely gone. After painting there’s no way it will be noticed and there are certainly no structural concerns. The second “dent” was the crinkle that my wife made in the skin. This is also substantially reduced and can only be detected if you know exactly what and where to look for it. I’m extremely happy with the results and I cannot recommend the method described in the post from Van’s Air Force above highly enough. It is very difficult to get a good before and after photo for the crinkle that my wife made however below are before and after photos of the small dent made by the dimple die.

After all the dent work was completed I finished dimpling the skin.  This was very slow work as I was trying very hard not to make any more marks in the rudder skin.  When I was done the dimpling process my buddy Chad came over and we played 9 holes of golf down the road.

This is when the real work started. Before the night was out we would have all the priming done, the vertical stabilizer completely assembled, the rudder stiffeners attached, and the trailing edge bent! Another sub-assembly completed! The rudder will be completed soon.

Here is the after photo from the dent made by the male dimple die. 20130421-011944.jpg

A picture of my new c-frame dimpling set up.20130421-011951.jpg

20130421-083557.jpg

The rudder after dimpling was completed. 20130421-083605.jpg

20130421-083615.jpg

20130421-100123.jpg20130421-100131.jpg20130421-100201.jpg20130421-100210.jpgUnfortunately, I didn’t have my phone with me for a good portion of the evening, so there are no photos of any of the priming process.  I also didn’t get any photos of the back-riveting process for the stiffeners on the horizontal stab.  The rear spar:20130421-100139.jpg

Here is the vertical stab skeleton clecoed together. 20130421-083624.jpg

Chad putting clecos in…20130421-083631.jpg

The garage mascot is sound asleep.20130421-083639.jpg

Here’s Chad with the completed vertical stabilizer. 20130421-083645.jpg

And me!20130421-100216.jpg


Rudder 6 (0.5 hr)

Tonight was just not my night.  I had to walk away from the kit because I was too angry over little stuff to continue.

But more on that in a minute. I should have known right from the start that my brain was not firing on all cylinders this evening. I wanted to stop dimpling and finish more parts for priming.  The next step in the manual is to fabricate the the R-717 and R-716 from 032 alclad aluminum.  Okay.  Easy enough.  Where’s the alclad?  Wait a min!  Van’s didn’t include any.  I thought that was odd.  I have plenty of scrap…. but none apparently of the correct size.  Then I spotted the “Trim Bundle, Emp.”  Is that the alclad I’m supposed to use?  It doesn’t say anything about this anywhere.  So, I called Van’s to make sure thats what this pack of alclad was for.  All in all this took me 20 min of my 30 min session.  Measuring the two pieces for fabrication took all of two min.  Then I realized I had to bend the trailing edge before working on the spar. So continuing to fabricate was useless as I decided I should prime the interior before doing that.  Which brings us full circle back to dimpling… and to my mistakes (plural!) for the night. (albeit they are minor mistakes)

So what happened?  The other day when removing the blue plastic from the interior of the rudder I asked my wife to give me a hand.  We were pulling the plastic off as a team and I noticed her bending the rudder rather harshly.   Before I could stop her she had put the smallest crinkle in the skin.  Its barely noticeable and not a show stopper, but frustrating nevertheless.  I couldn’t be mad with her, as it wasn’t her fault.  I should have been paying closer attention.  She was very self conscious that she had made an error and me being upset would have only served to upset her.  Besides, it didn’t matter.  Which brings us to tonight.

The first mistake.  After figuring out what was going on with the shims I had to fabricate, I decided to continue dimpling.  I figured I could do every hole including the holes nearest to the folded trailing edge.  I was right. It can be done, but in my case not well.  I have a small smiley from the skin laying just slightly unevenly.  It too is barely noticeable, and certainly not a show stopper, but enough to piss me off.

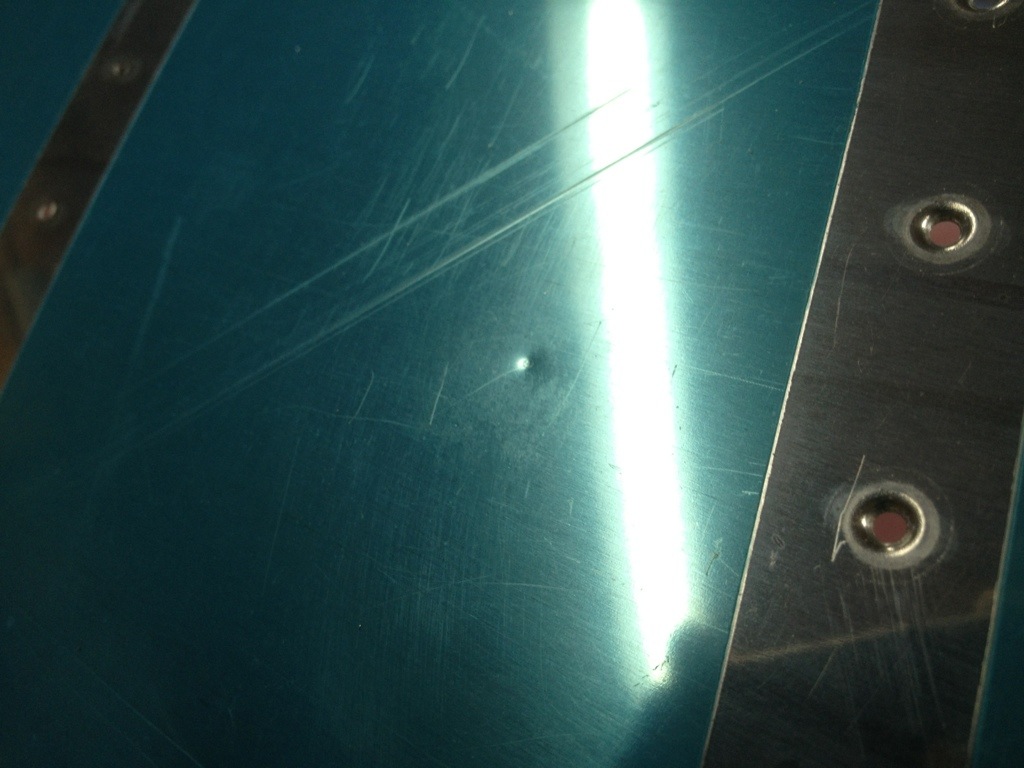
The final mistake.  What makes me so mad about this one, is that I was being so careful and I don’t even know how it happened!!! Somehow the male dimple die left a little dimple on the outside of the skin.  I had no weight on the rudder and I certainly didn’t strike it.  You can see from the photo below that its a purely cosmetic problem.  I can most likely completely hide it with a little extra paint or even some epoxy.  But, I really hate to use either of those techniques on a control surface.  I’m beginning to feel like my rudder is going to look like shit!

At this point it was time to walk away.  It was a long day, I was tired, and clearly not performing up to standard.  Continuing to work would not have done me any favors.

20130418-195014.jpg

20130418-195021.jpg

20130418-195028.jpg