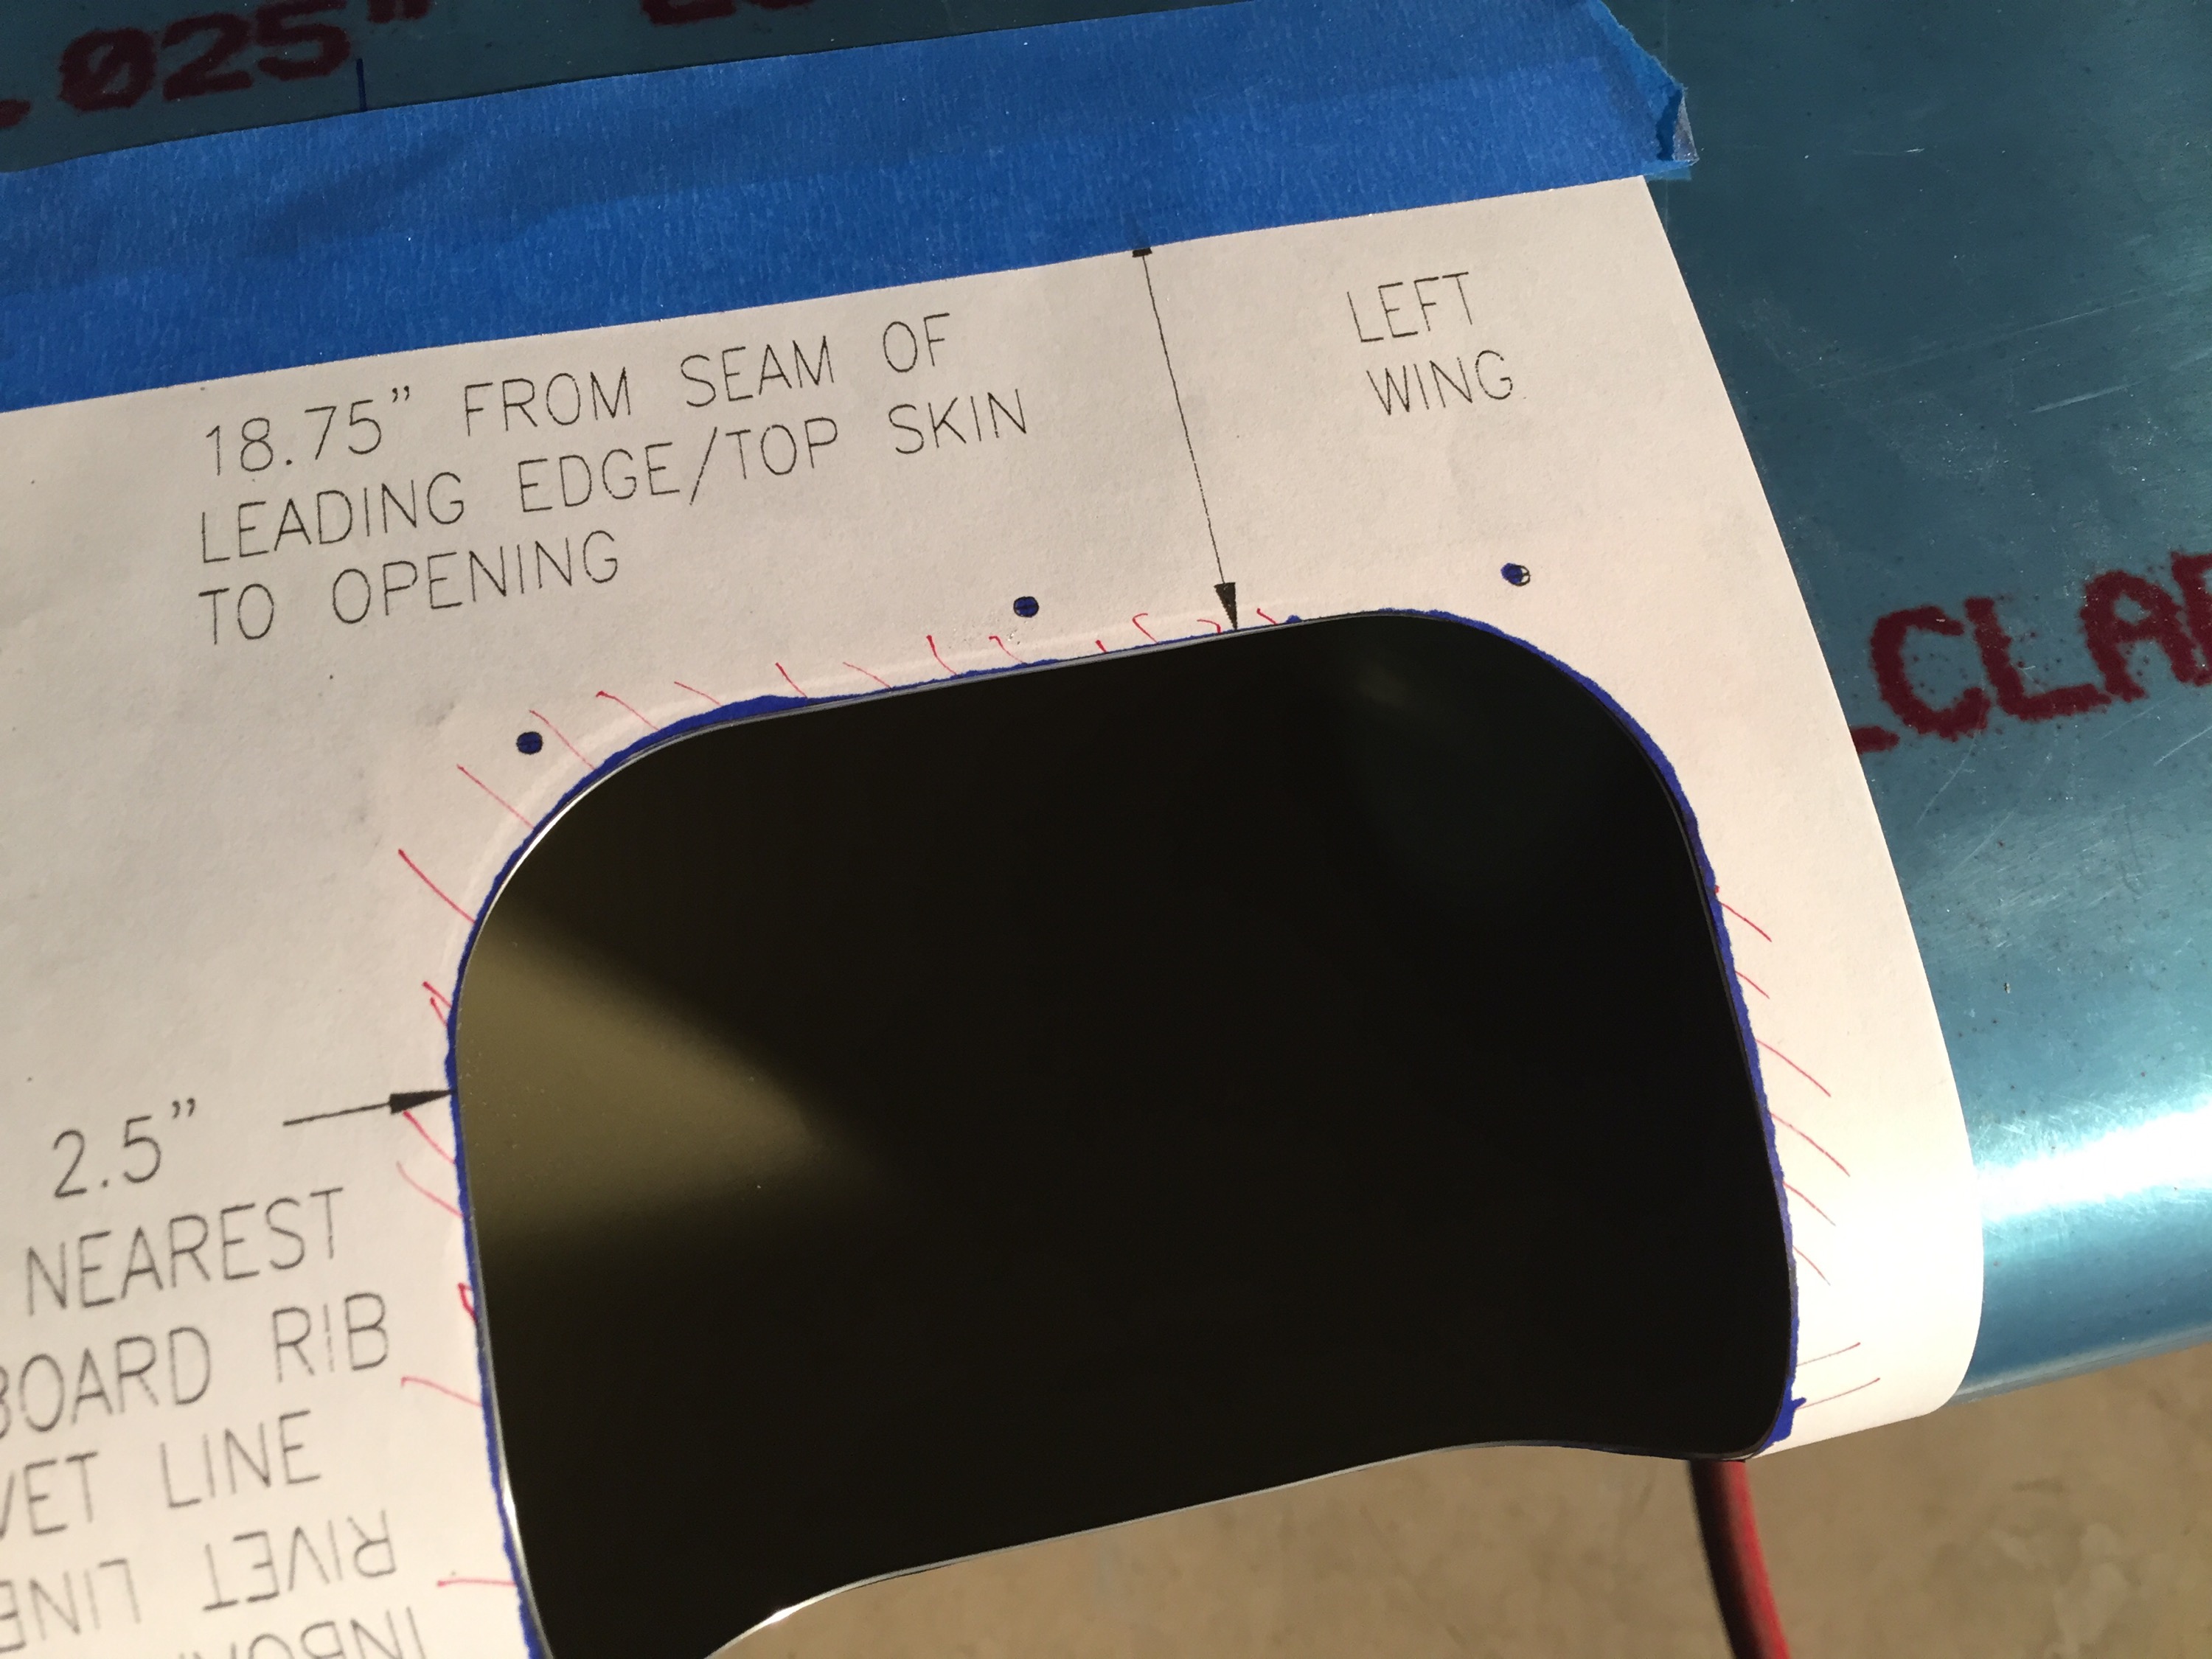
I recently bought the Ductworks Aviation Leading Edge Landing light assemblies. I went with the blank sets, as I plan to use an LED solution for my lights. I was extremely nervous about making a cut in my beautiful leading edge! I started by measuring from the seam of the top skin to leading edge skin, and from the centerline of the inboard rivet row and marking the lines. Next I applied the cutout form temporarily to line everything up. Then I measured again, and consulted photos online. I really didn’t want to mess this cut up!
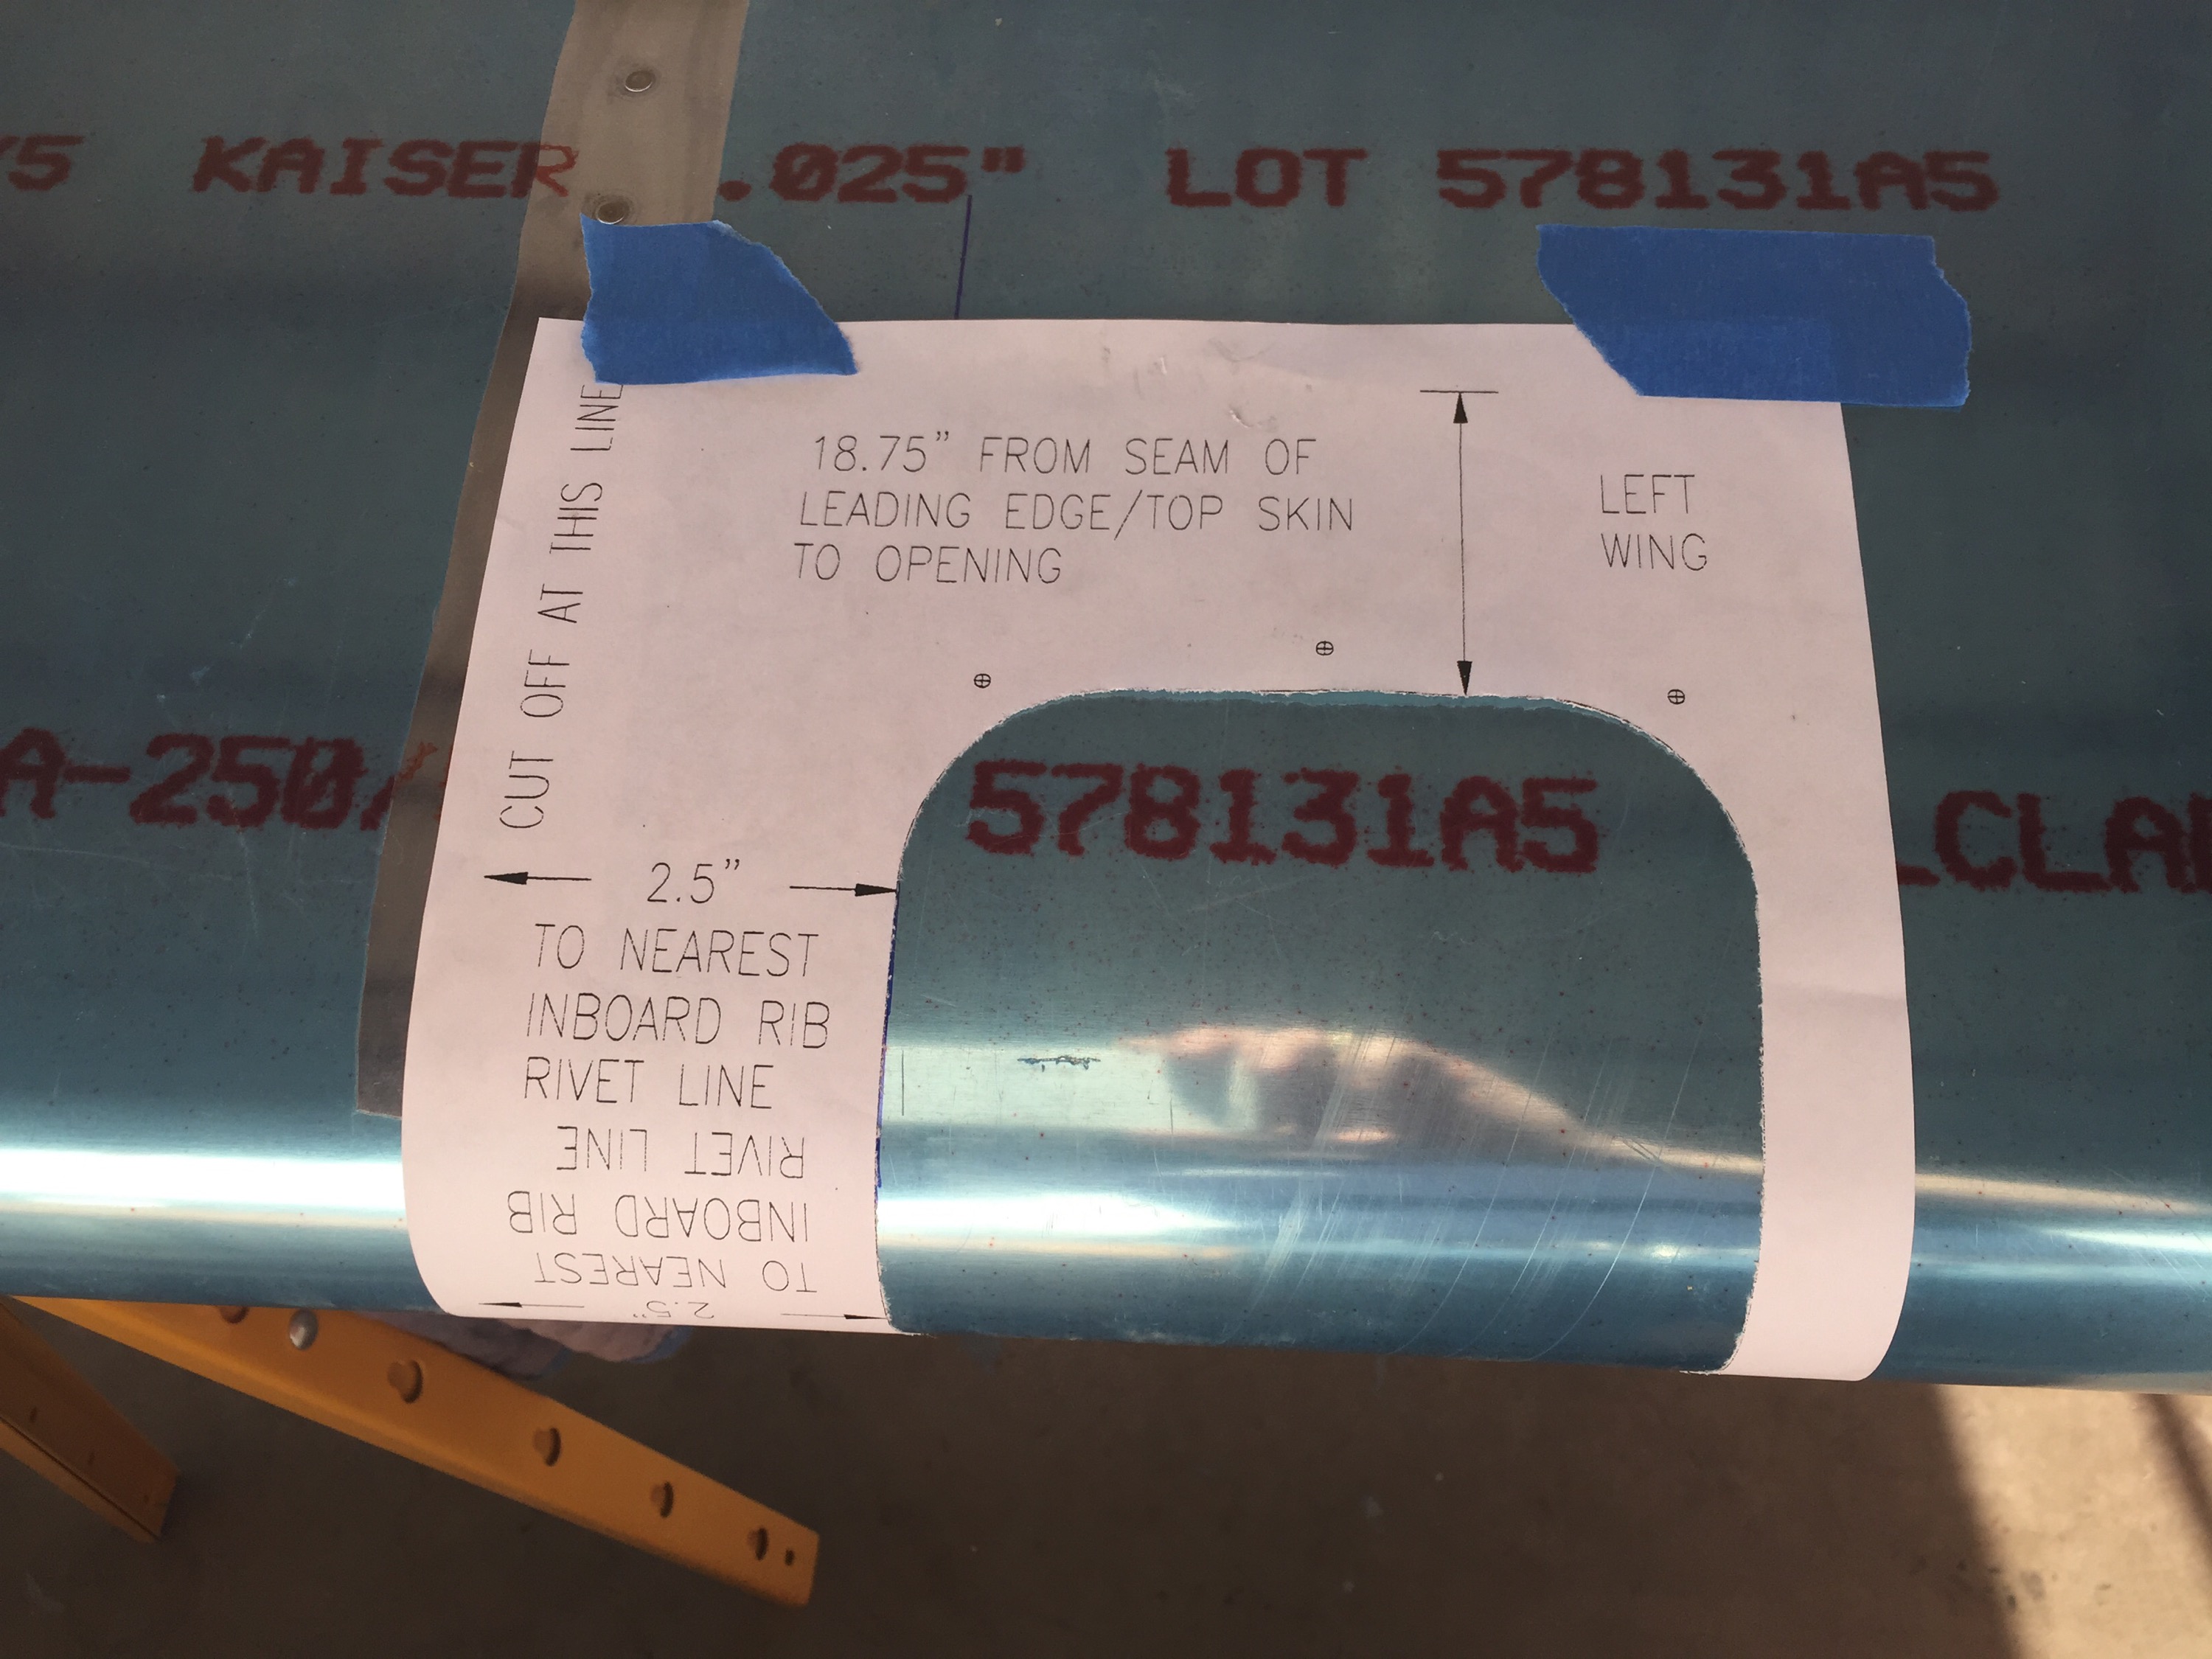
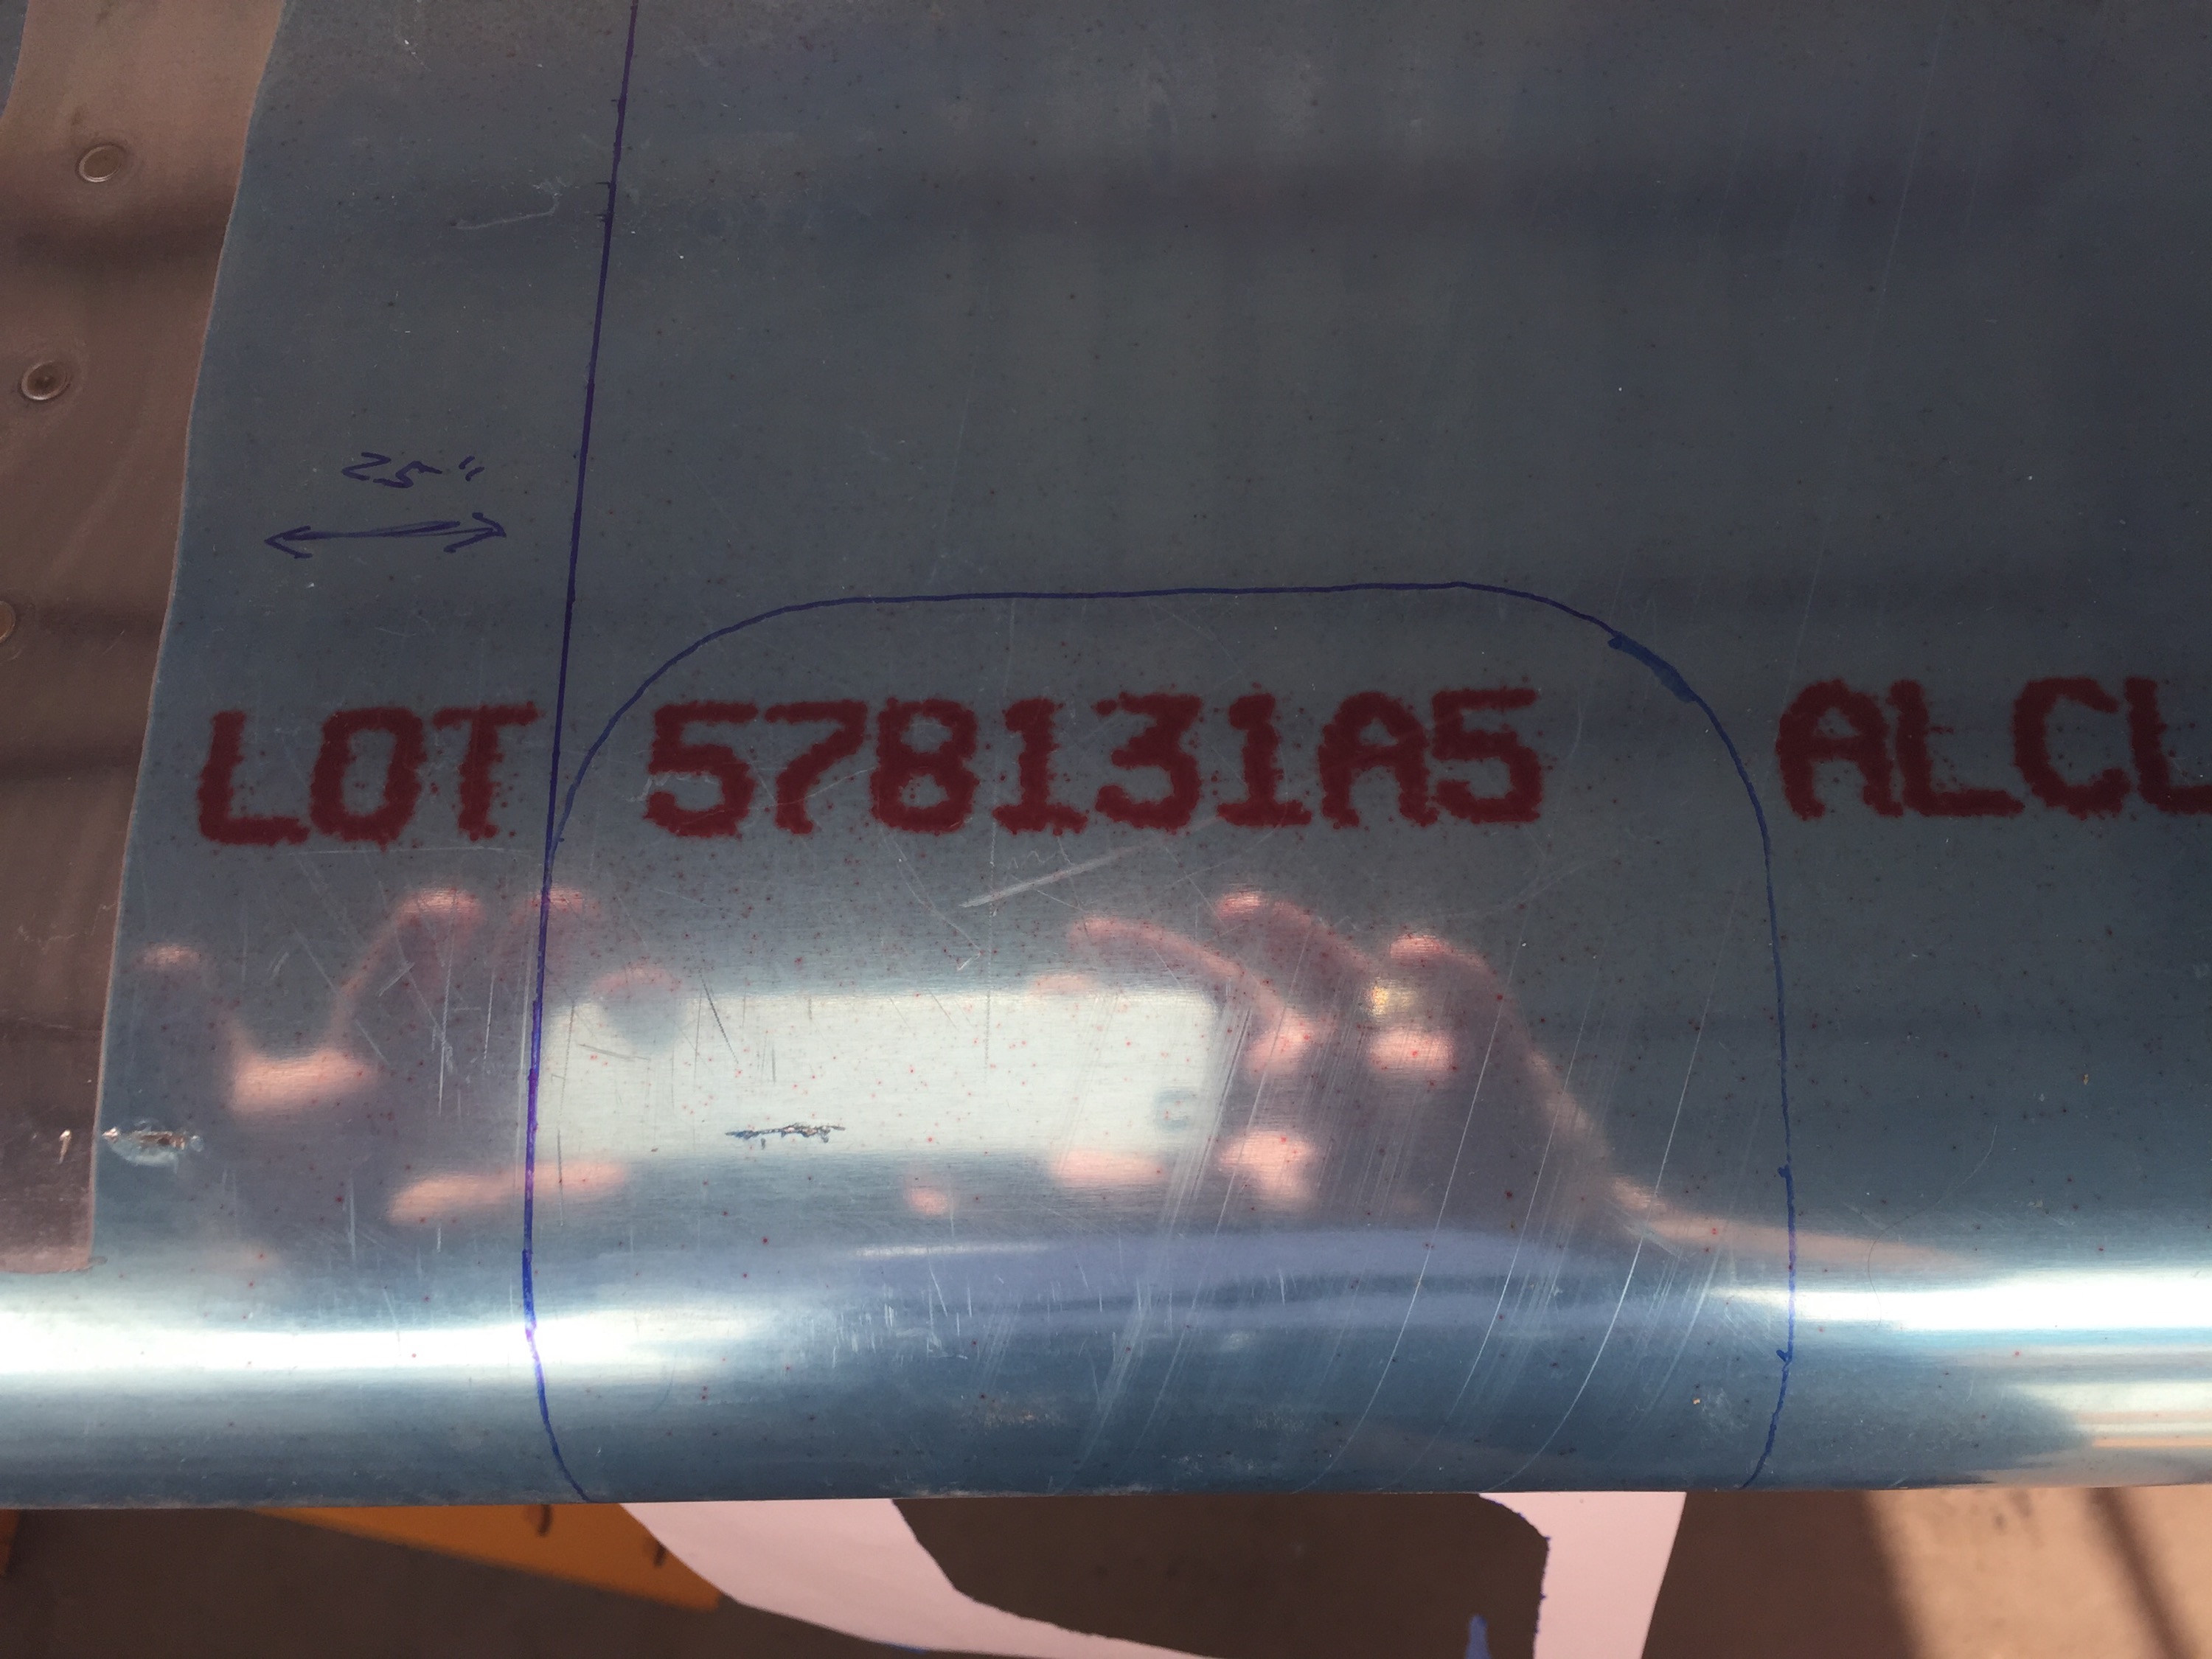
Then I marked the area to be cutout and hatched the inside area with a marker.
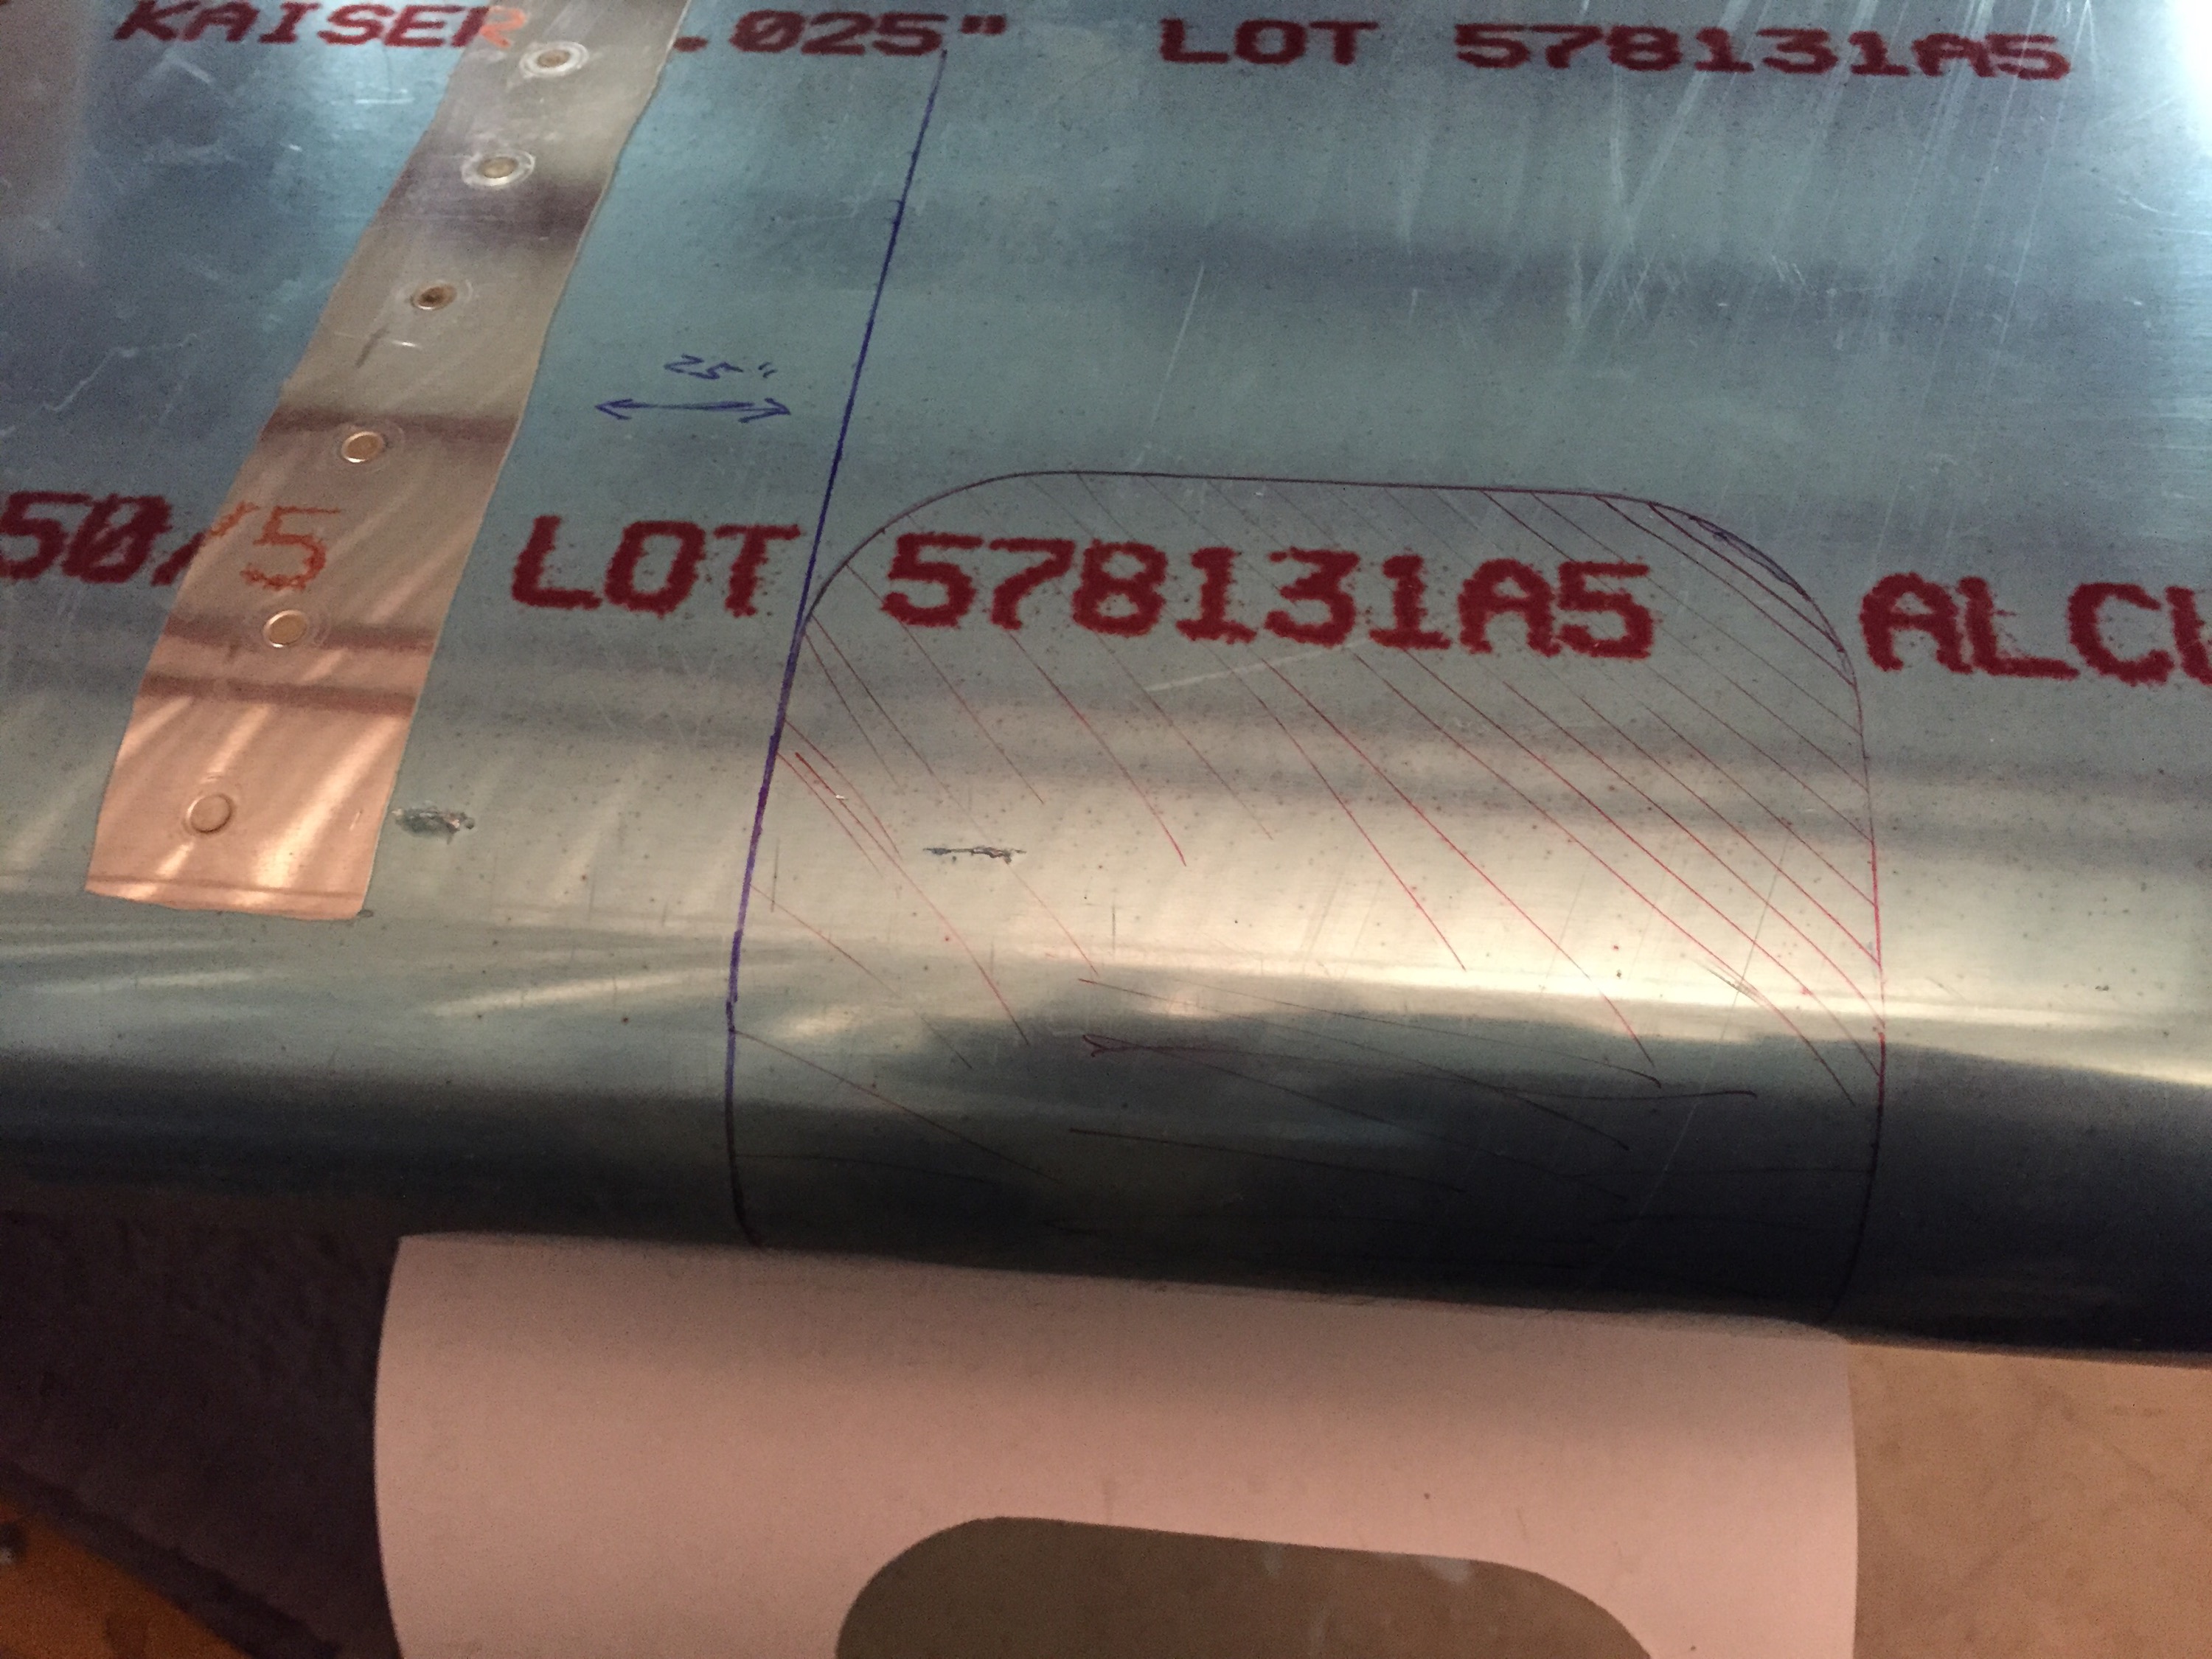
I used me new dremel to make the first rough cut.
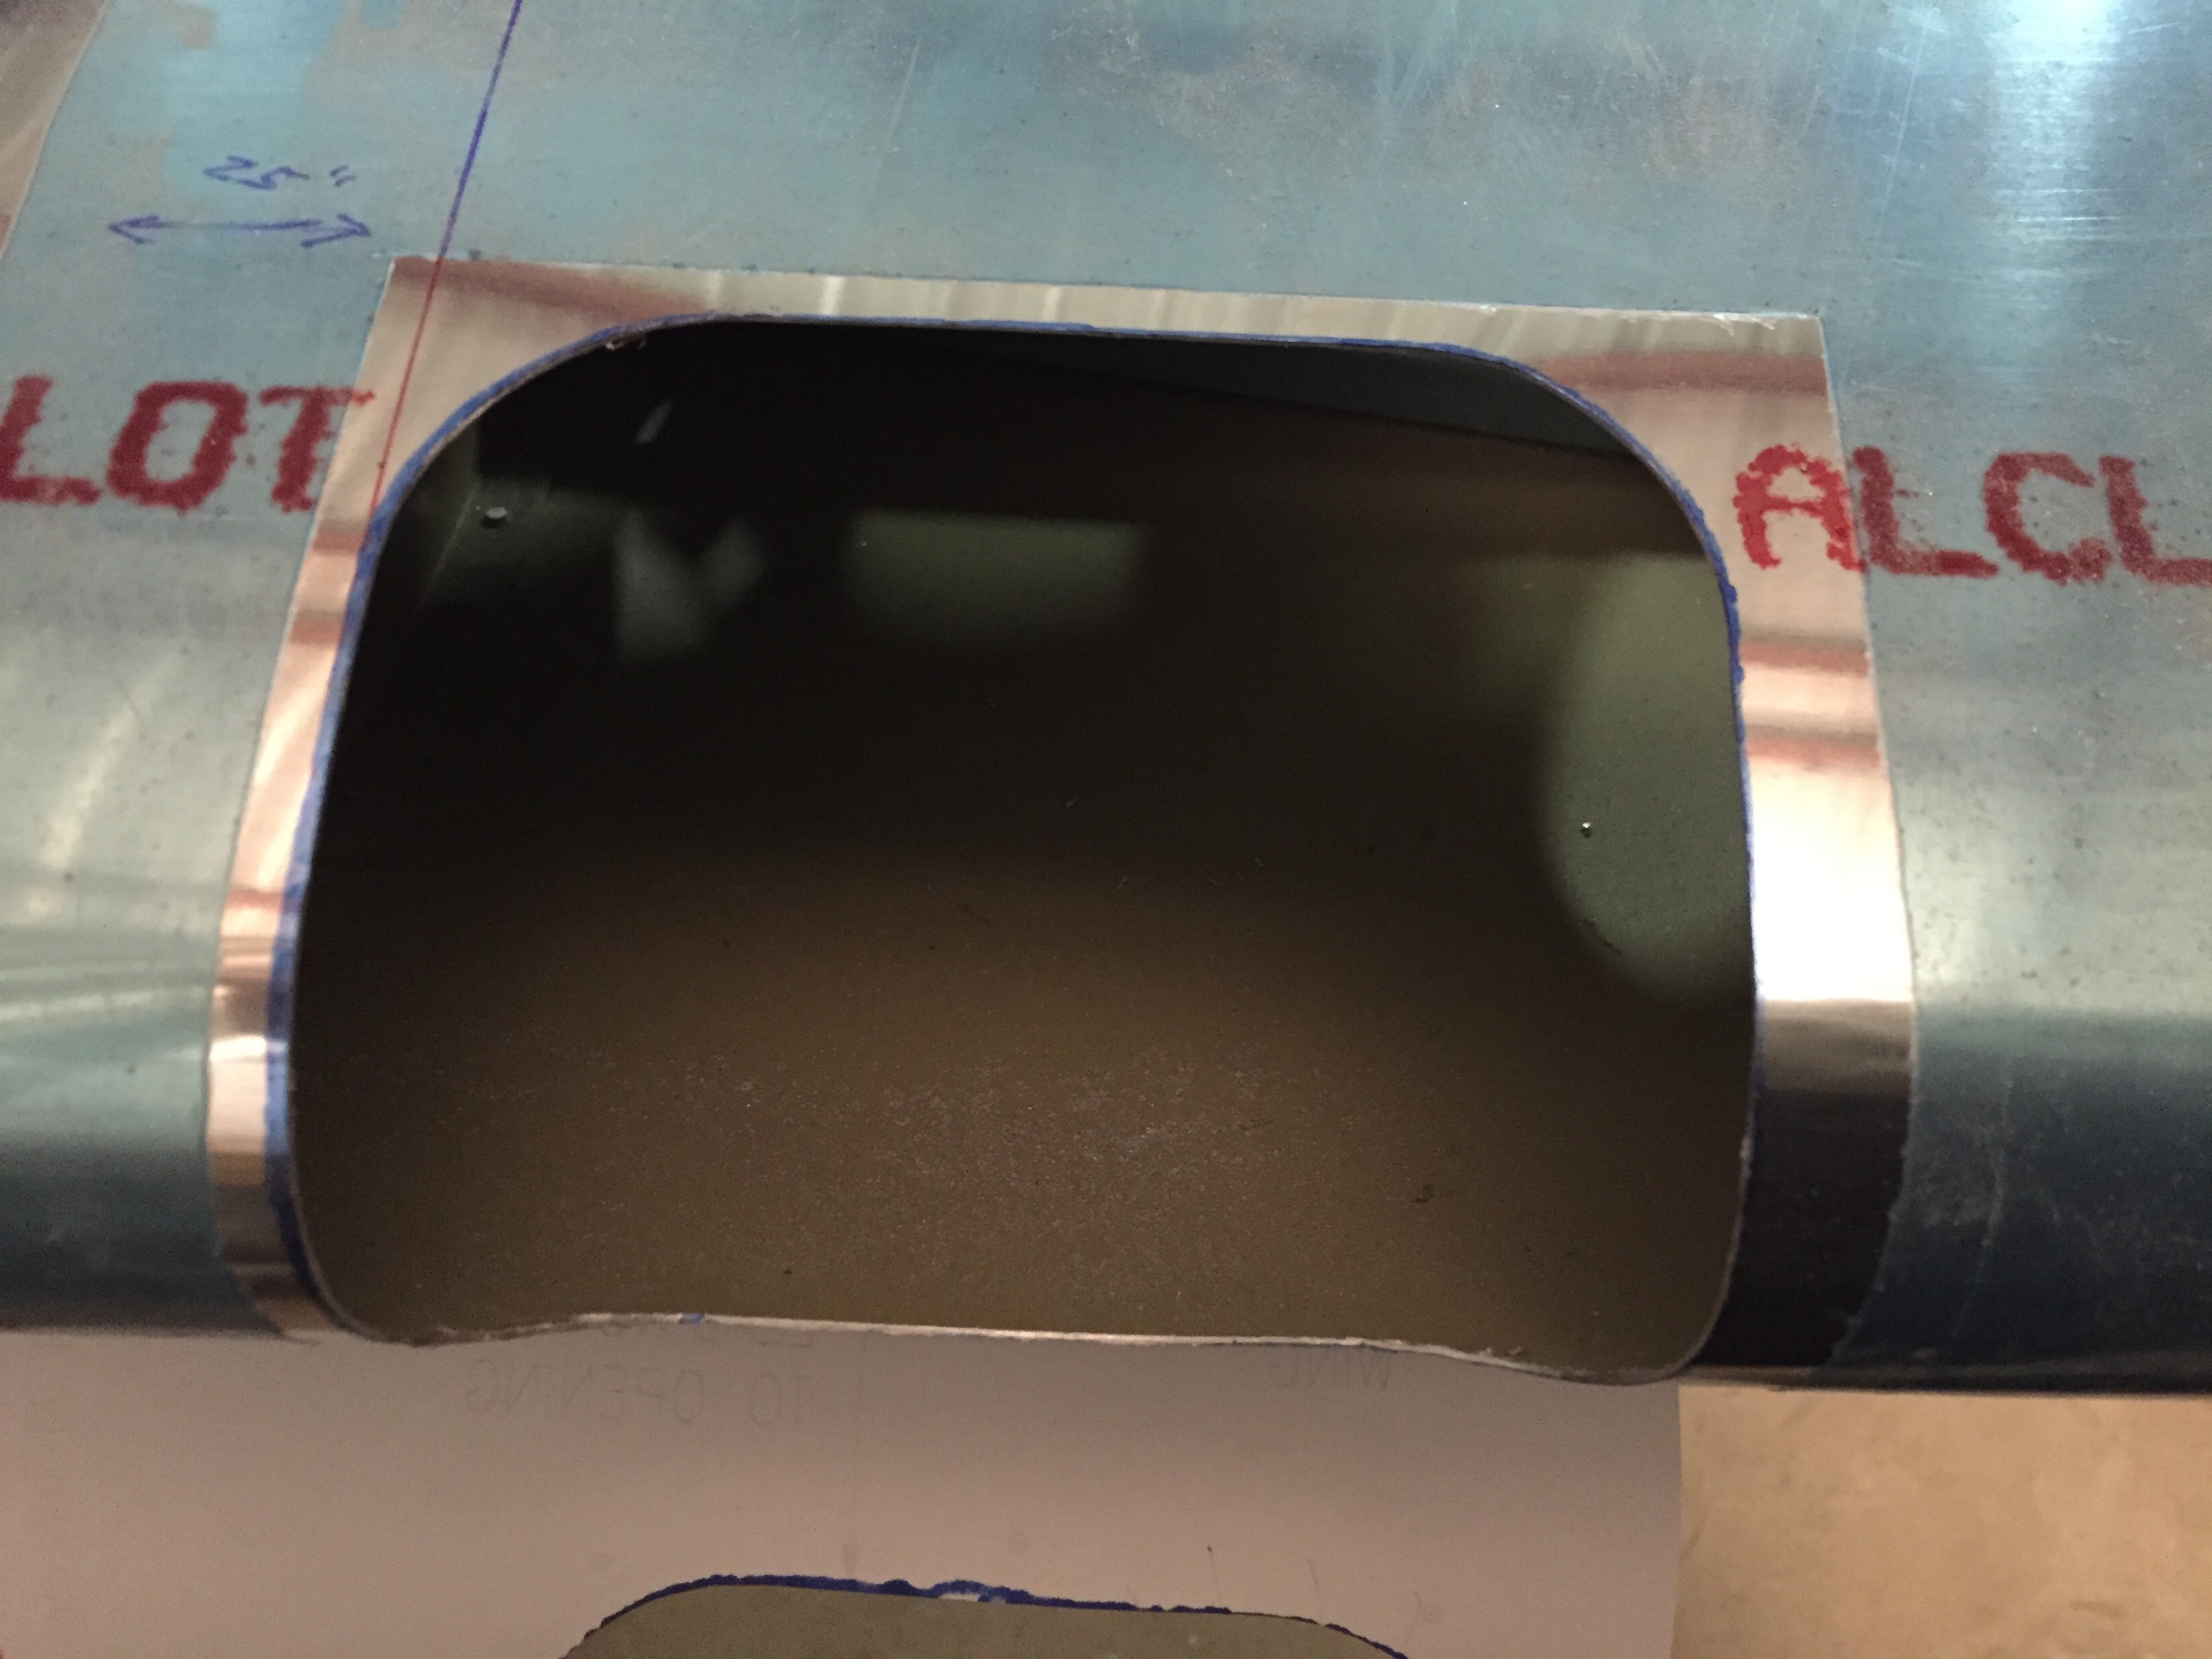
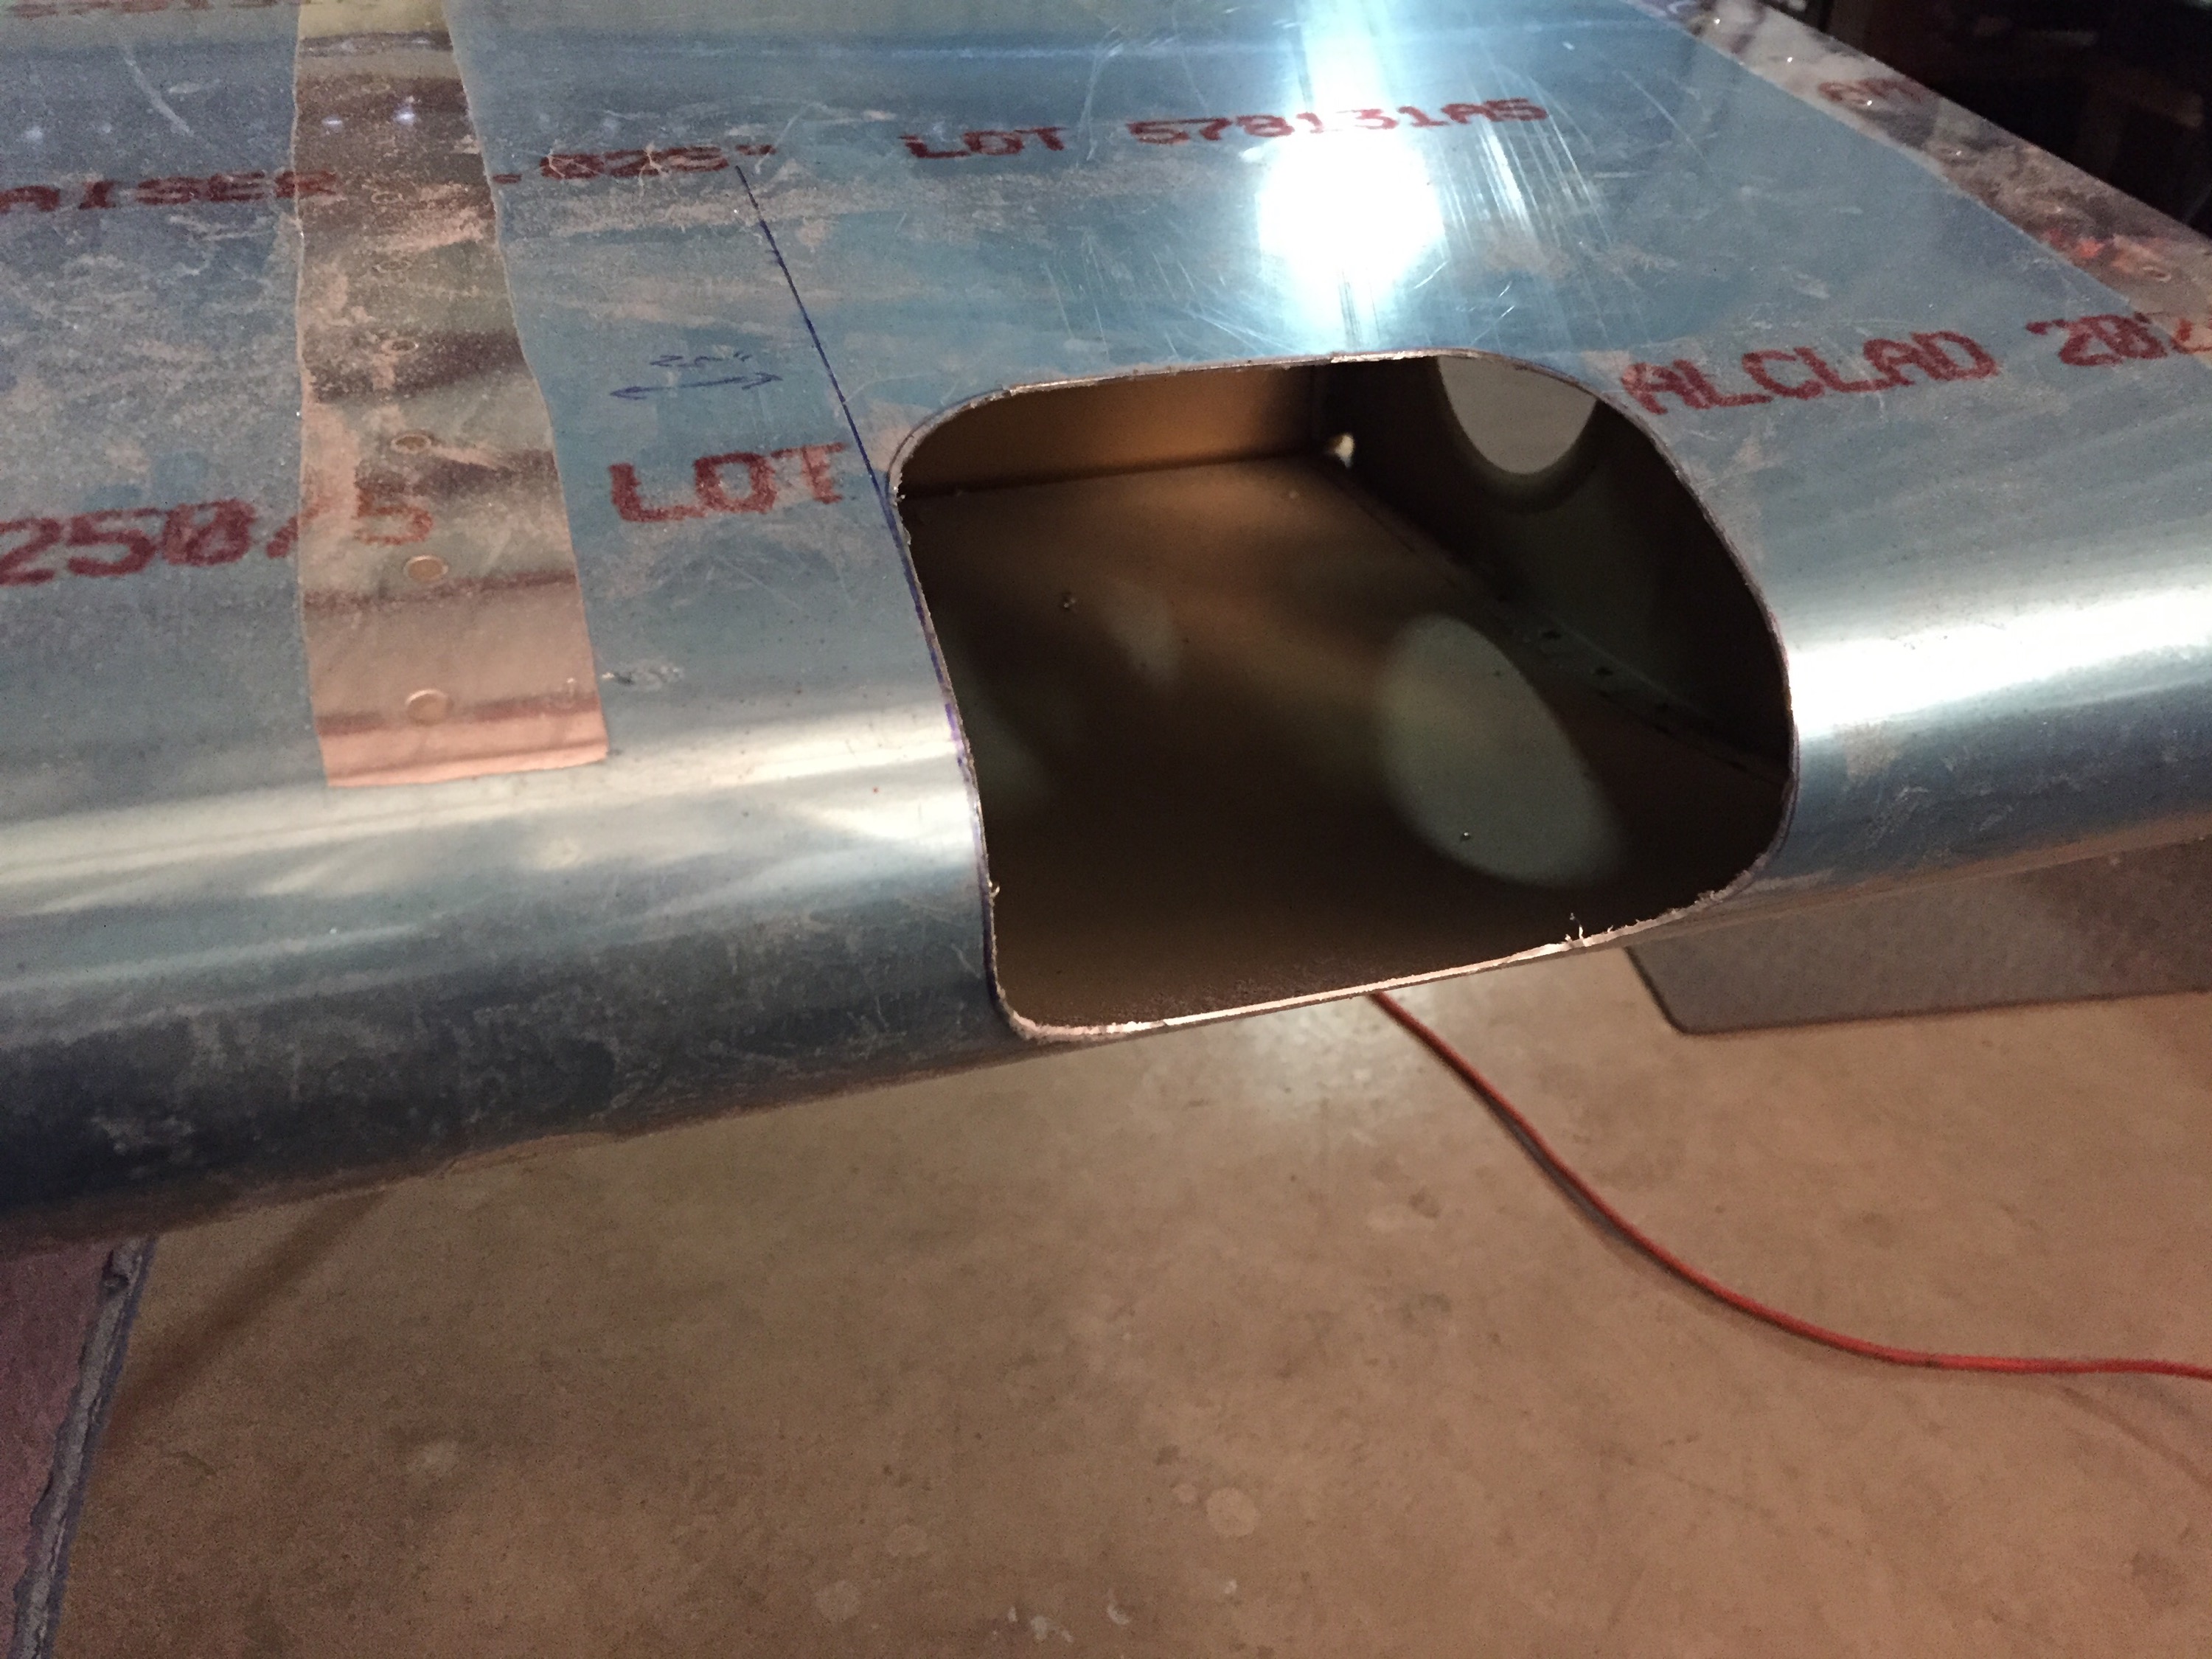
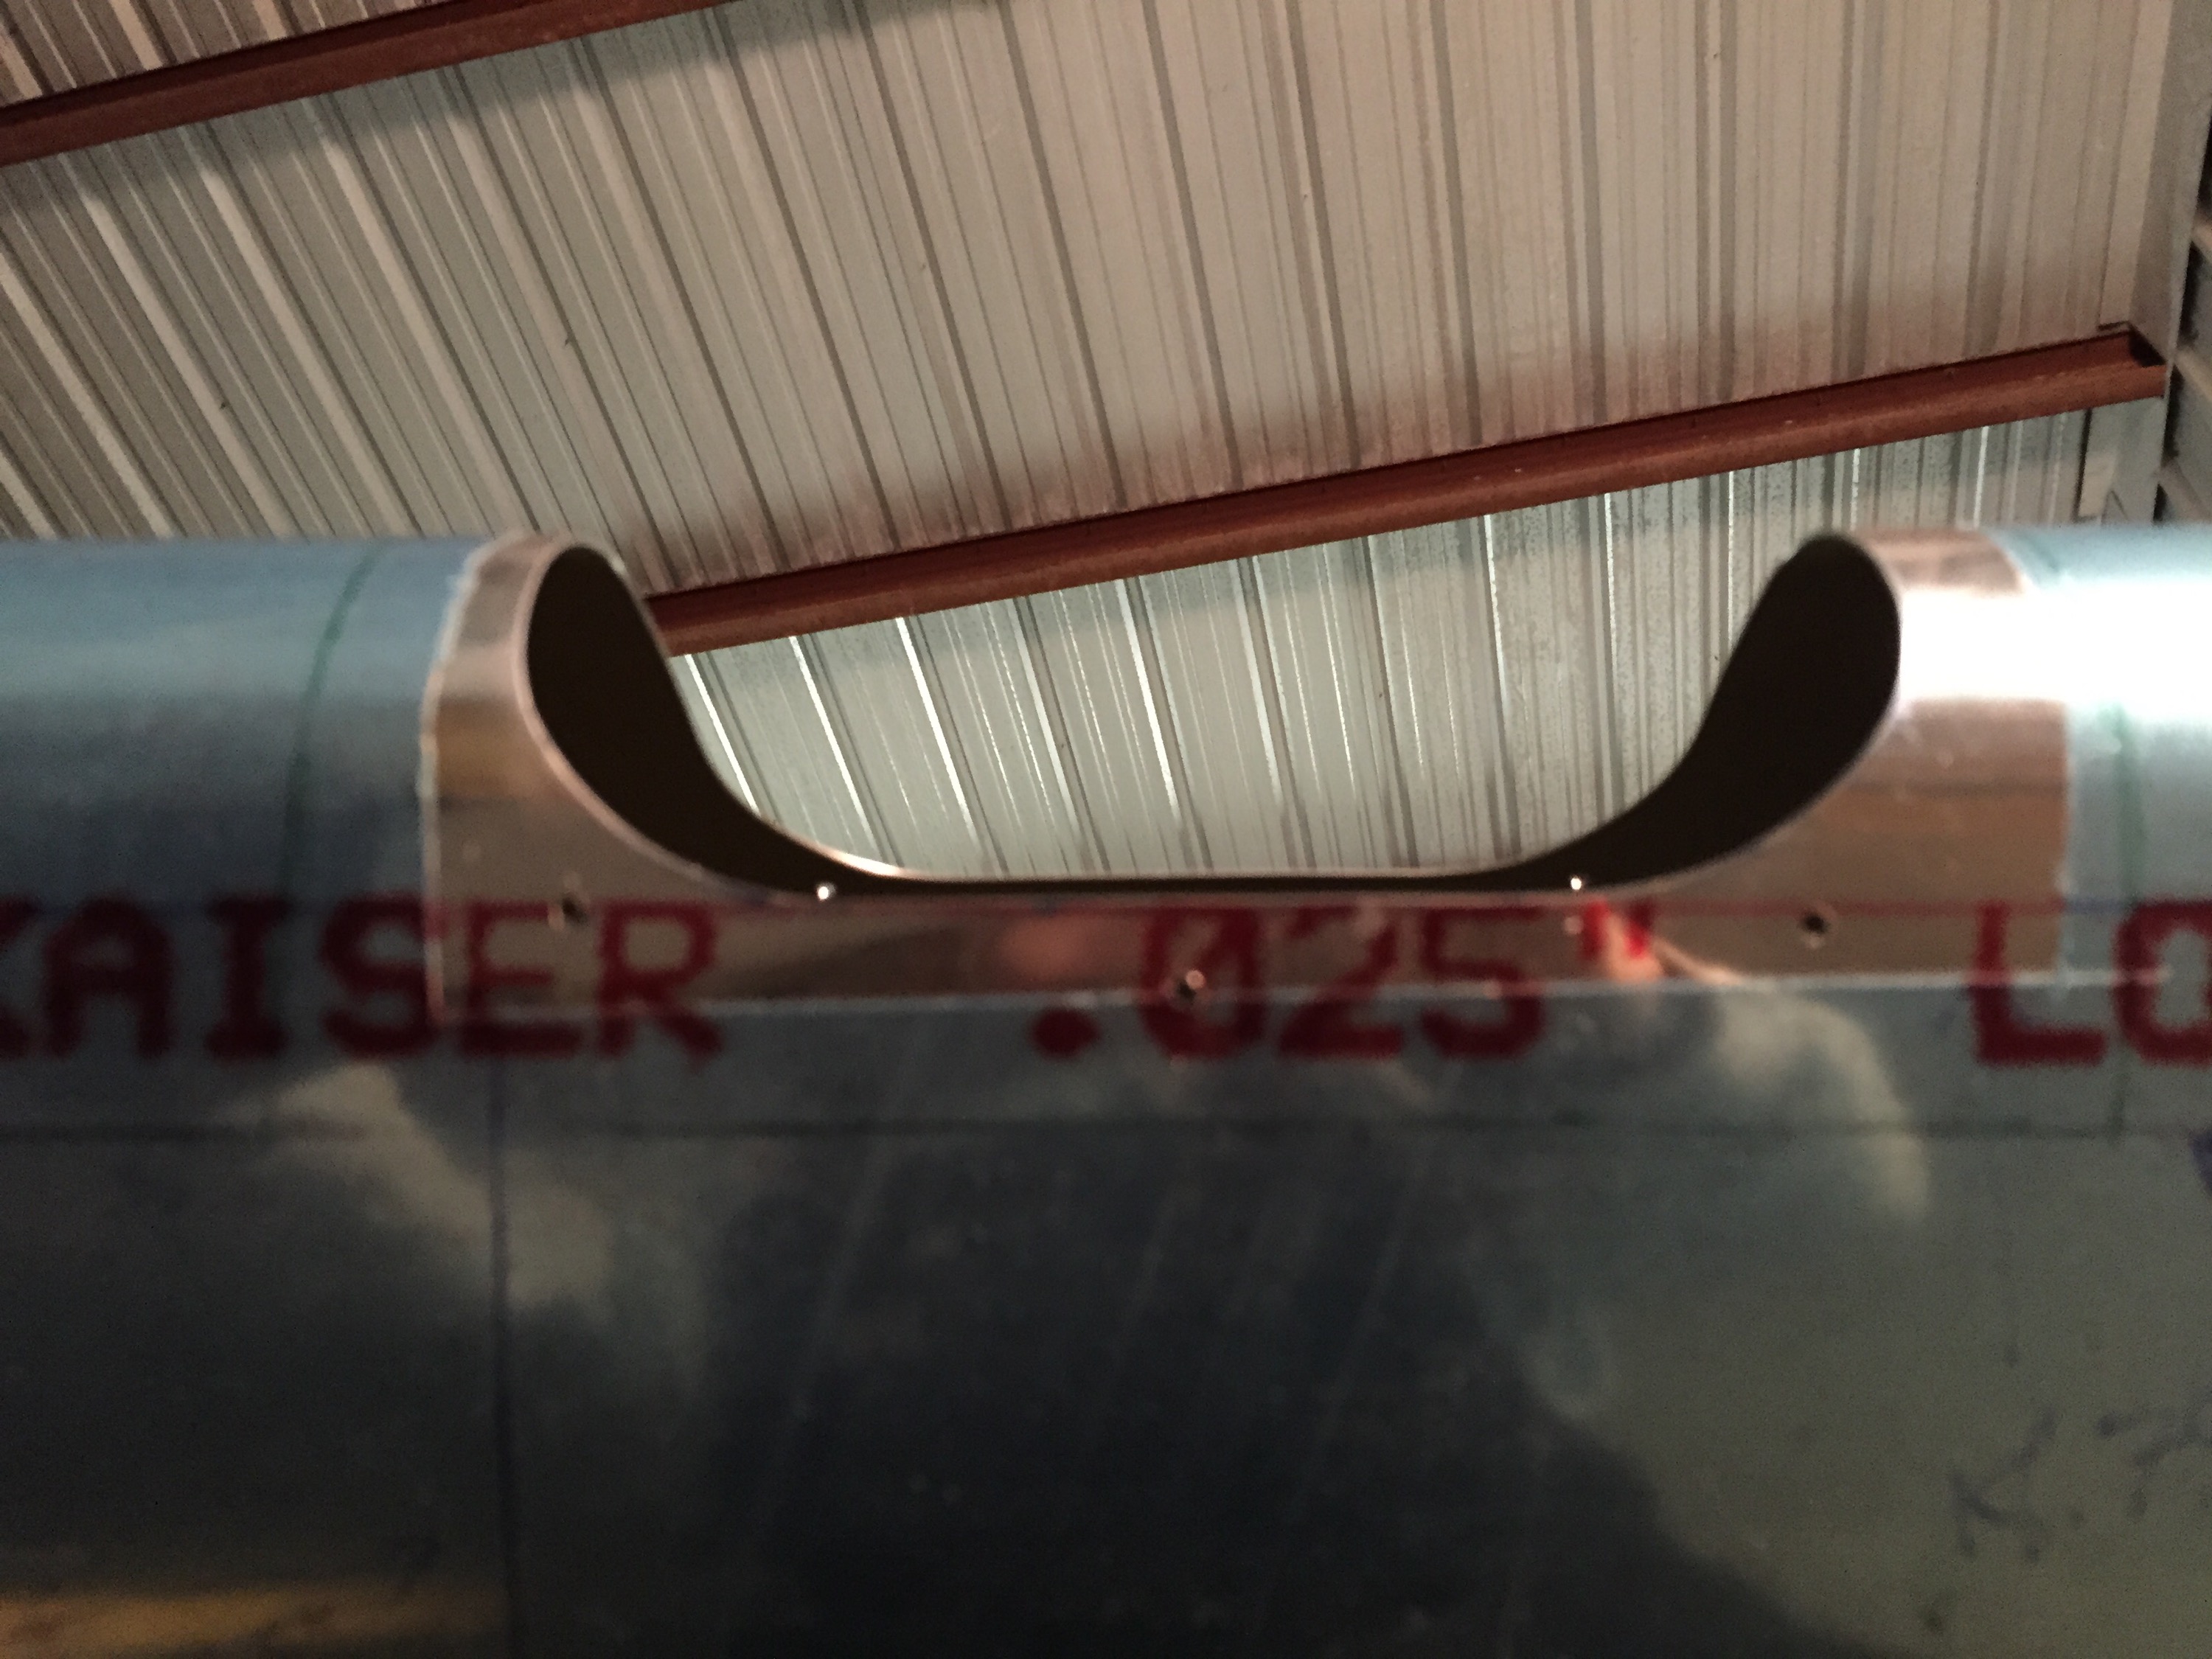
I slowly worked my way from the rough cut to a finished edge using a combination of tools in the dremel as well as hand files and sandpaper. I’m very happy with the finished edges.
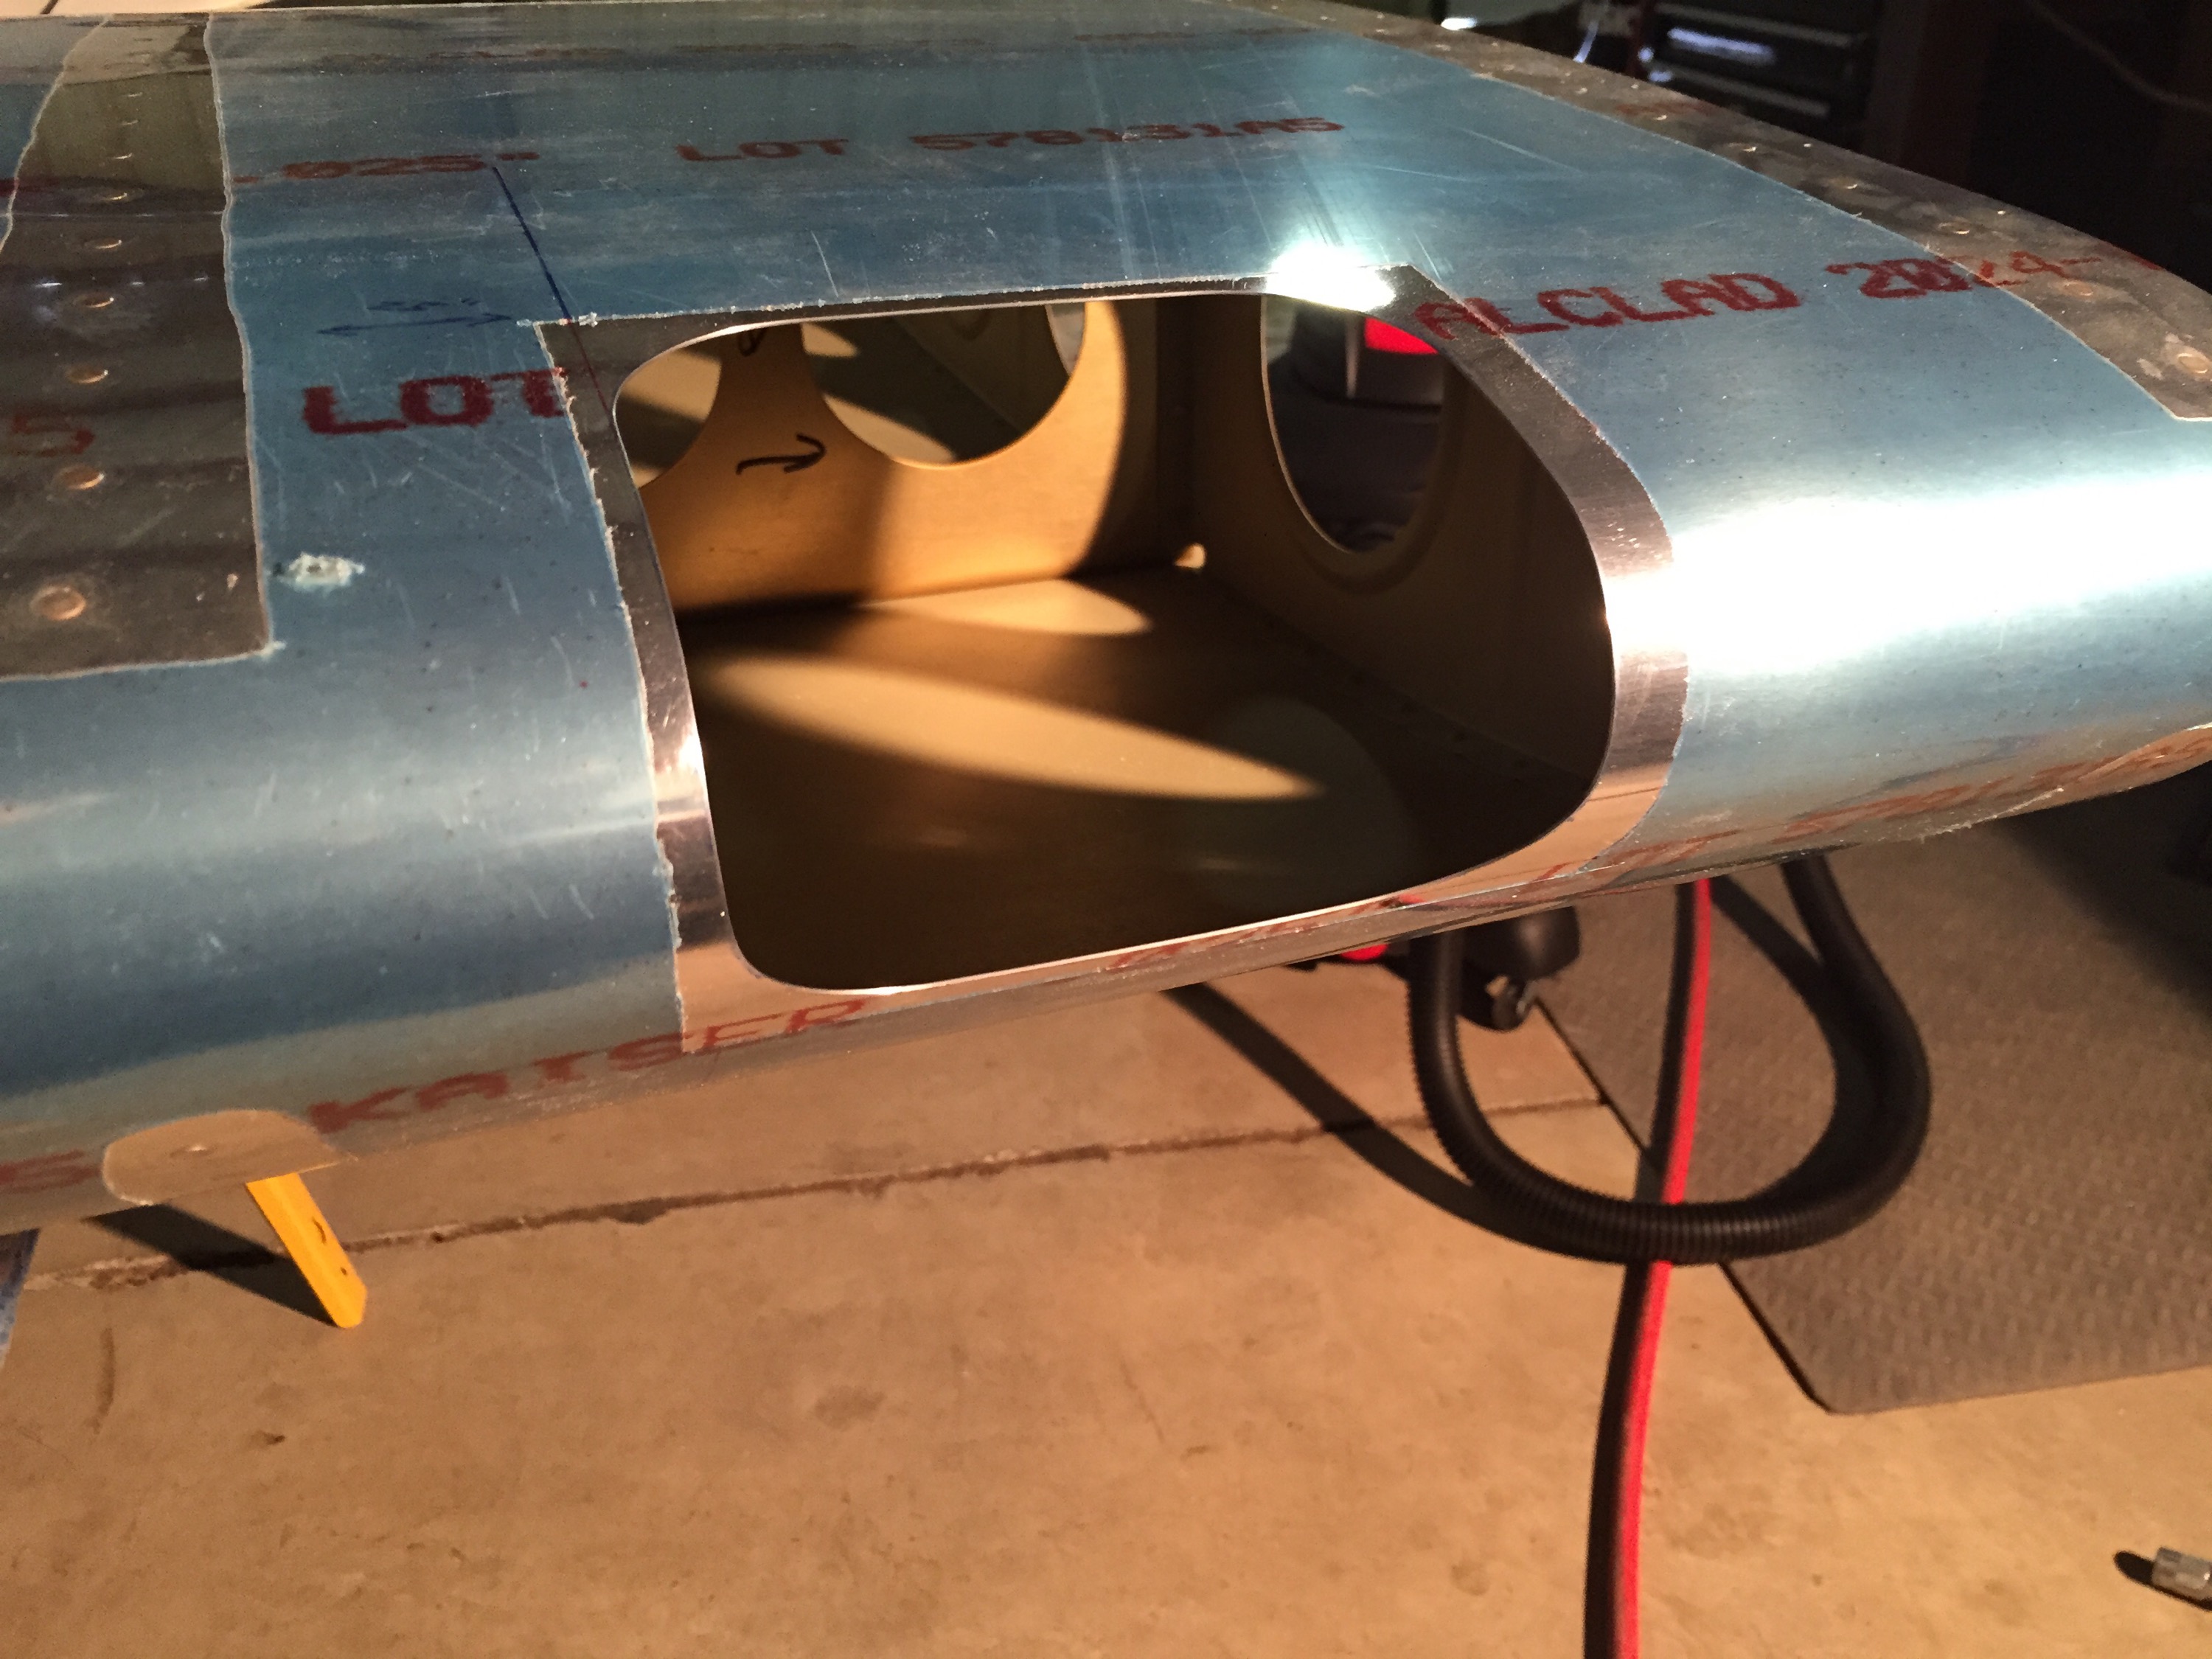
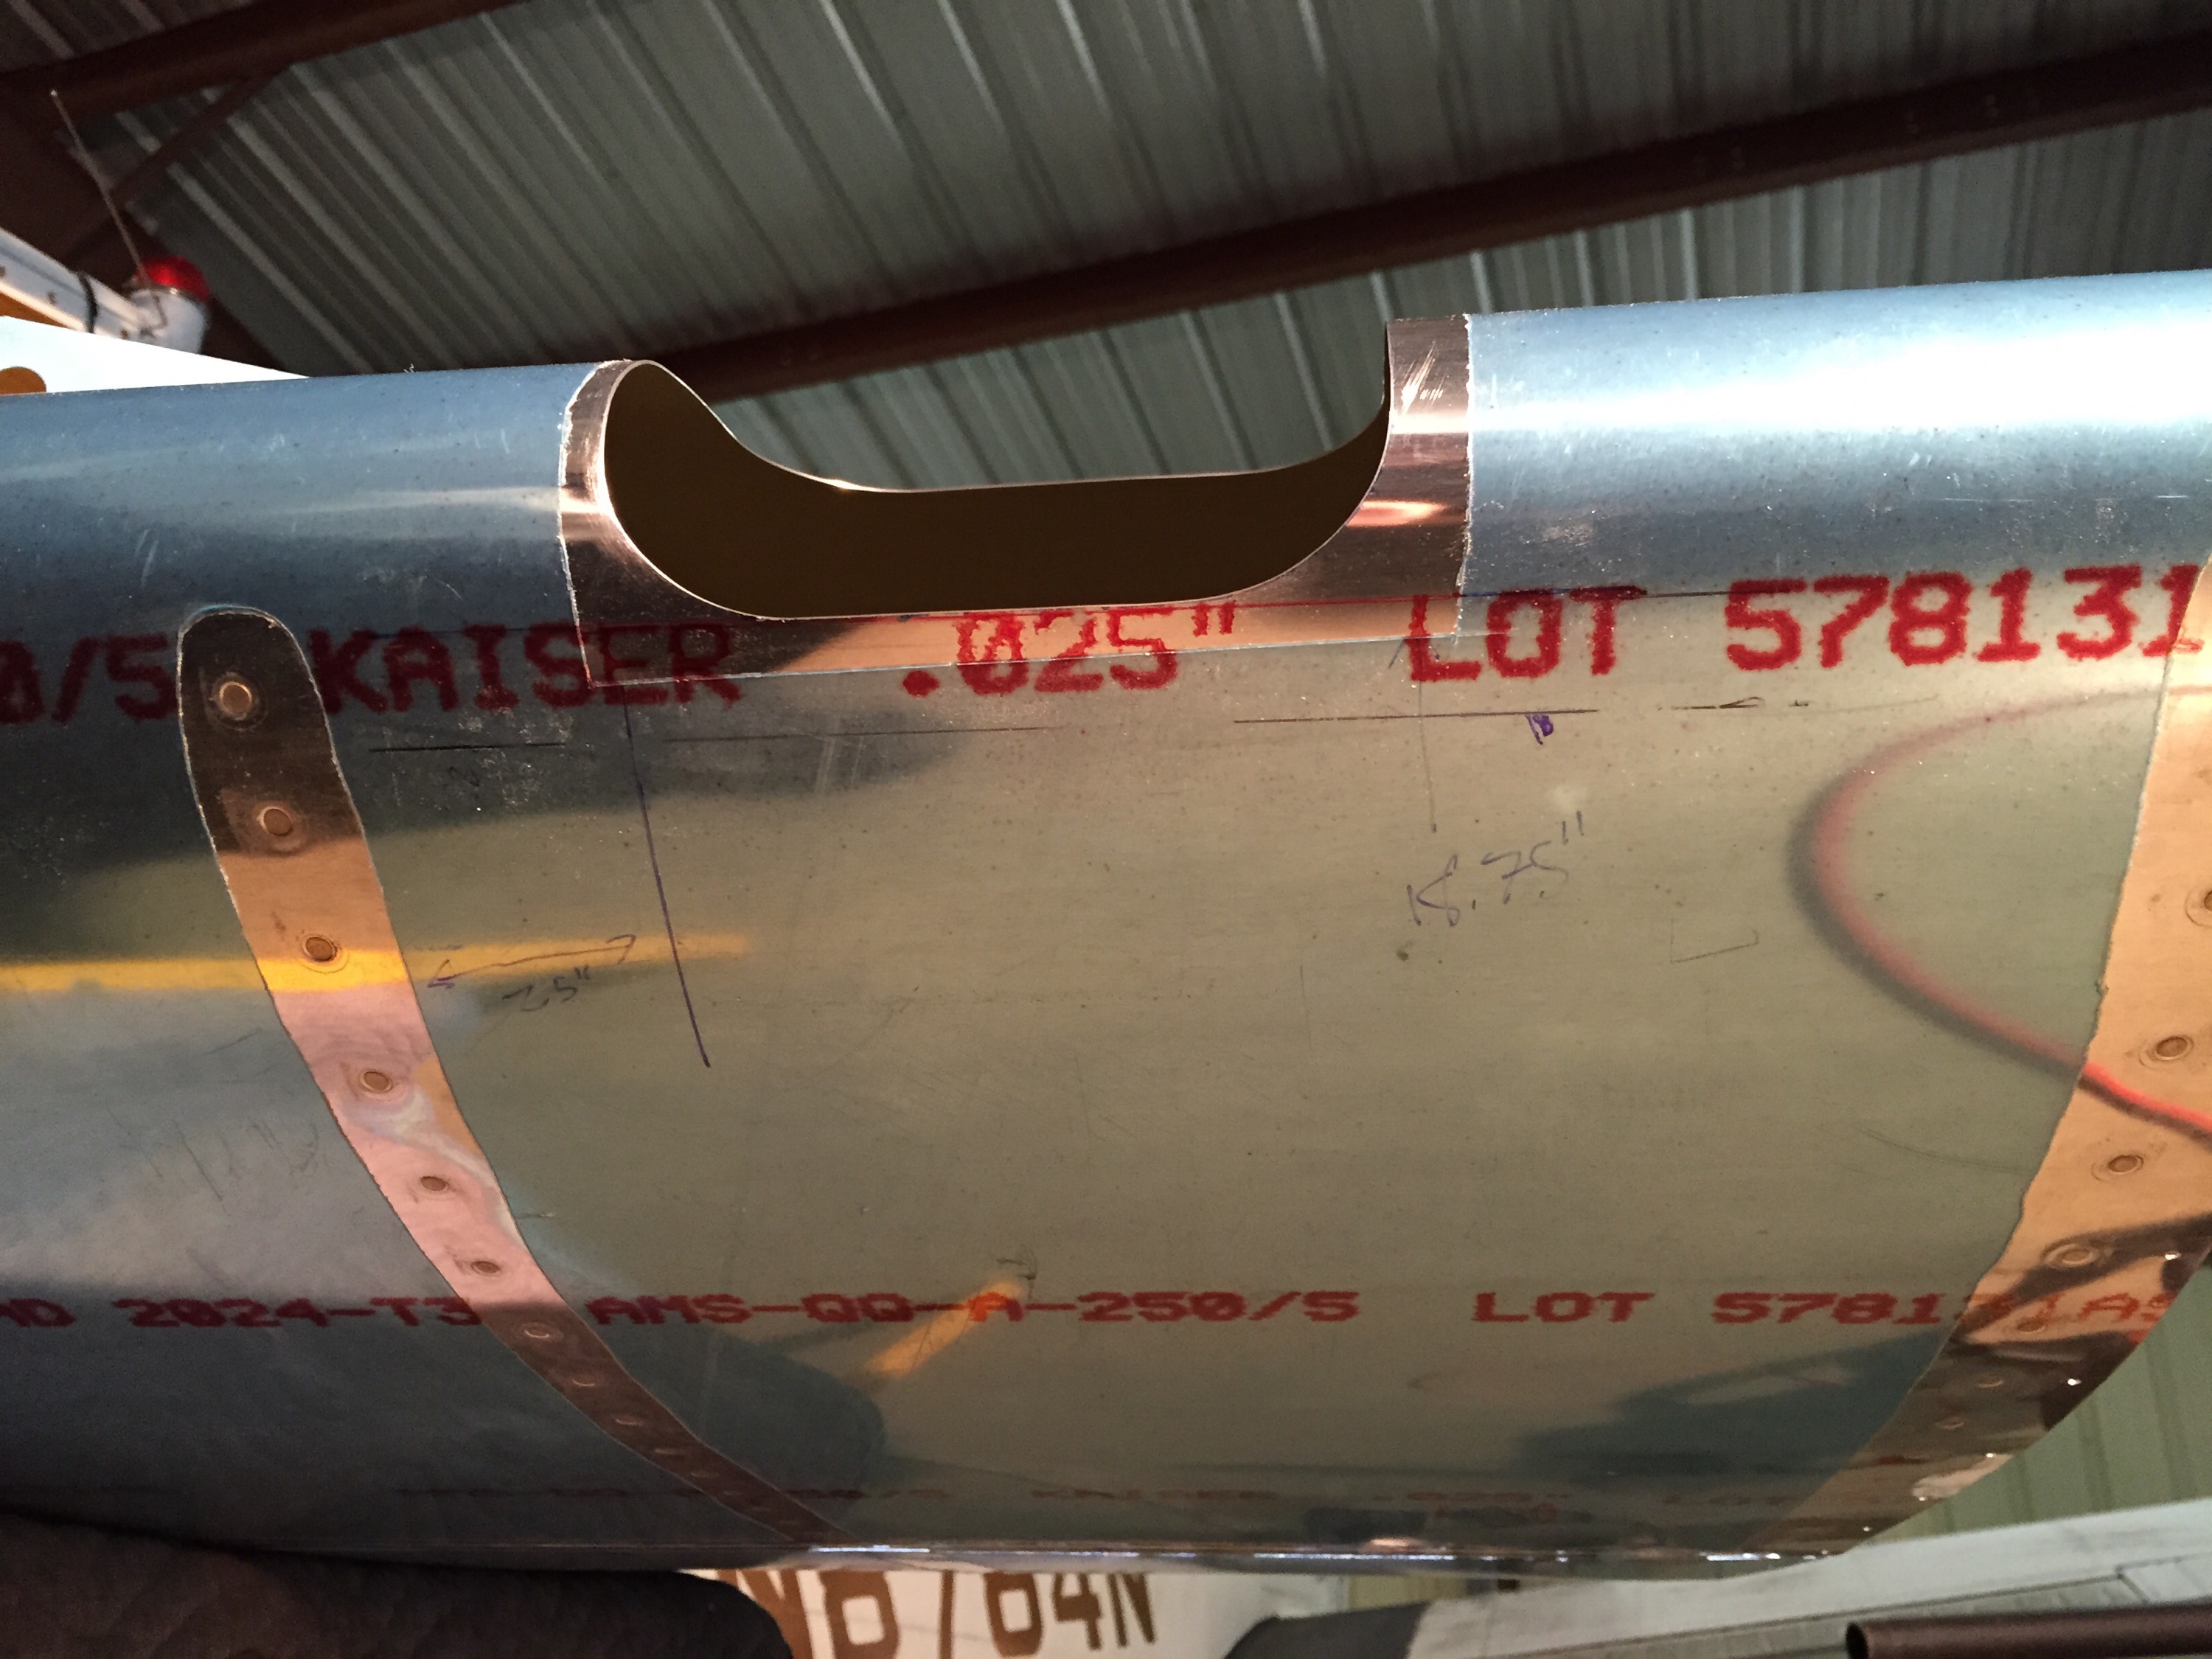
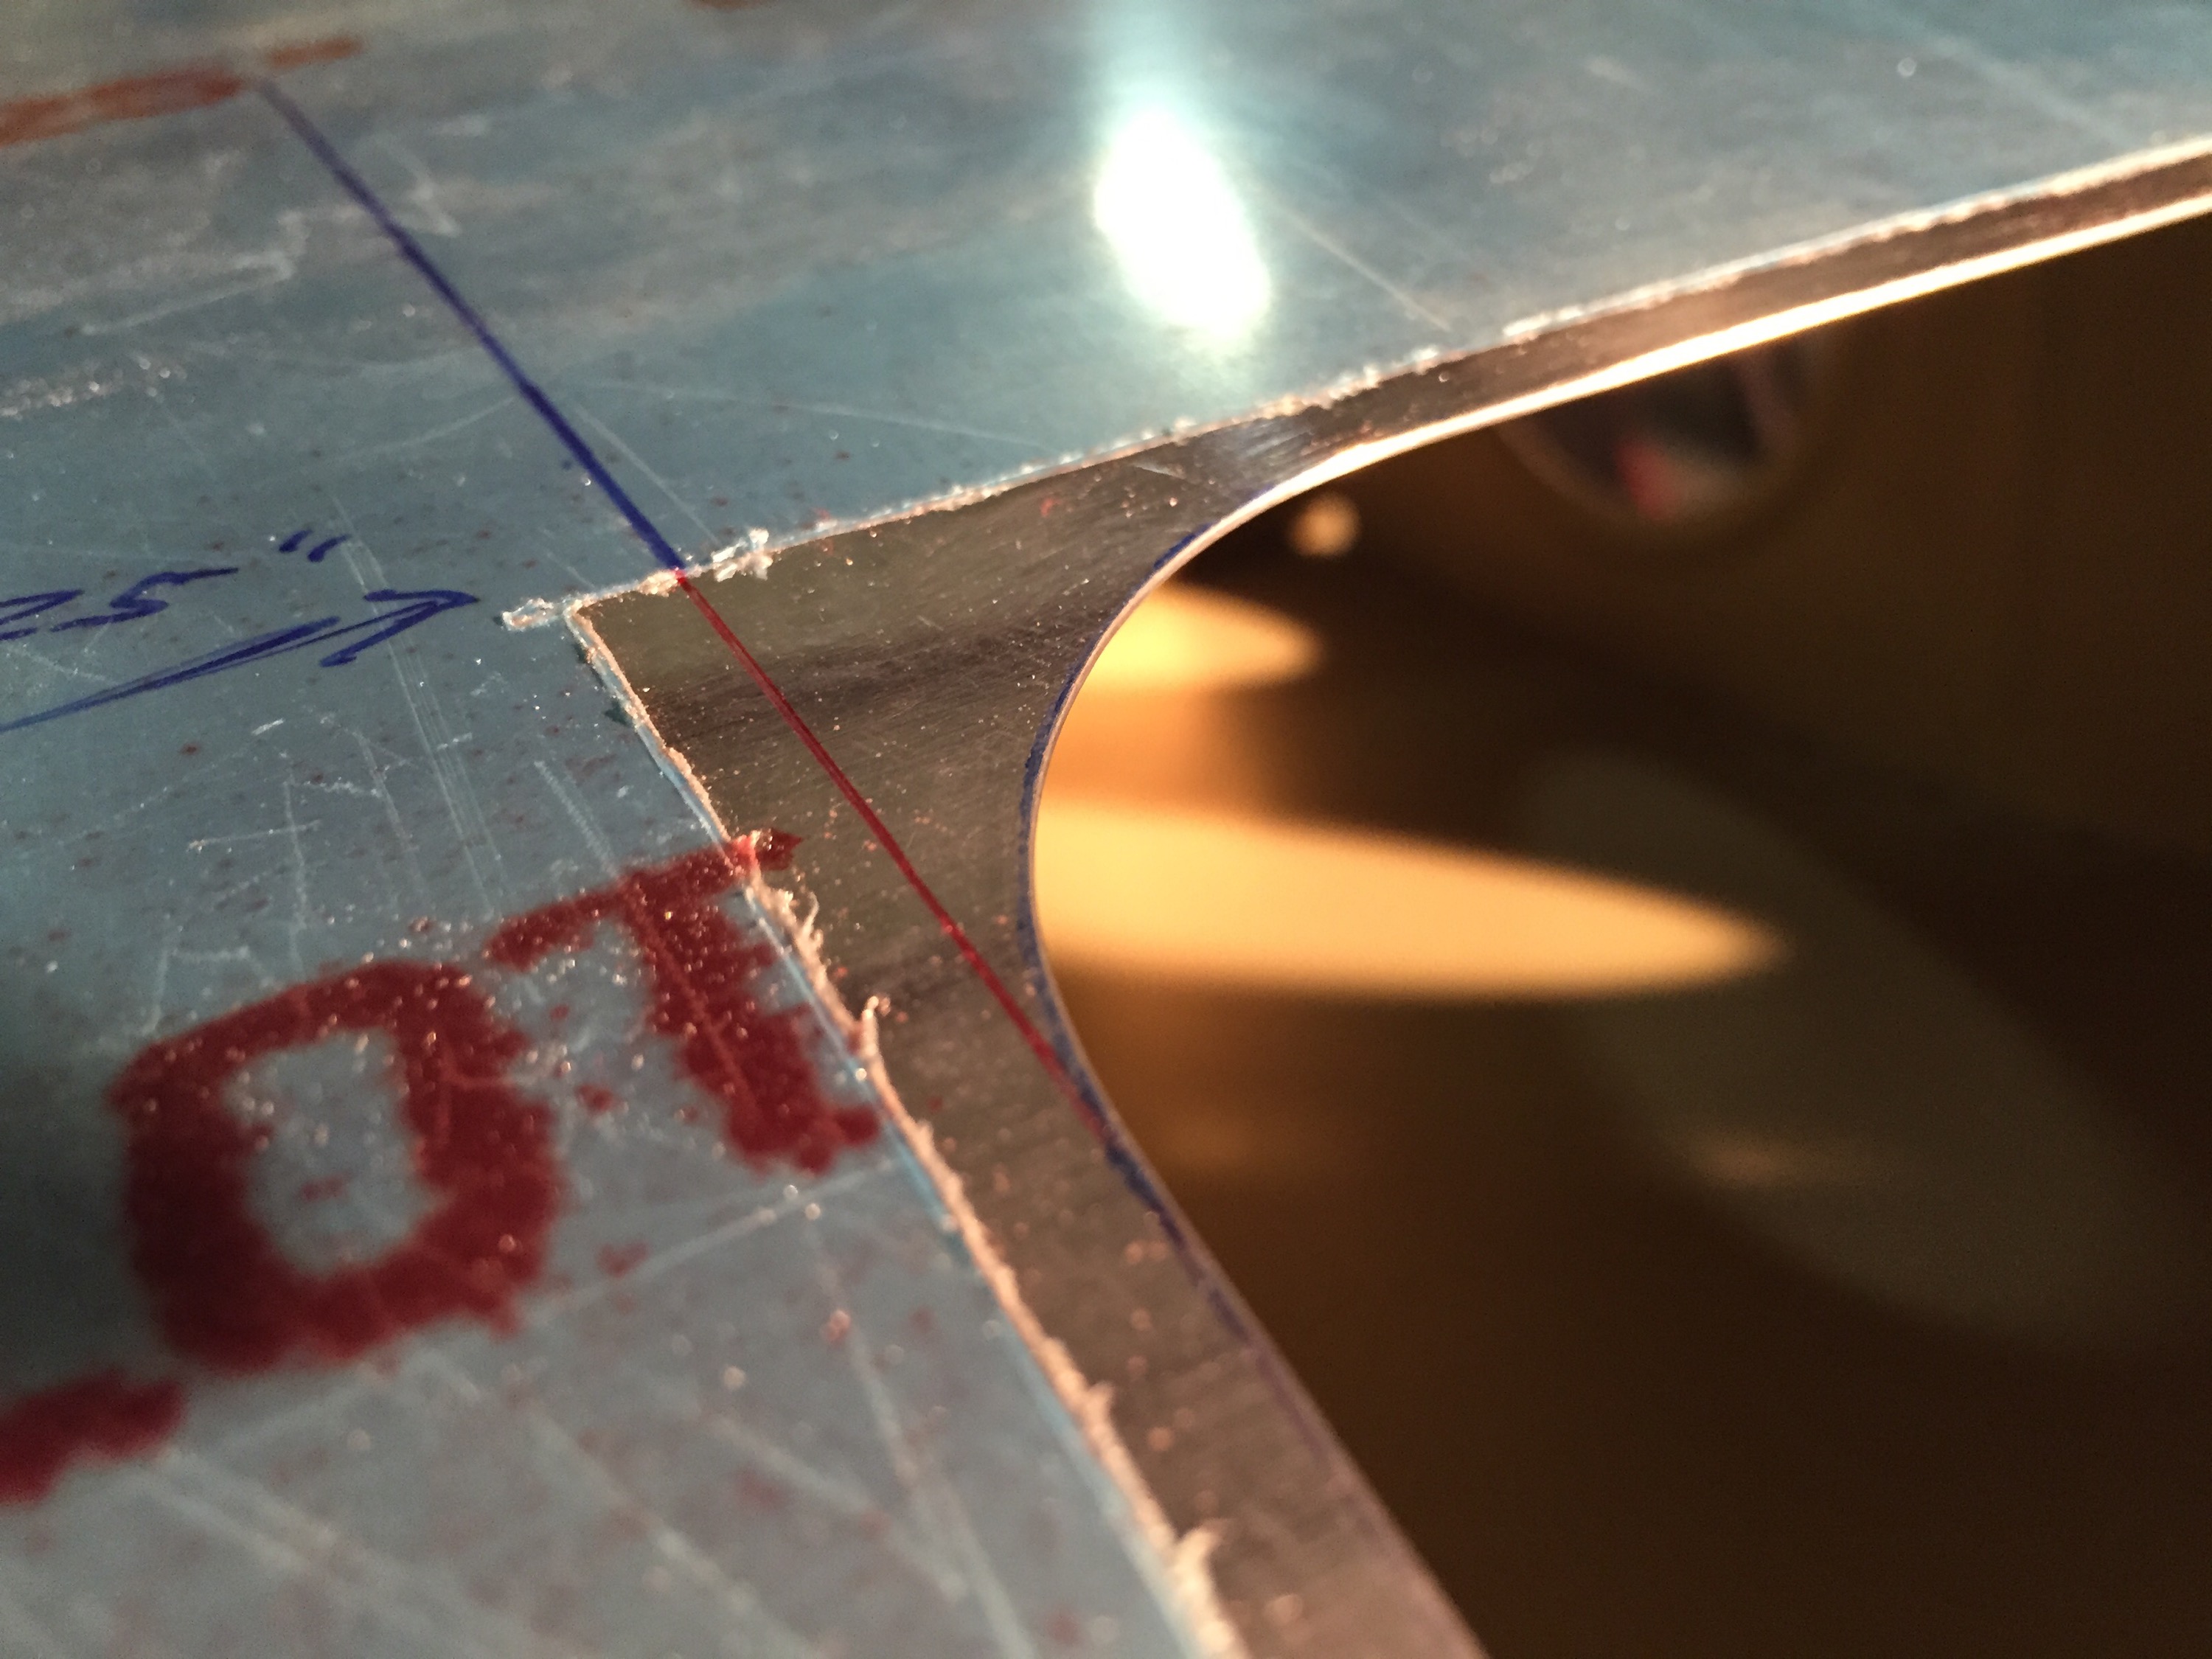
After I got to a point I considered to be complete, I re applied the template to check for any inconsistencies. I found a few areas that could use additional work and marked those in blue.
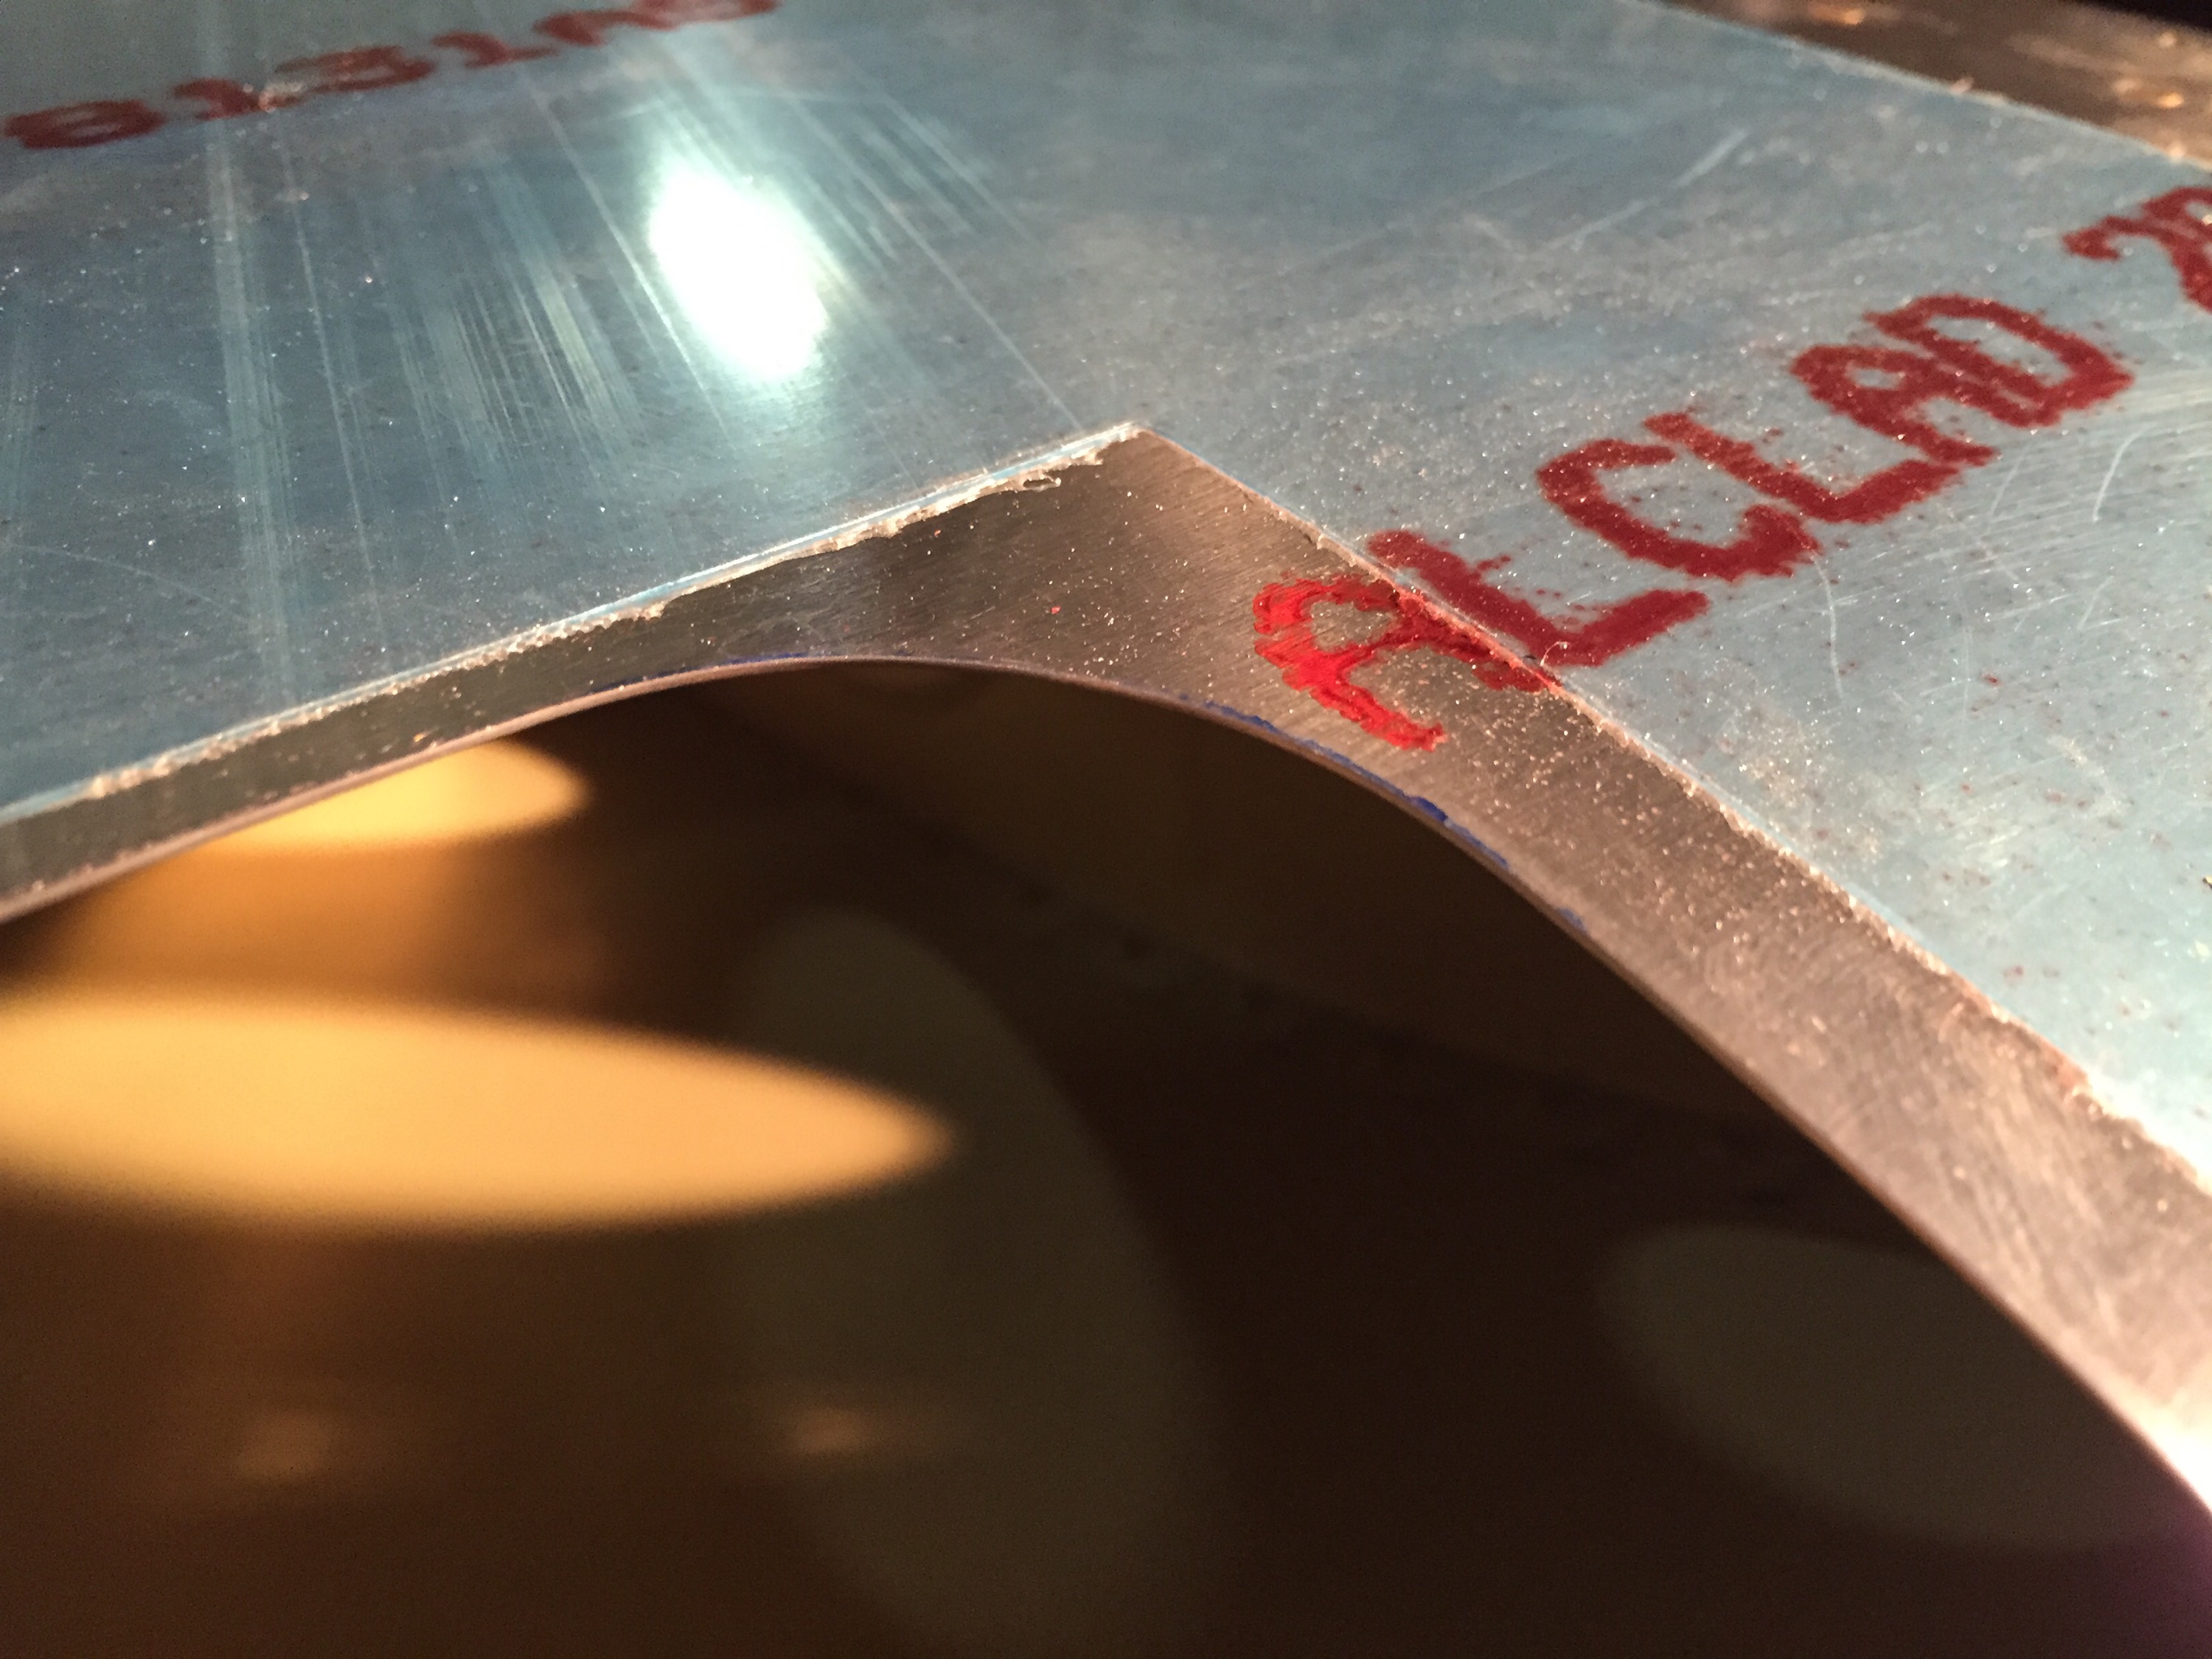
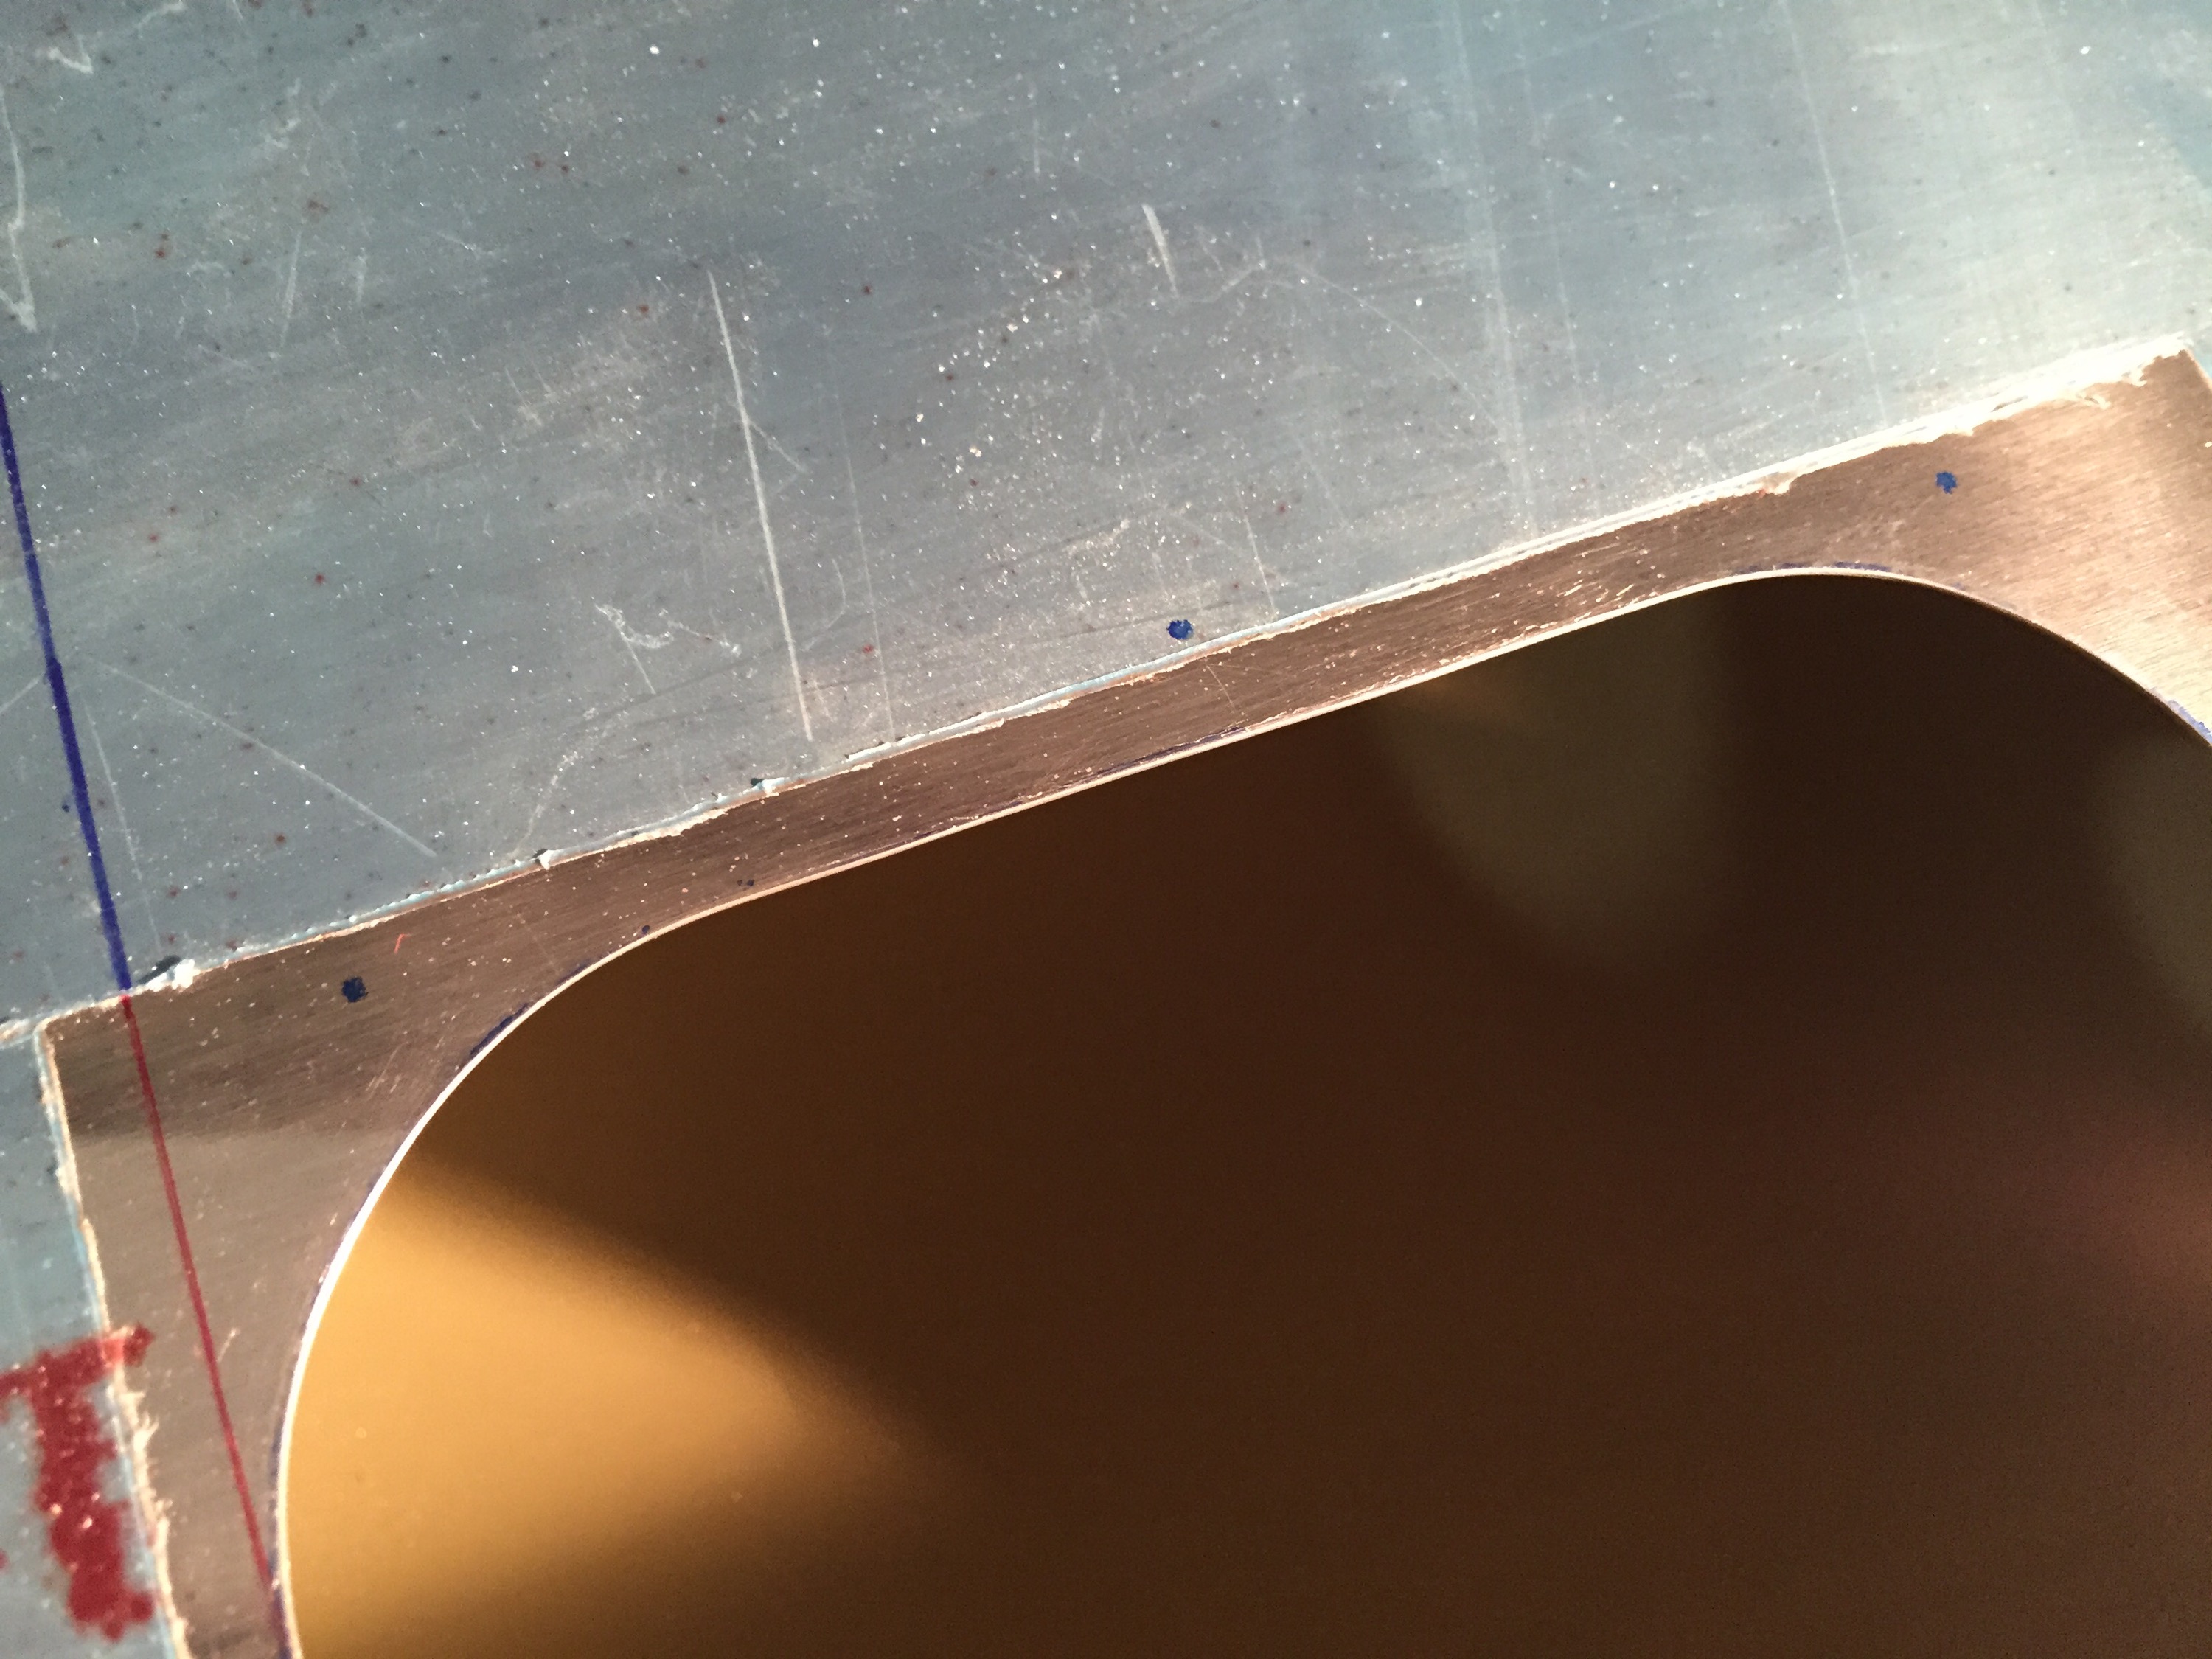
Here is the final FINAL product of the cut.
Then I turned my attention to attaching the lens to the leading edge. I first hit the reinforcement pieces with the scotchbrite wheel, and then I drilled the appropriate holes that will hold the screws.
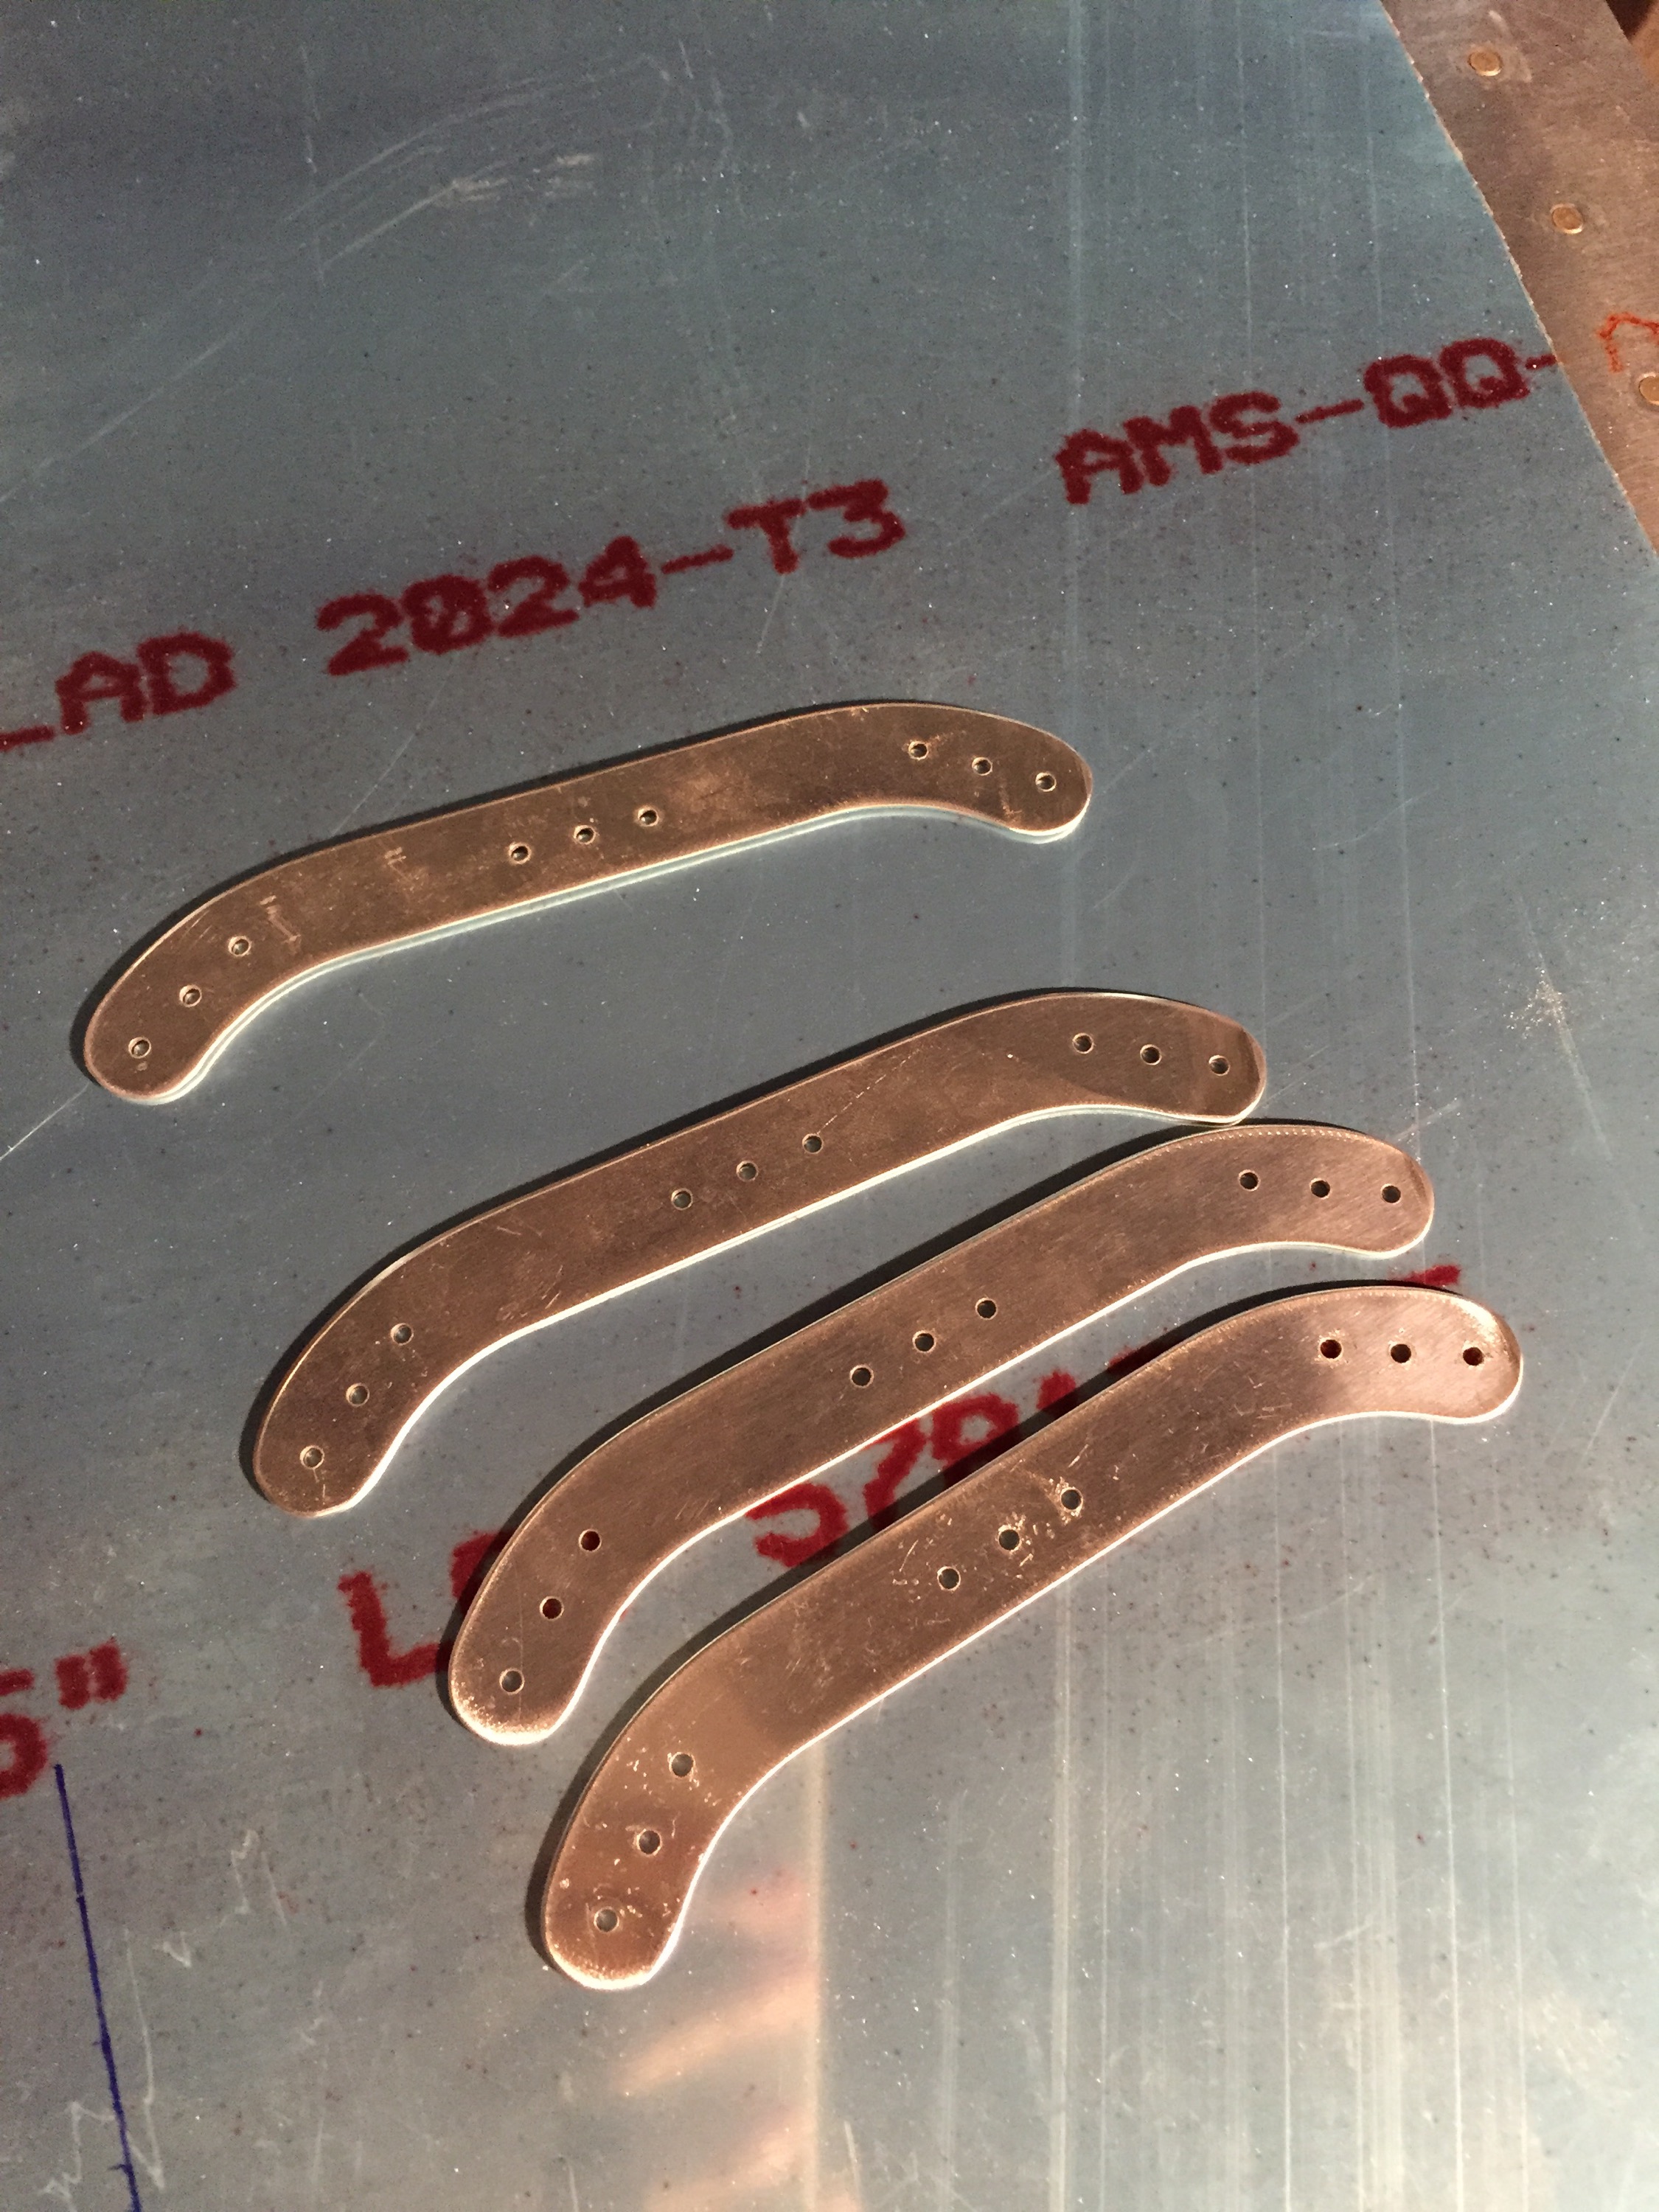
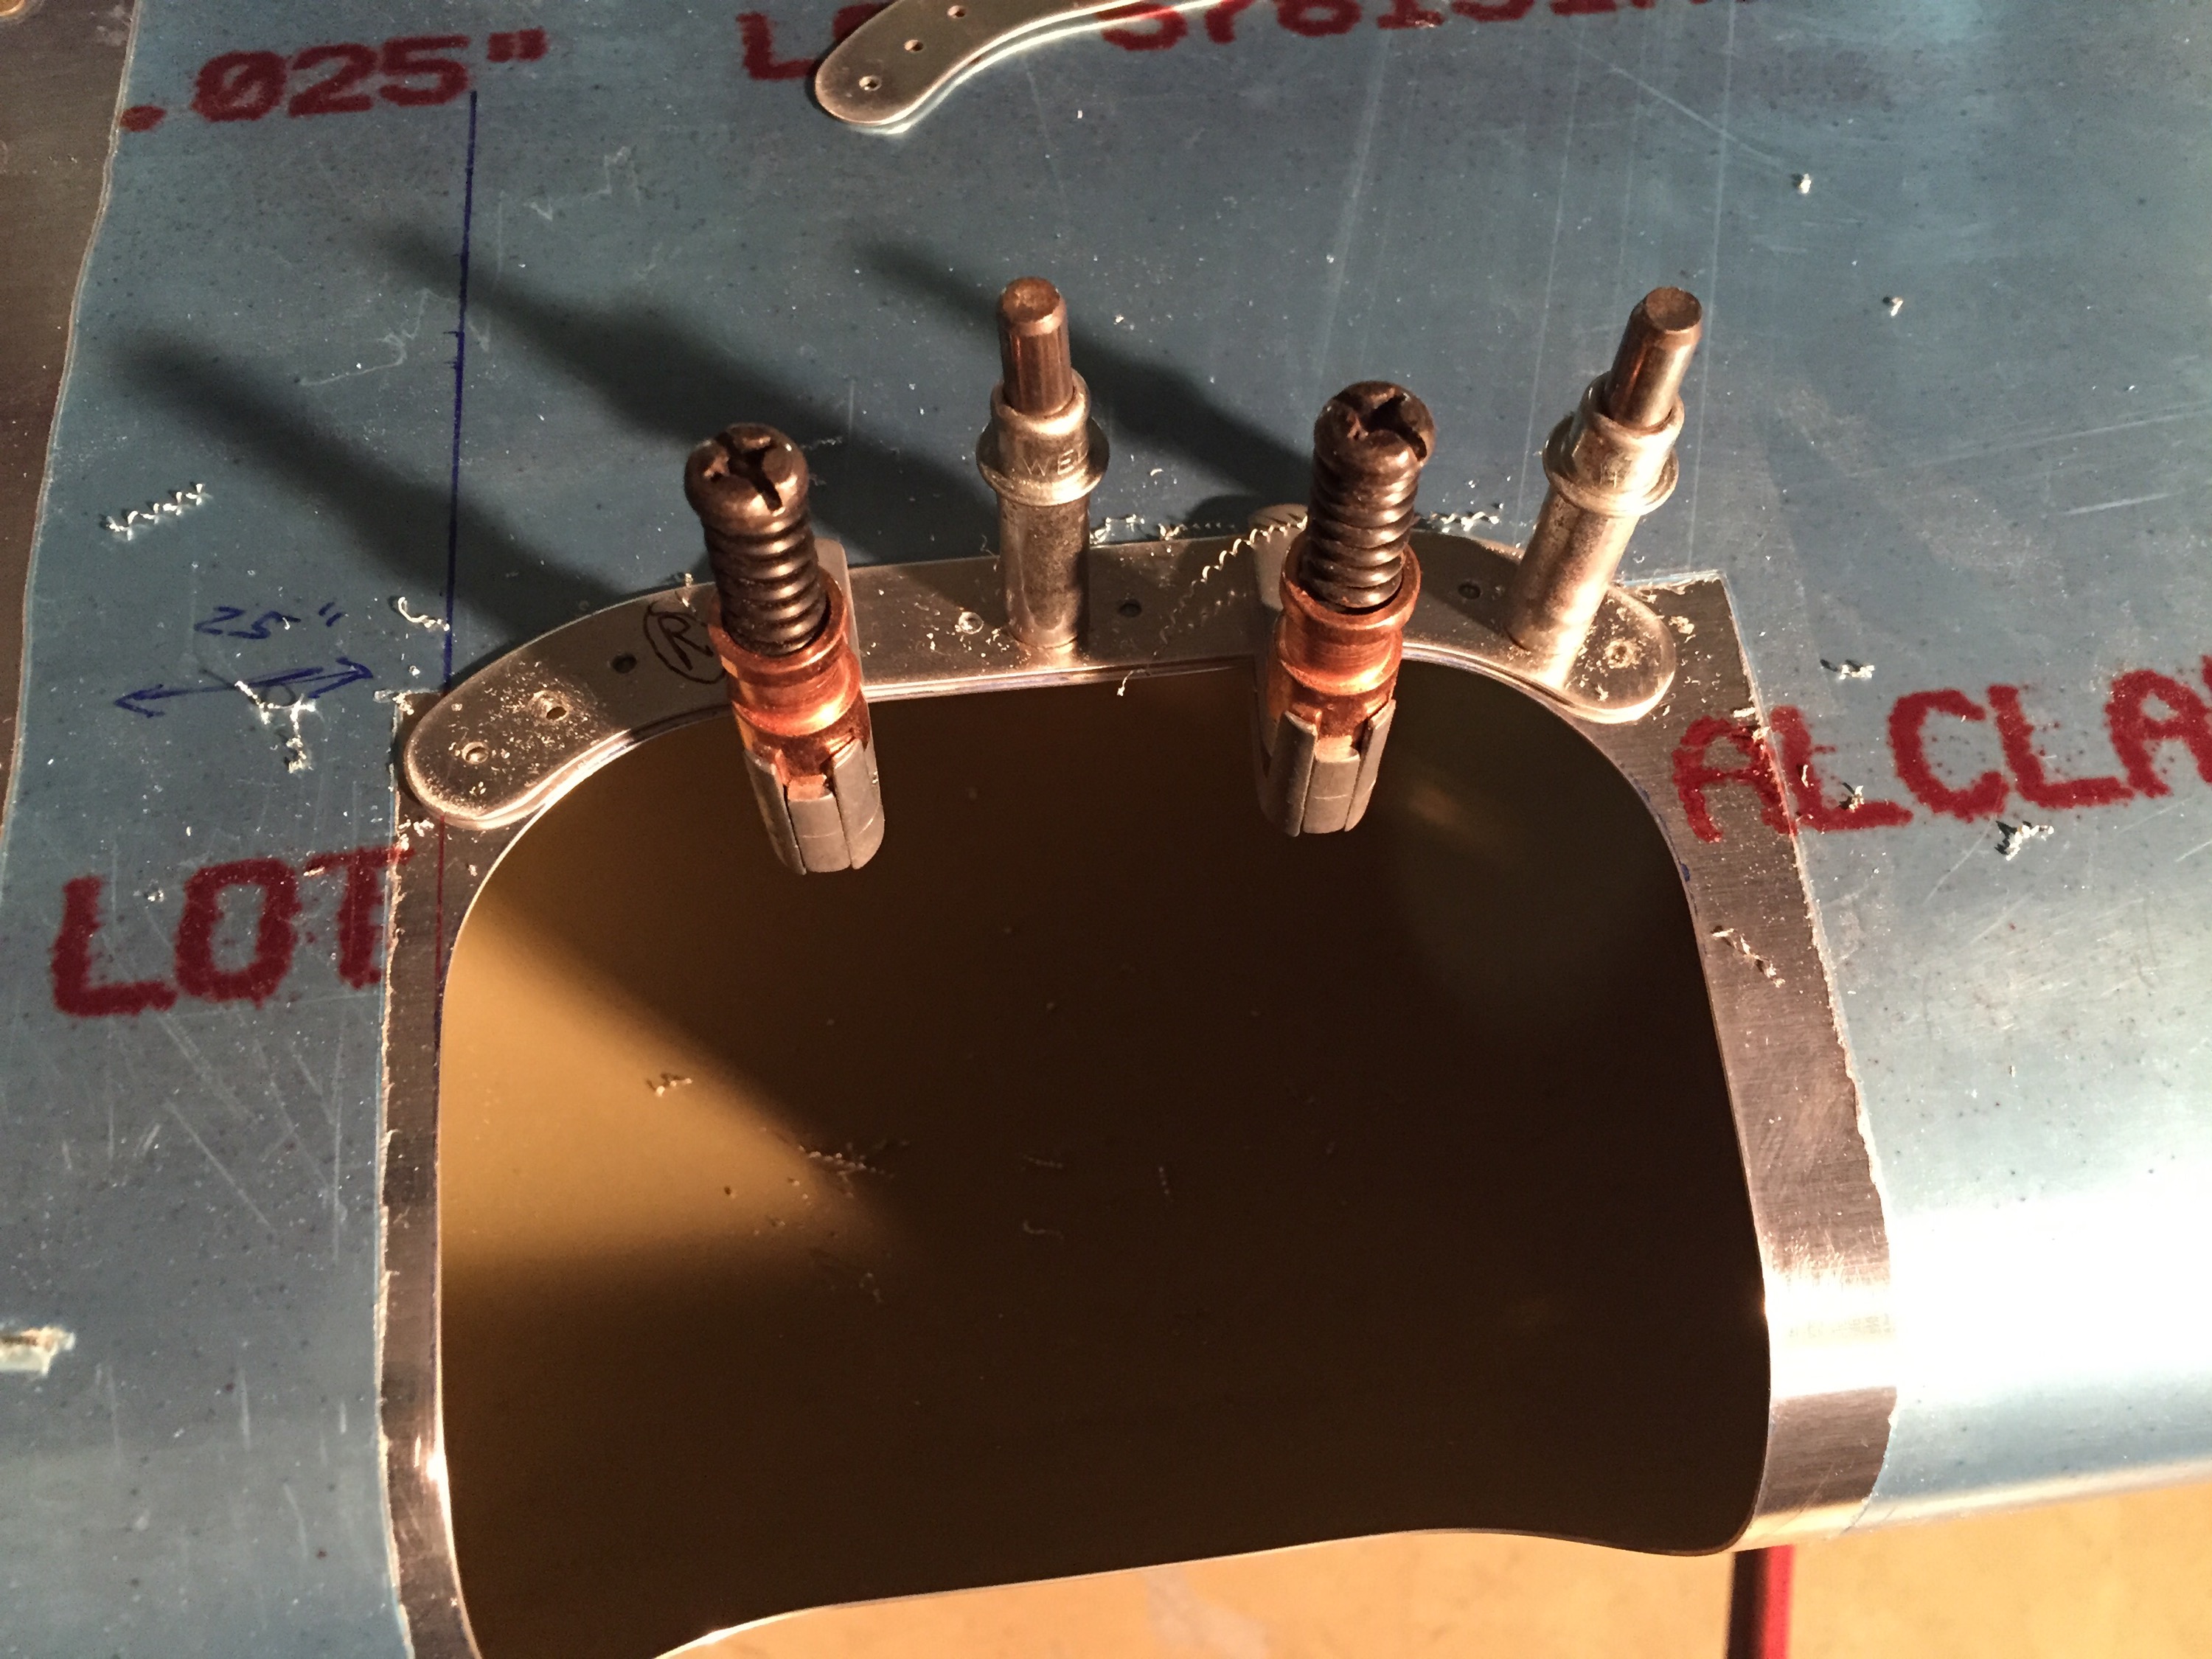
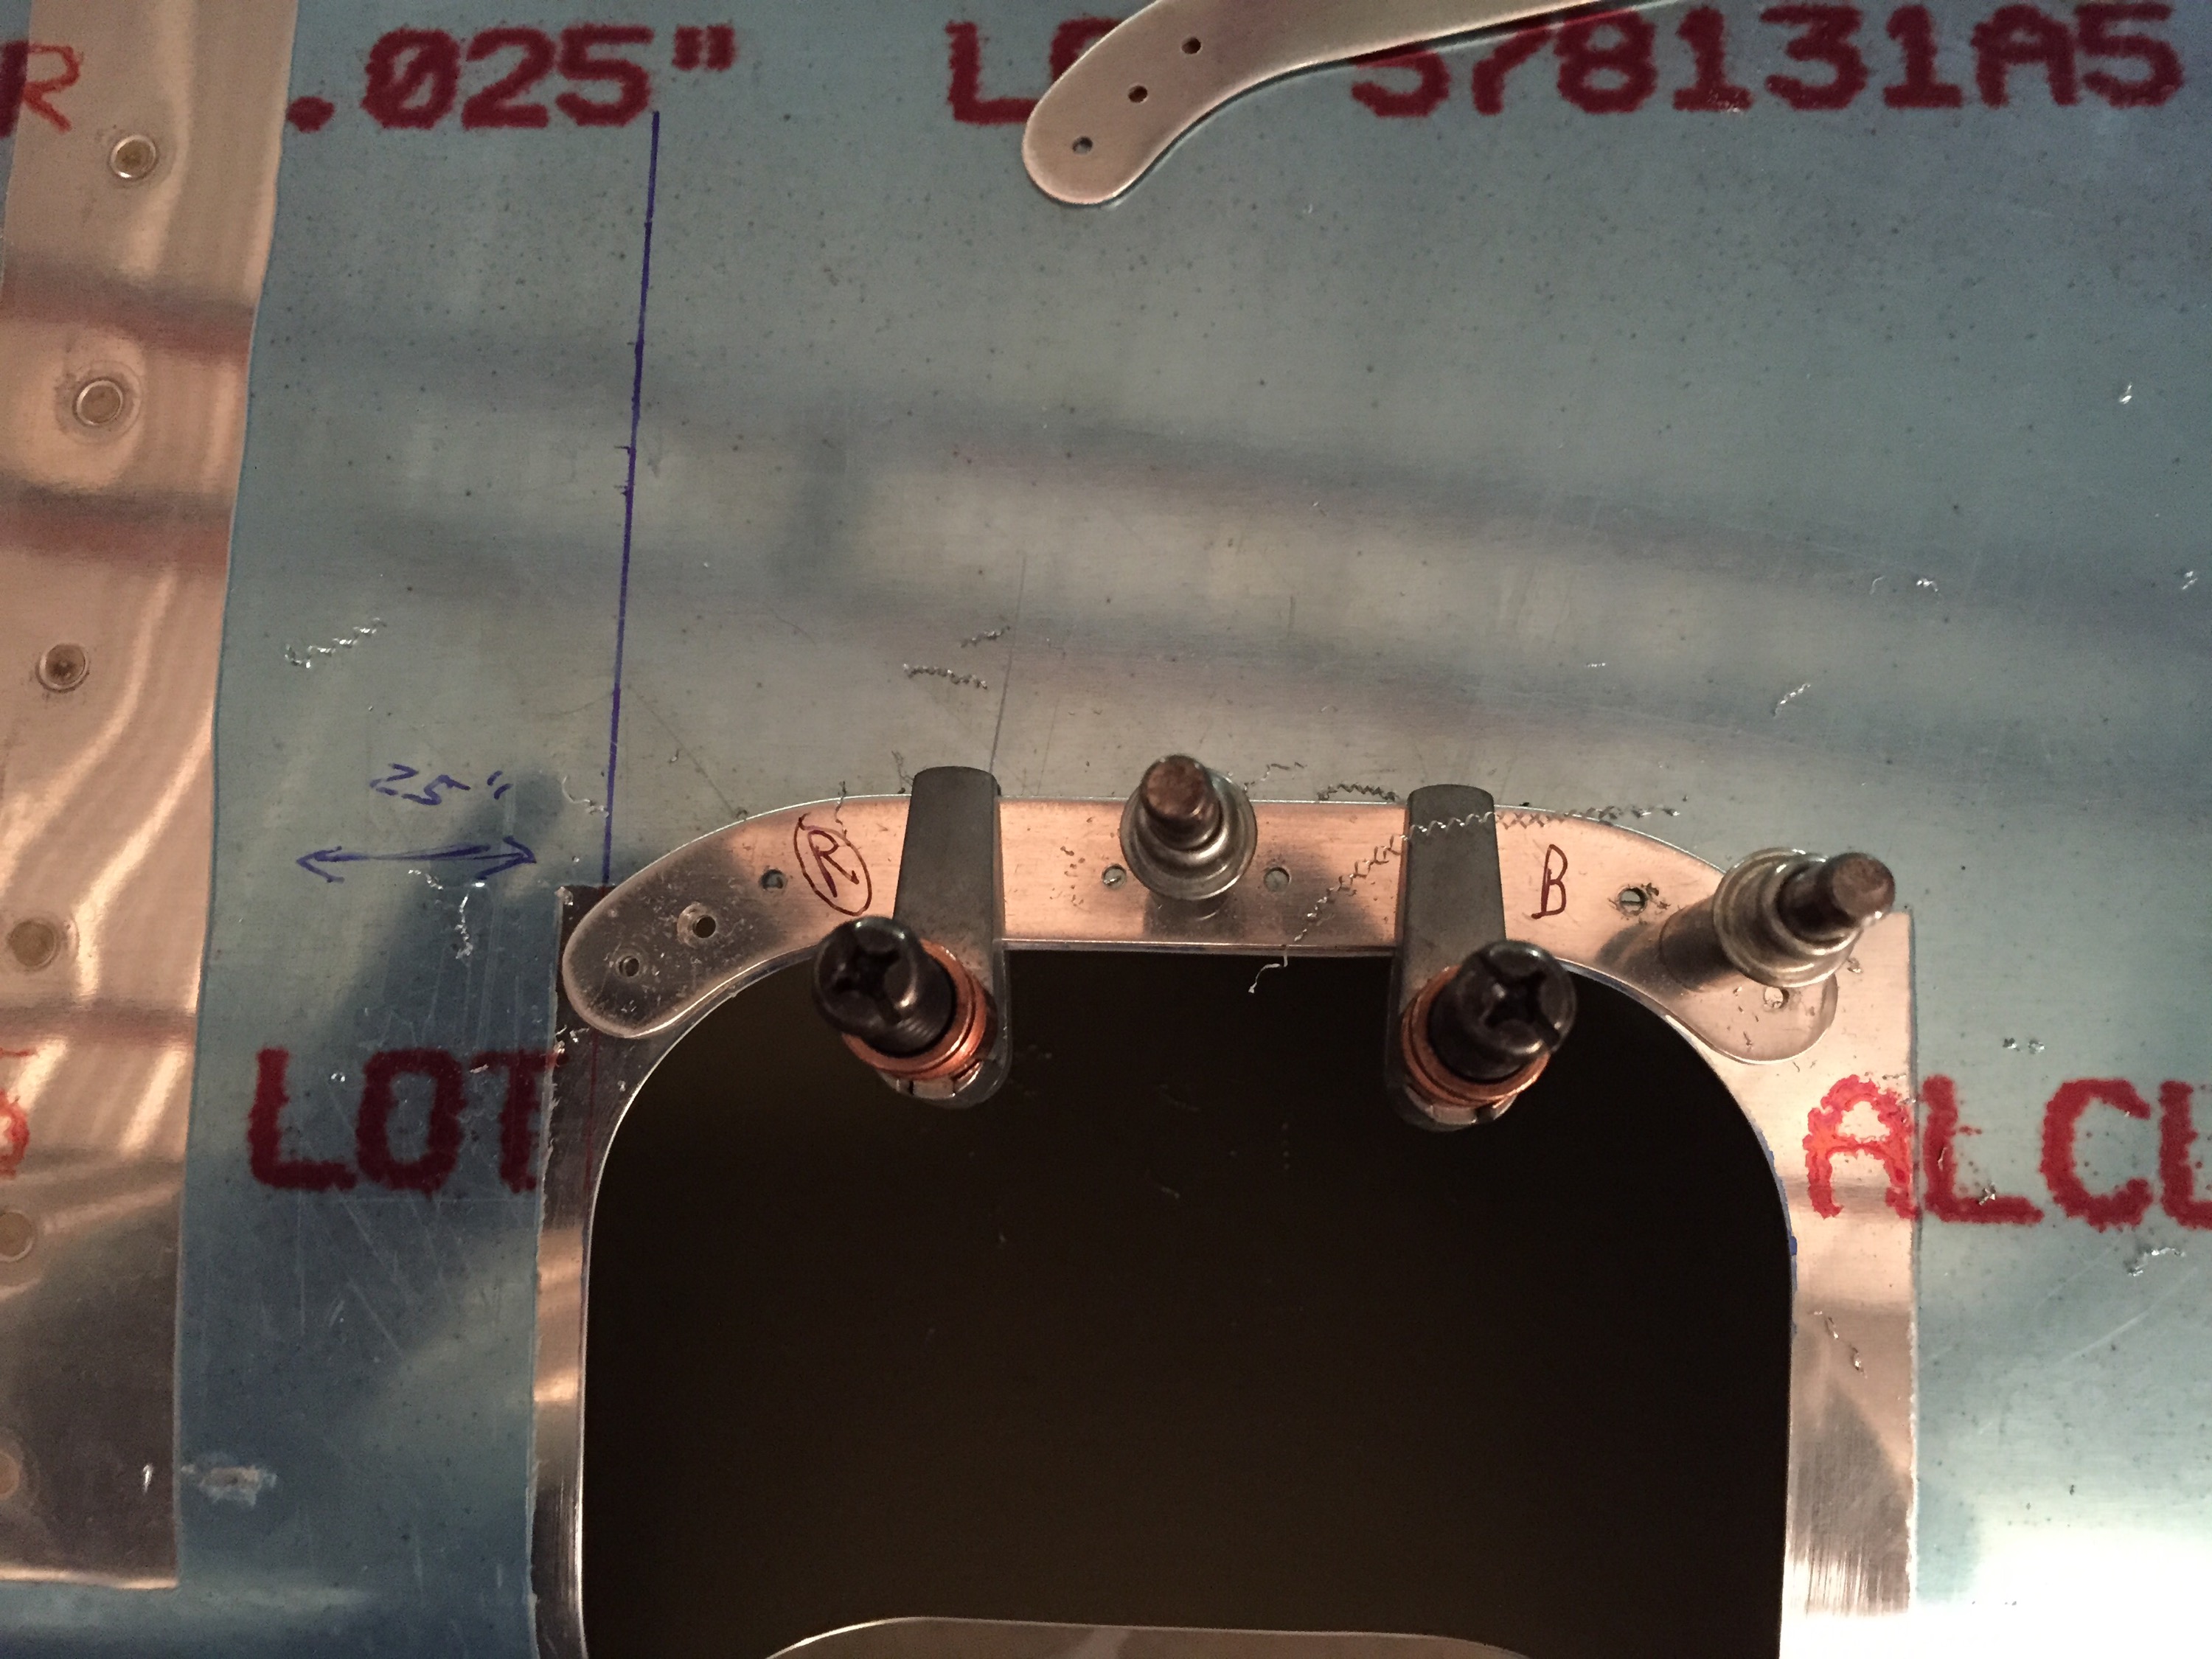
Then it was time to attach the “rib” that will hold the actual landing light. There is a template for this as well. I used the template to mark a bit of cardboard so the template would remain in place.
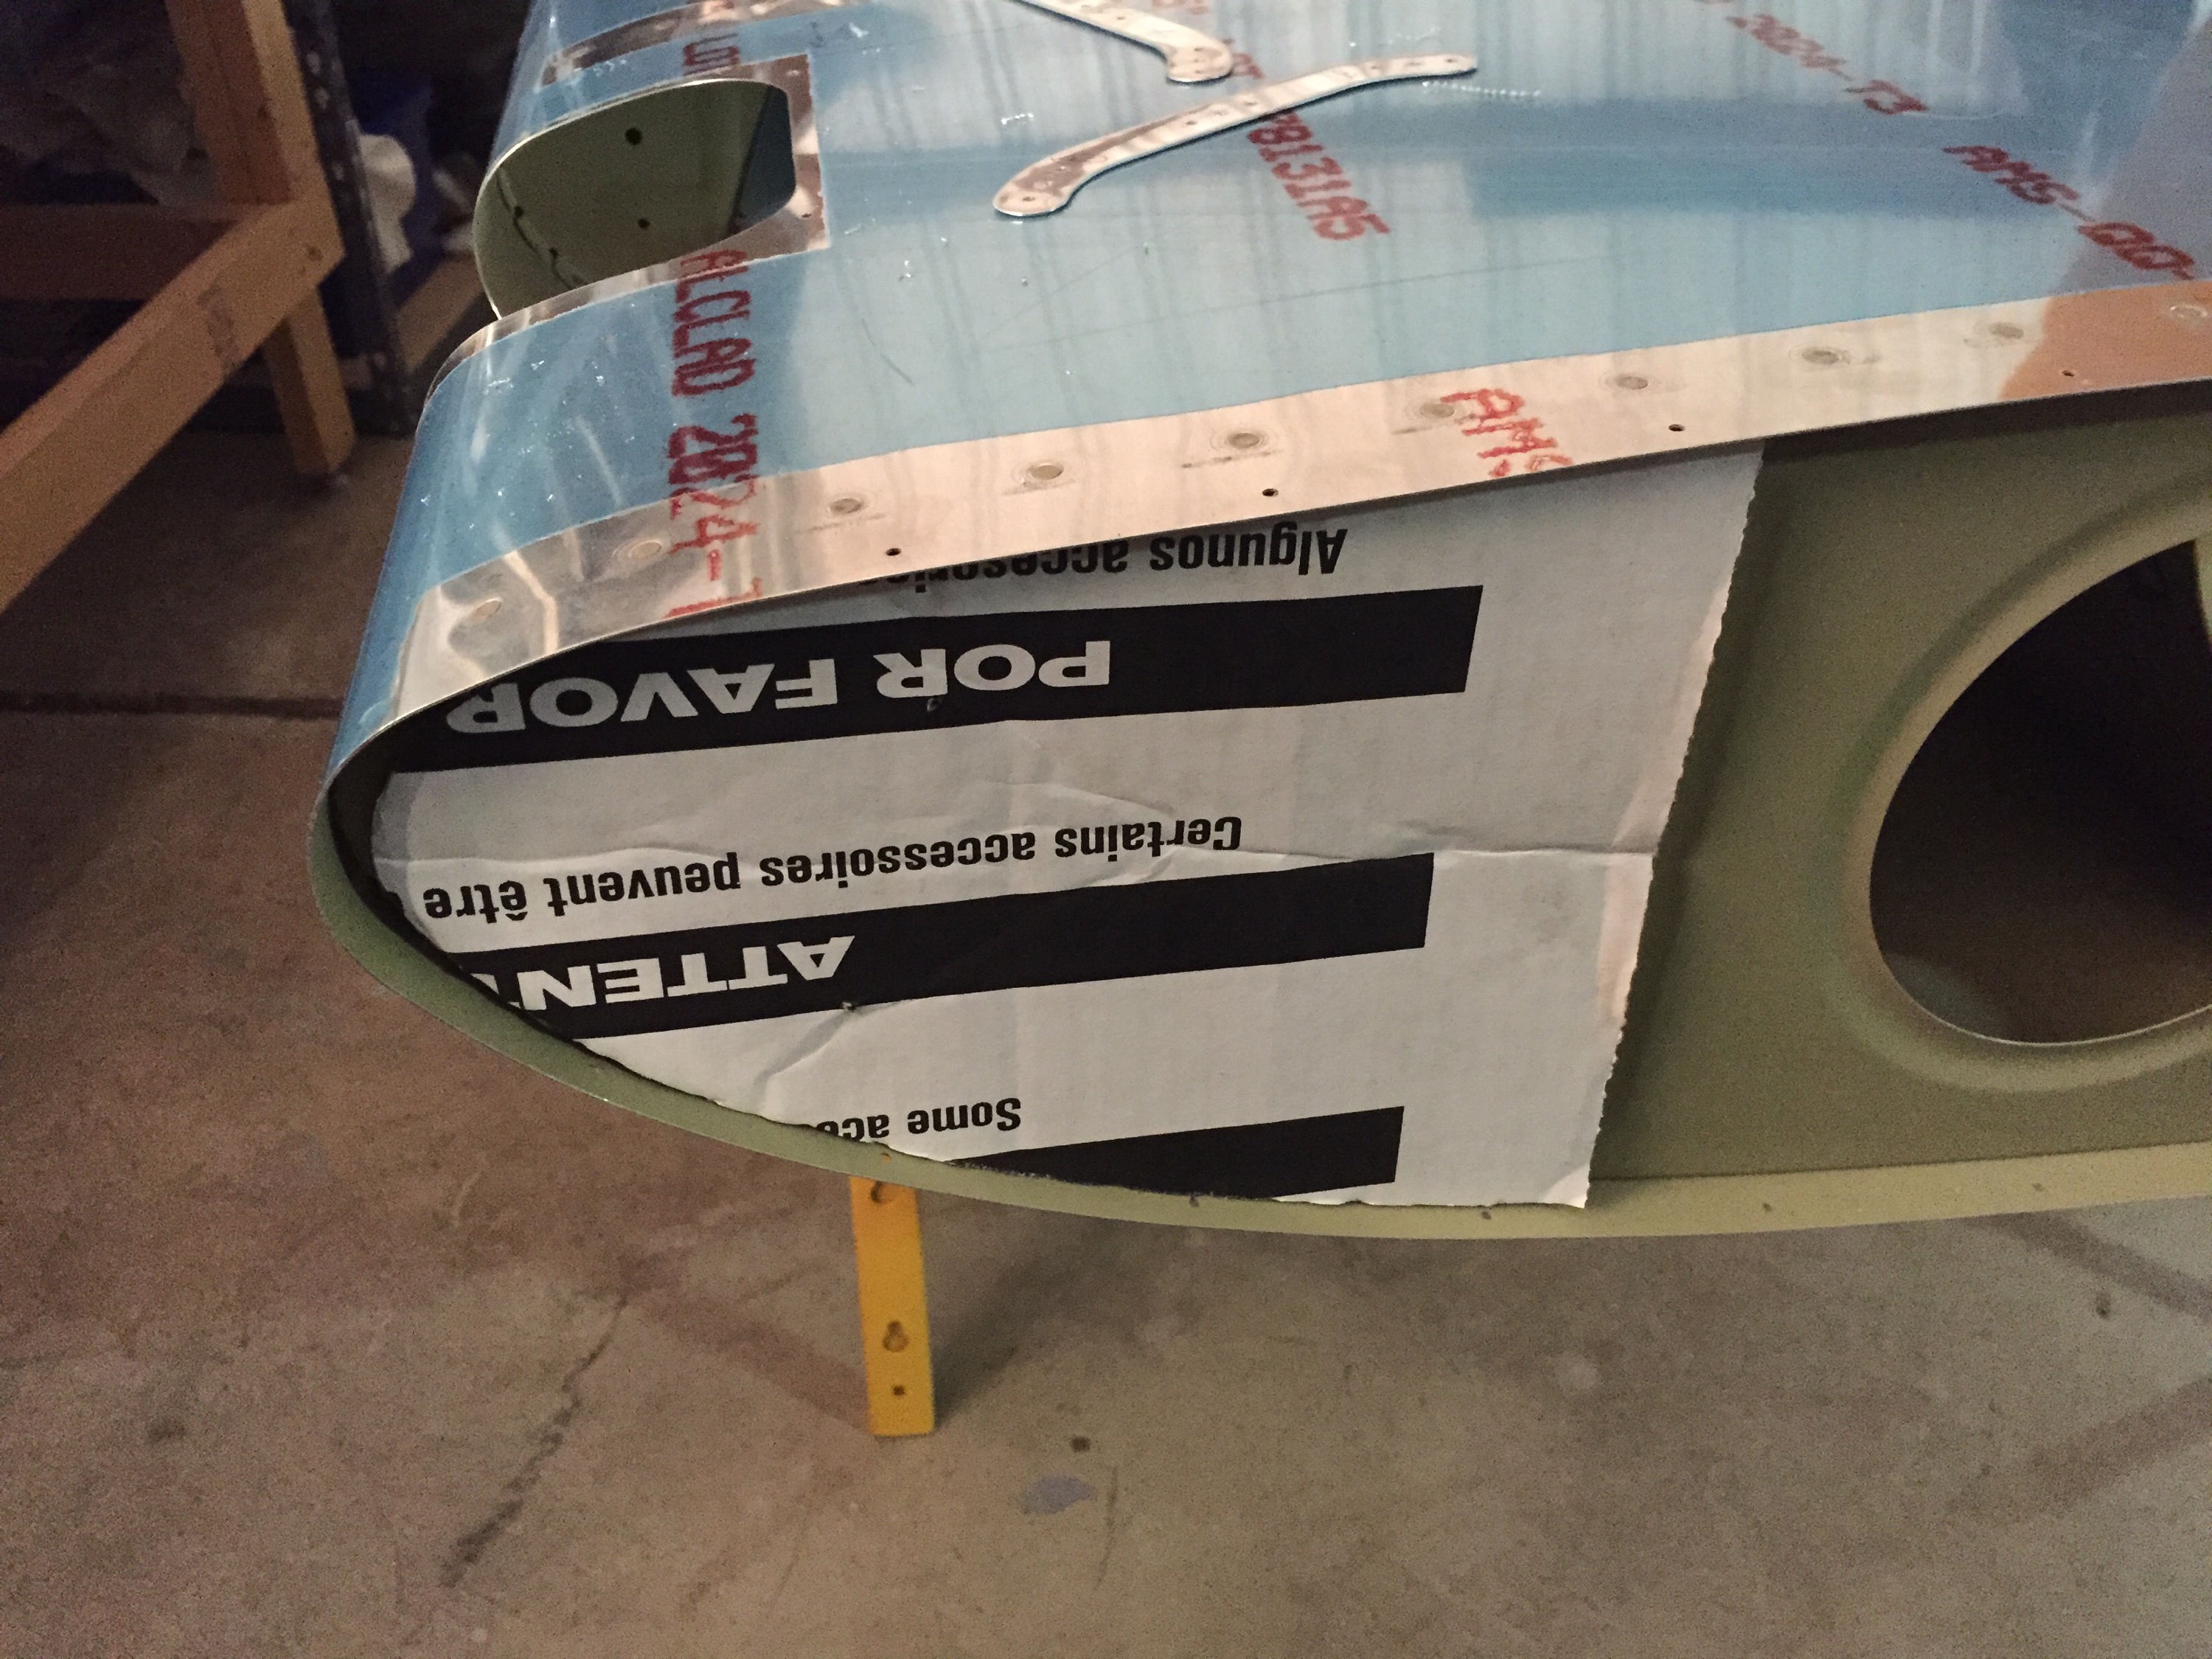
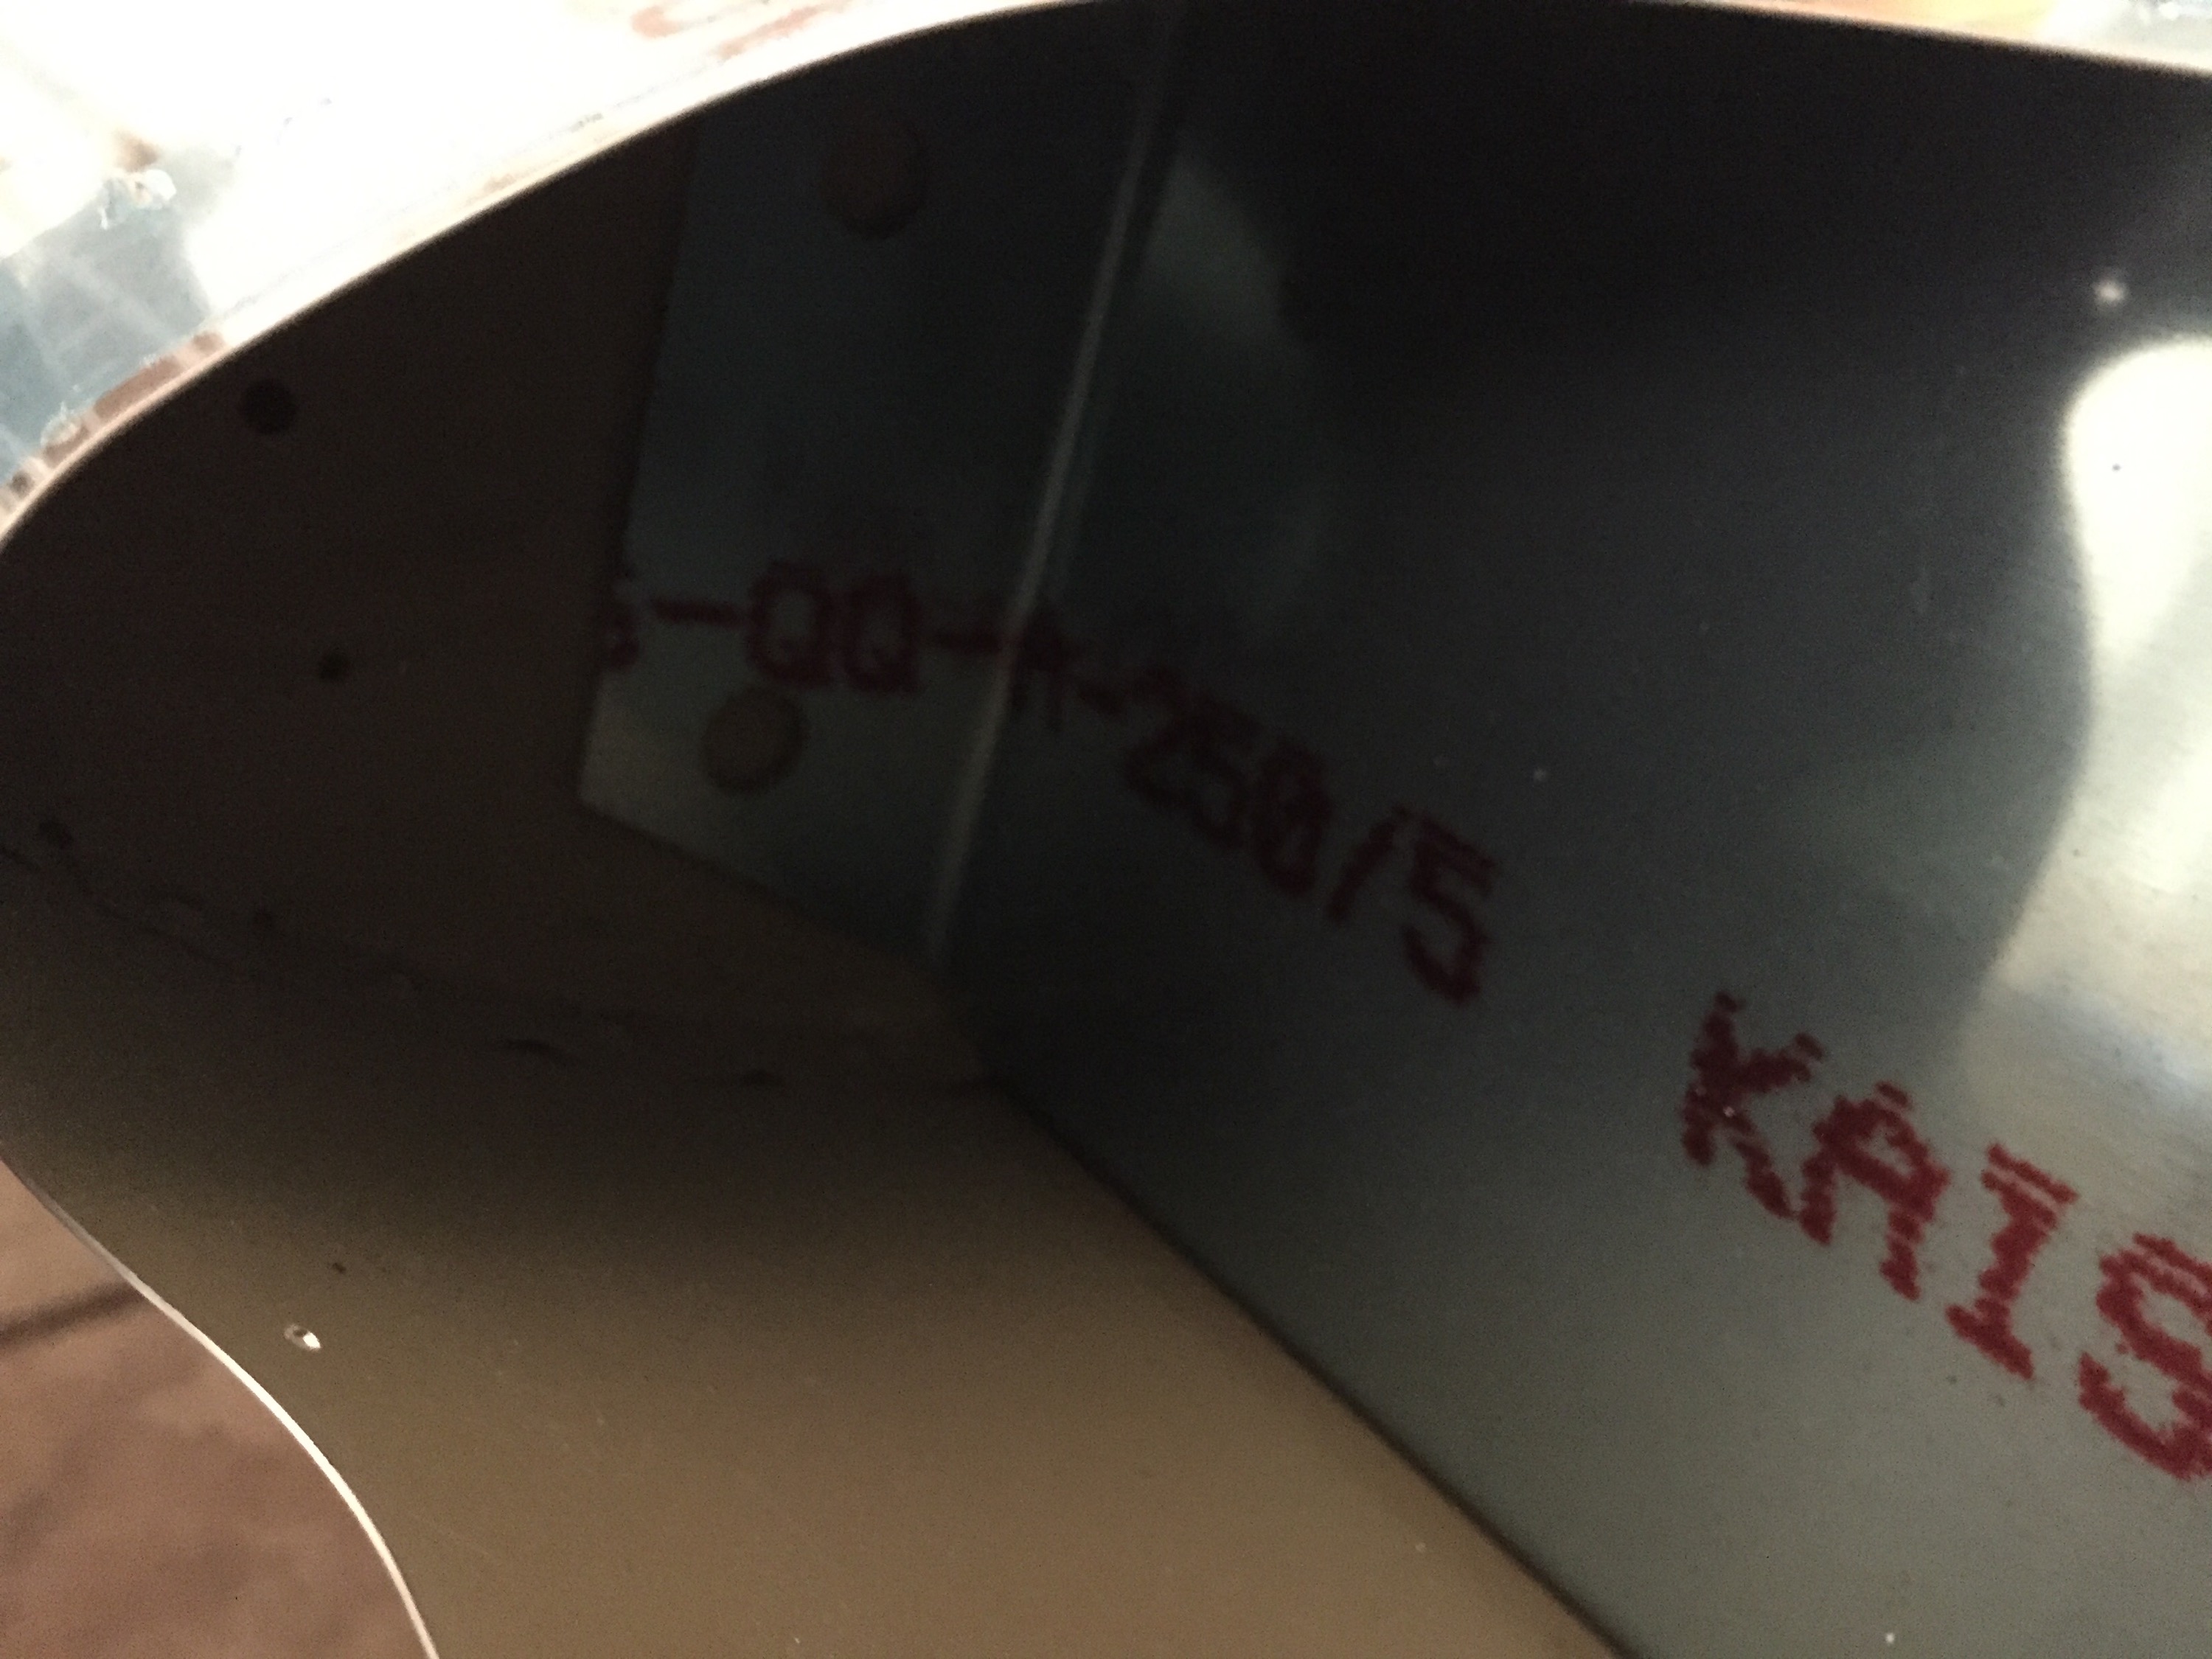
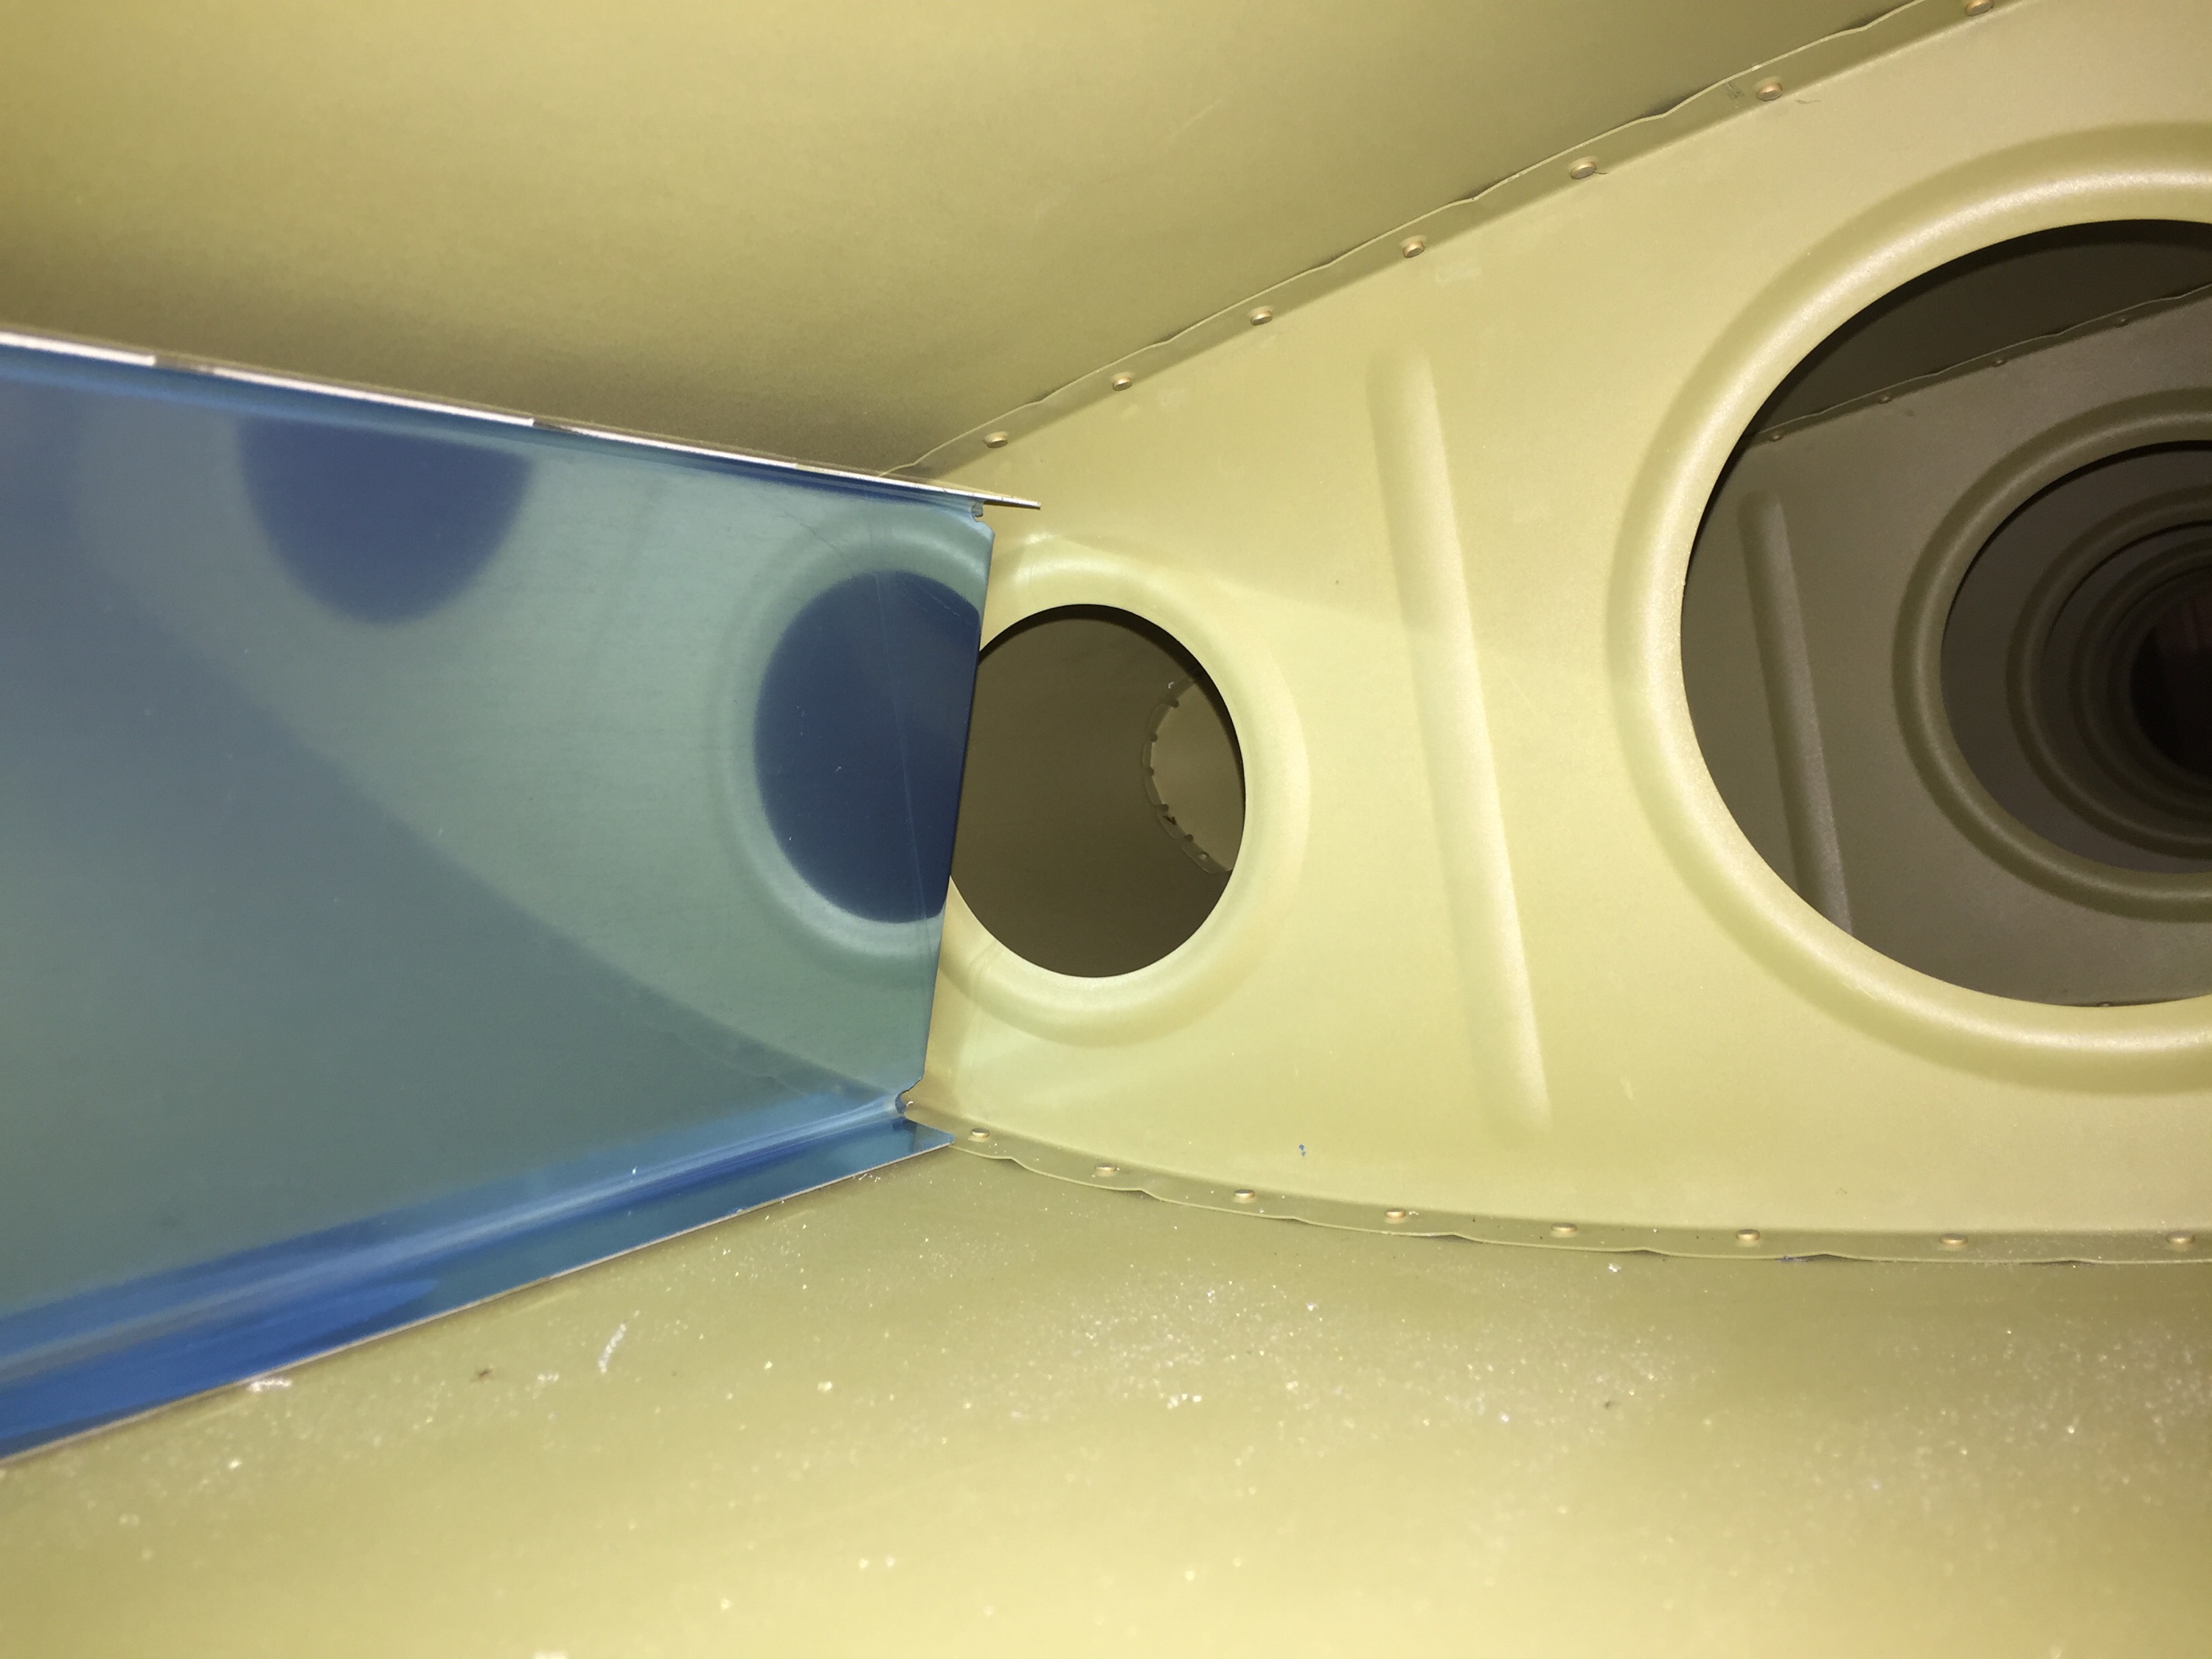
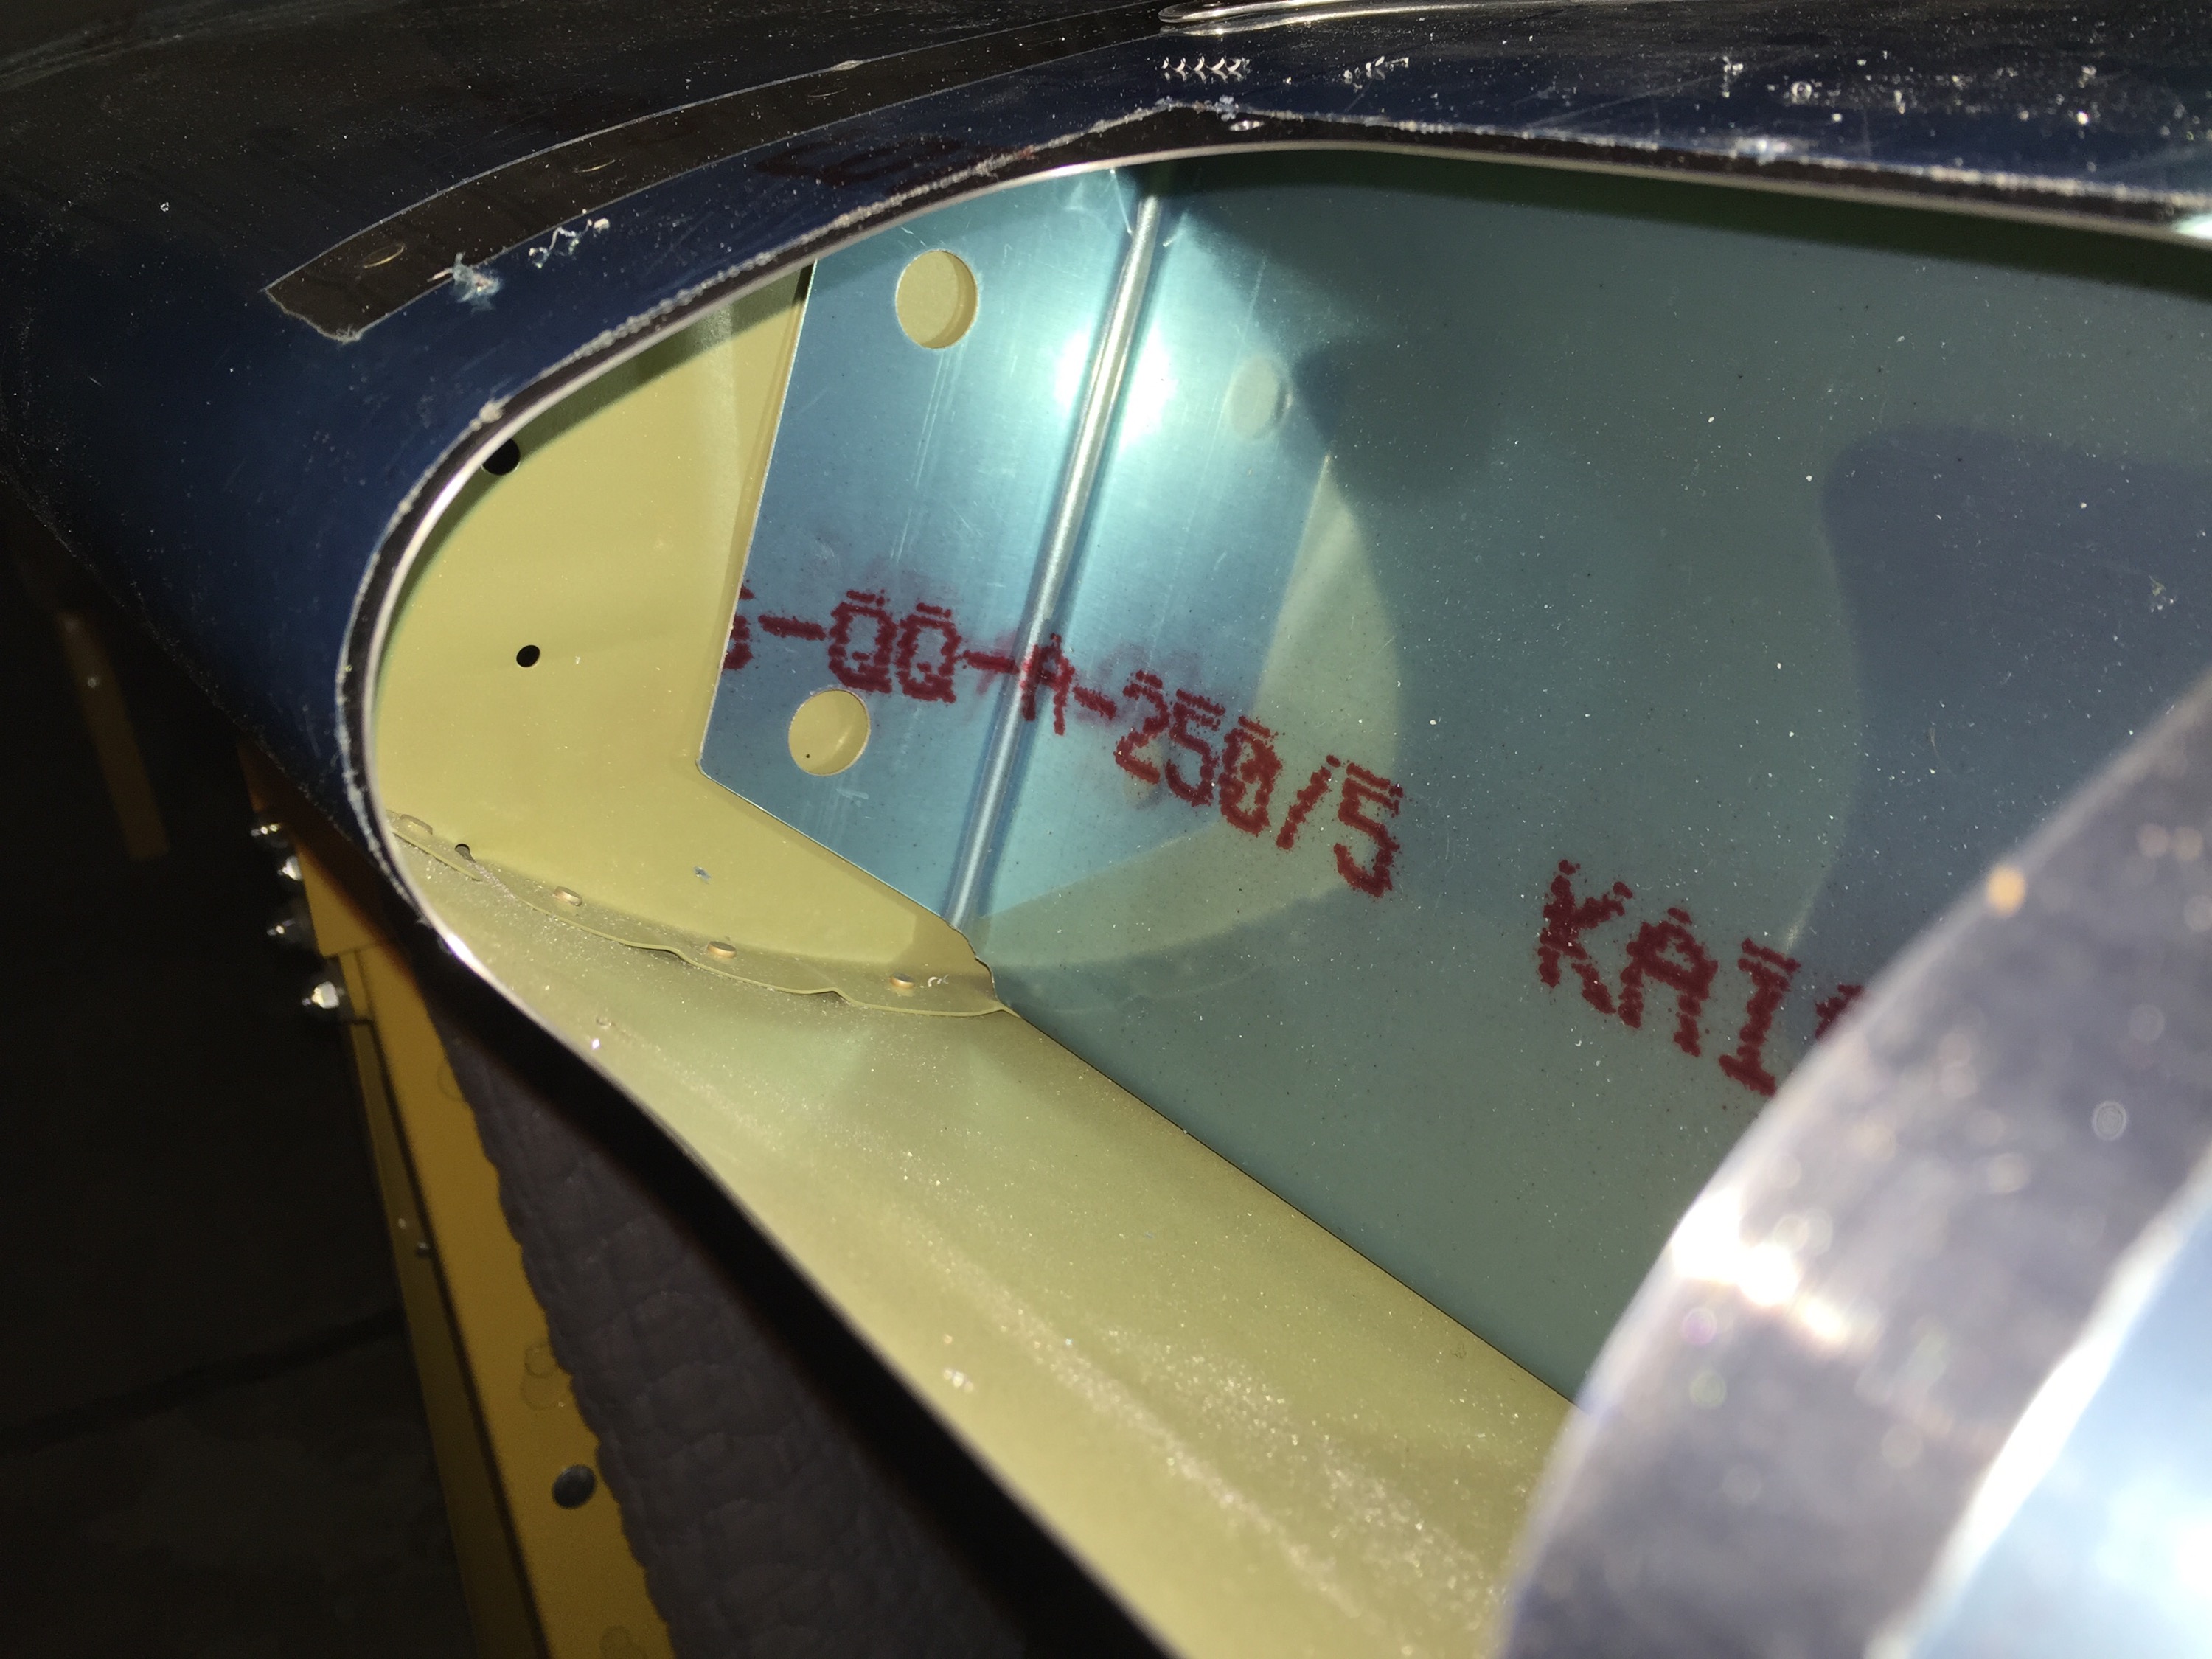
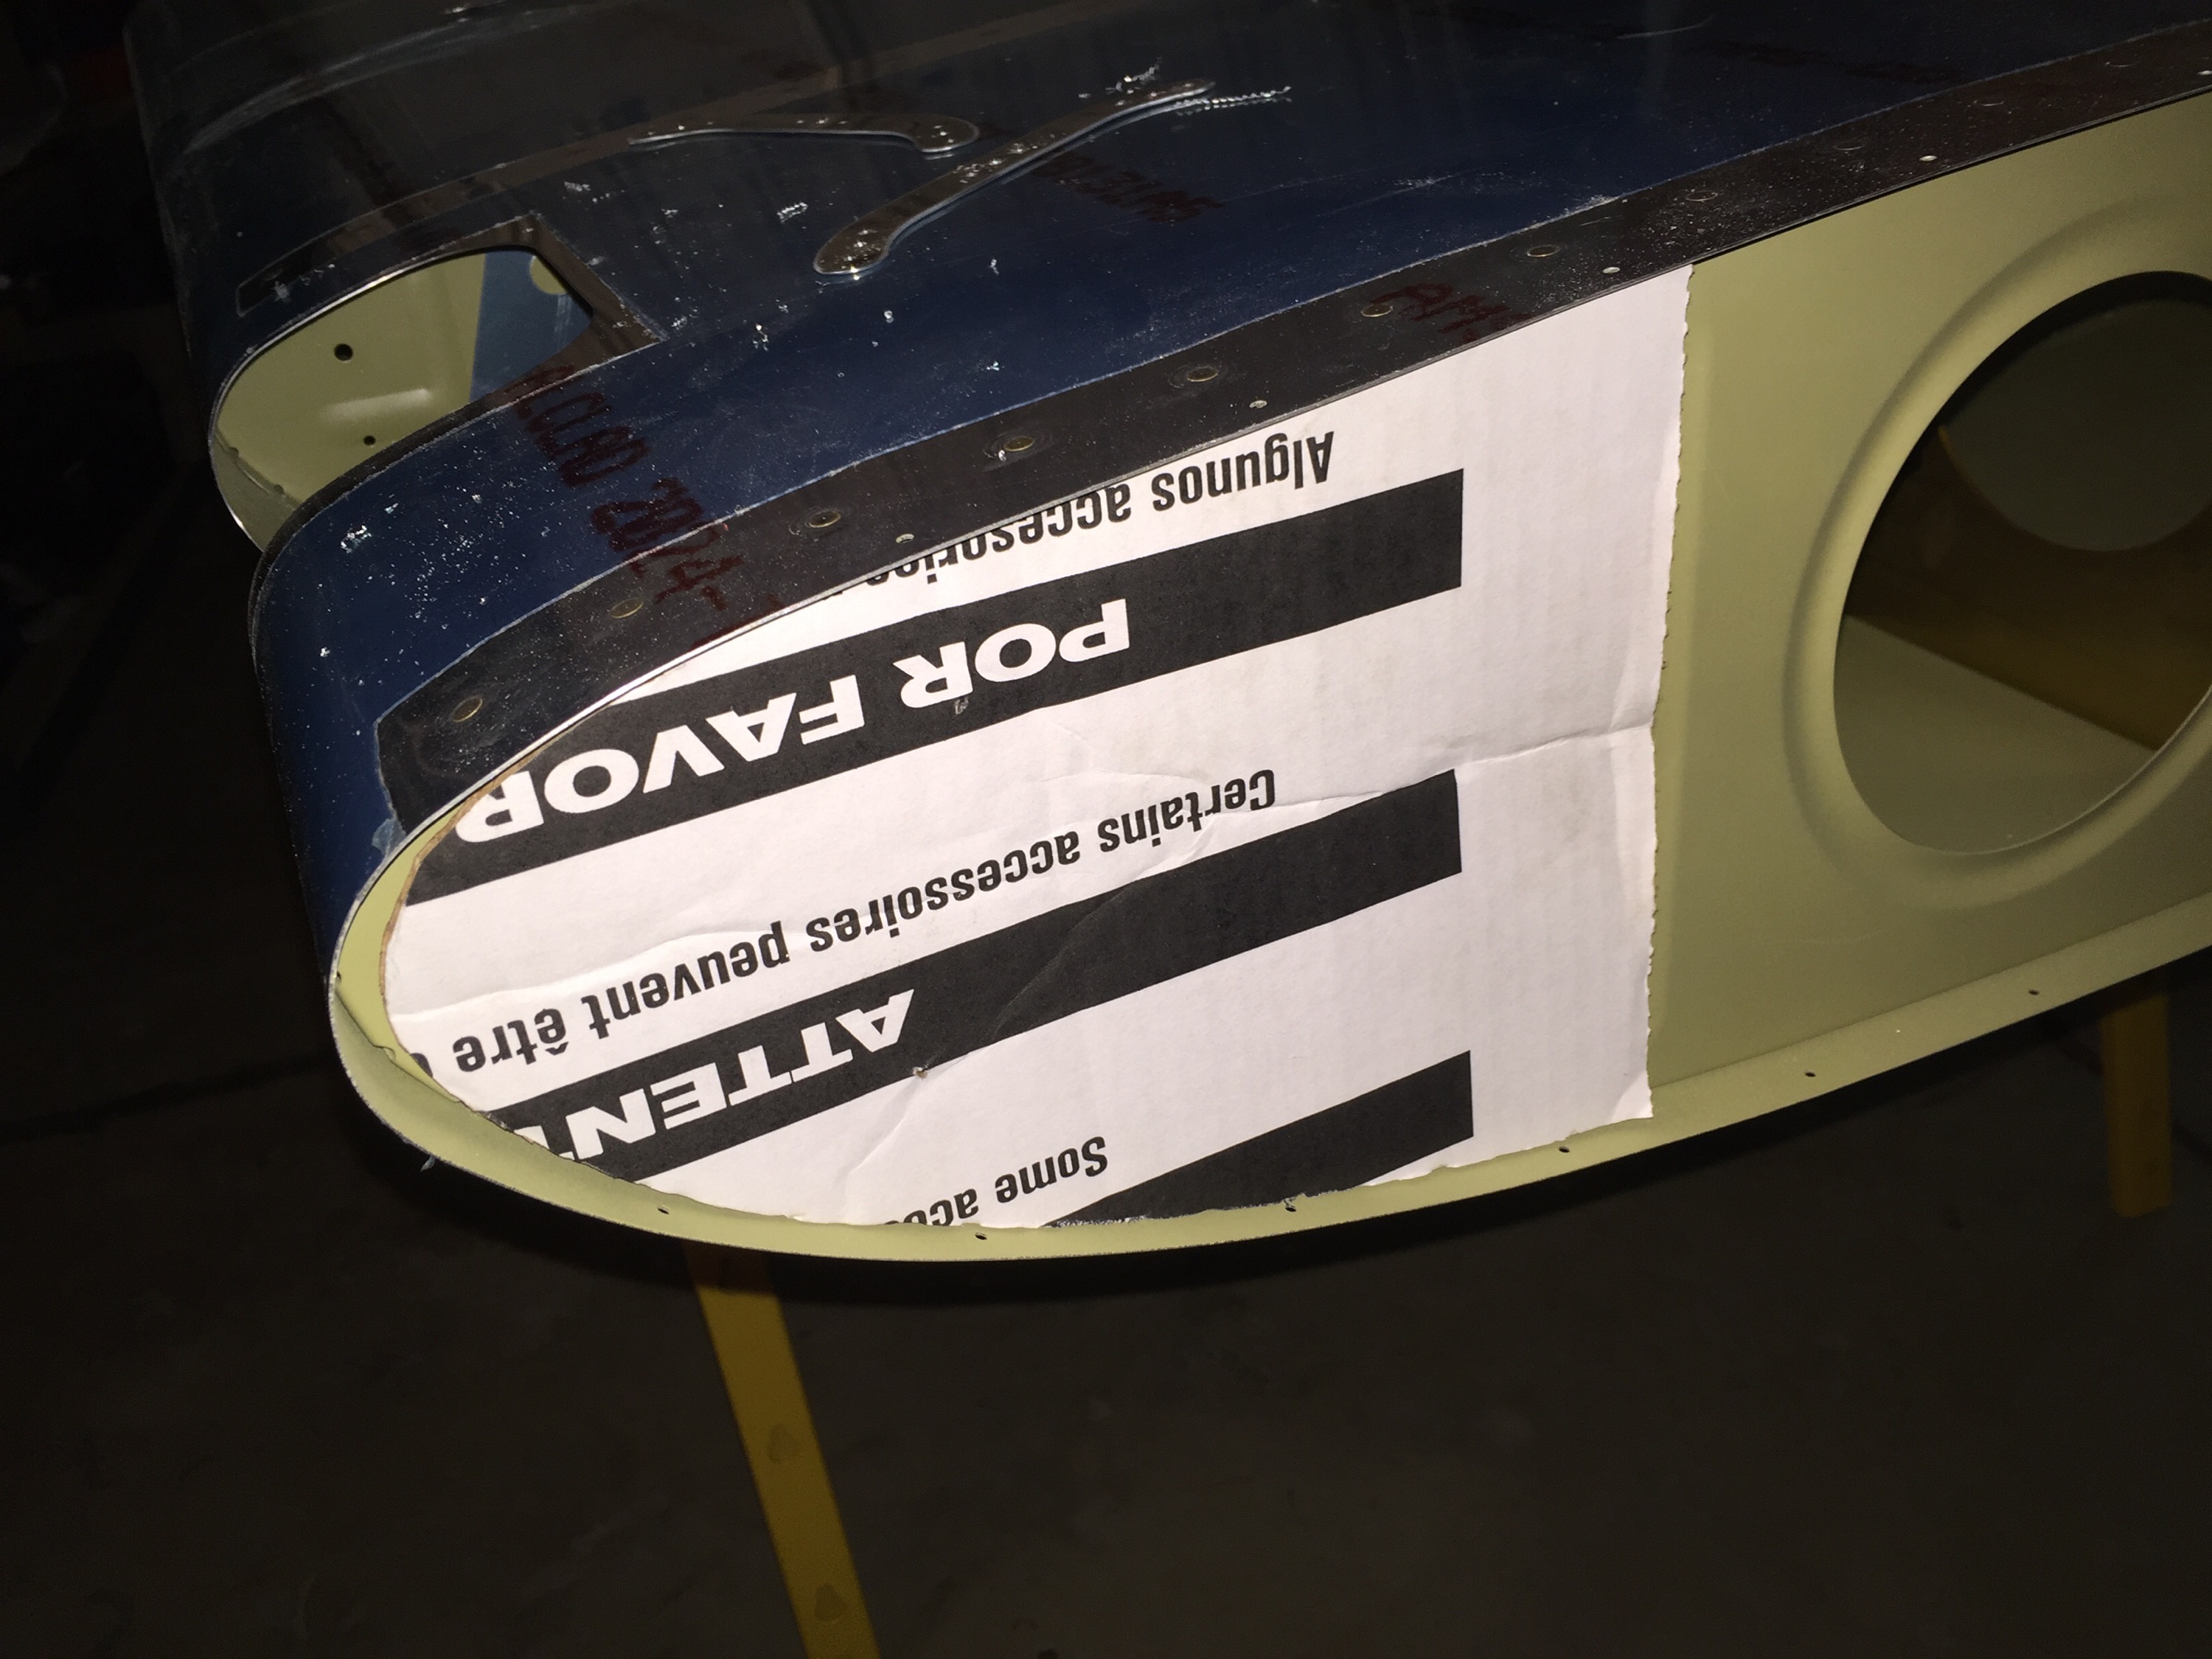
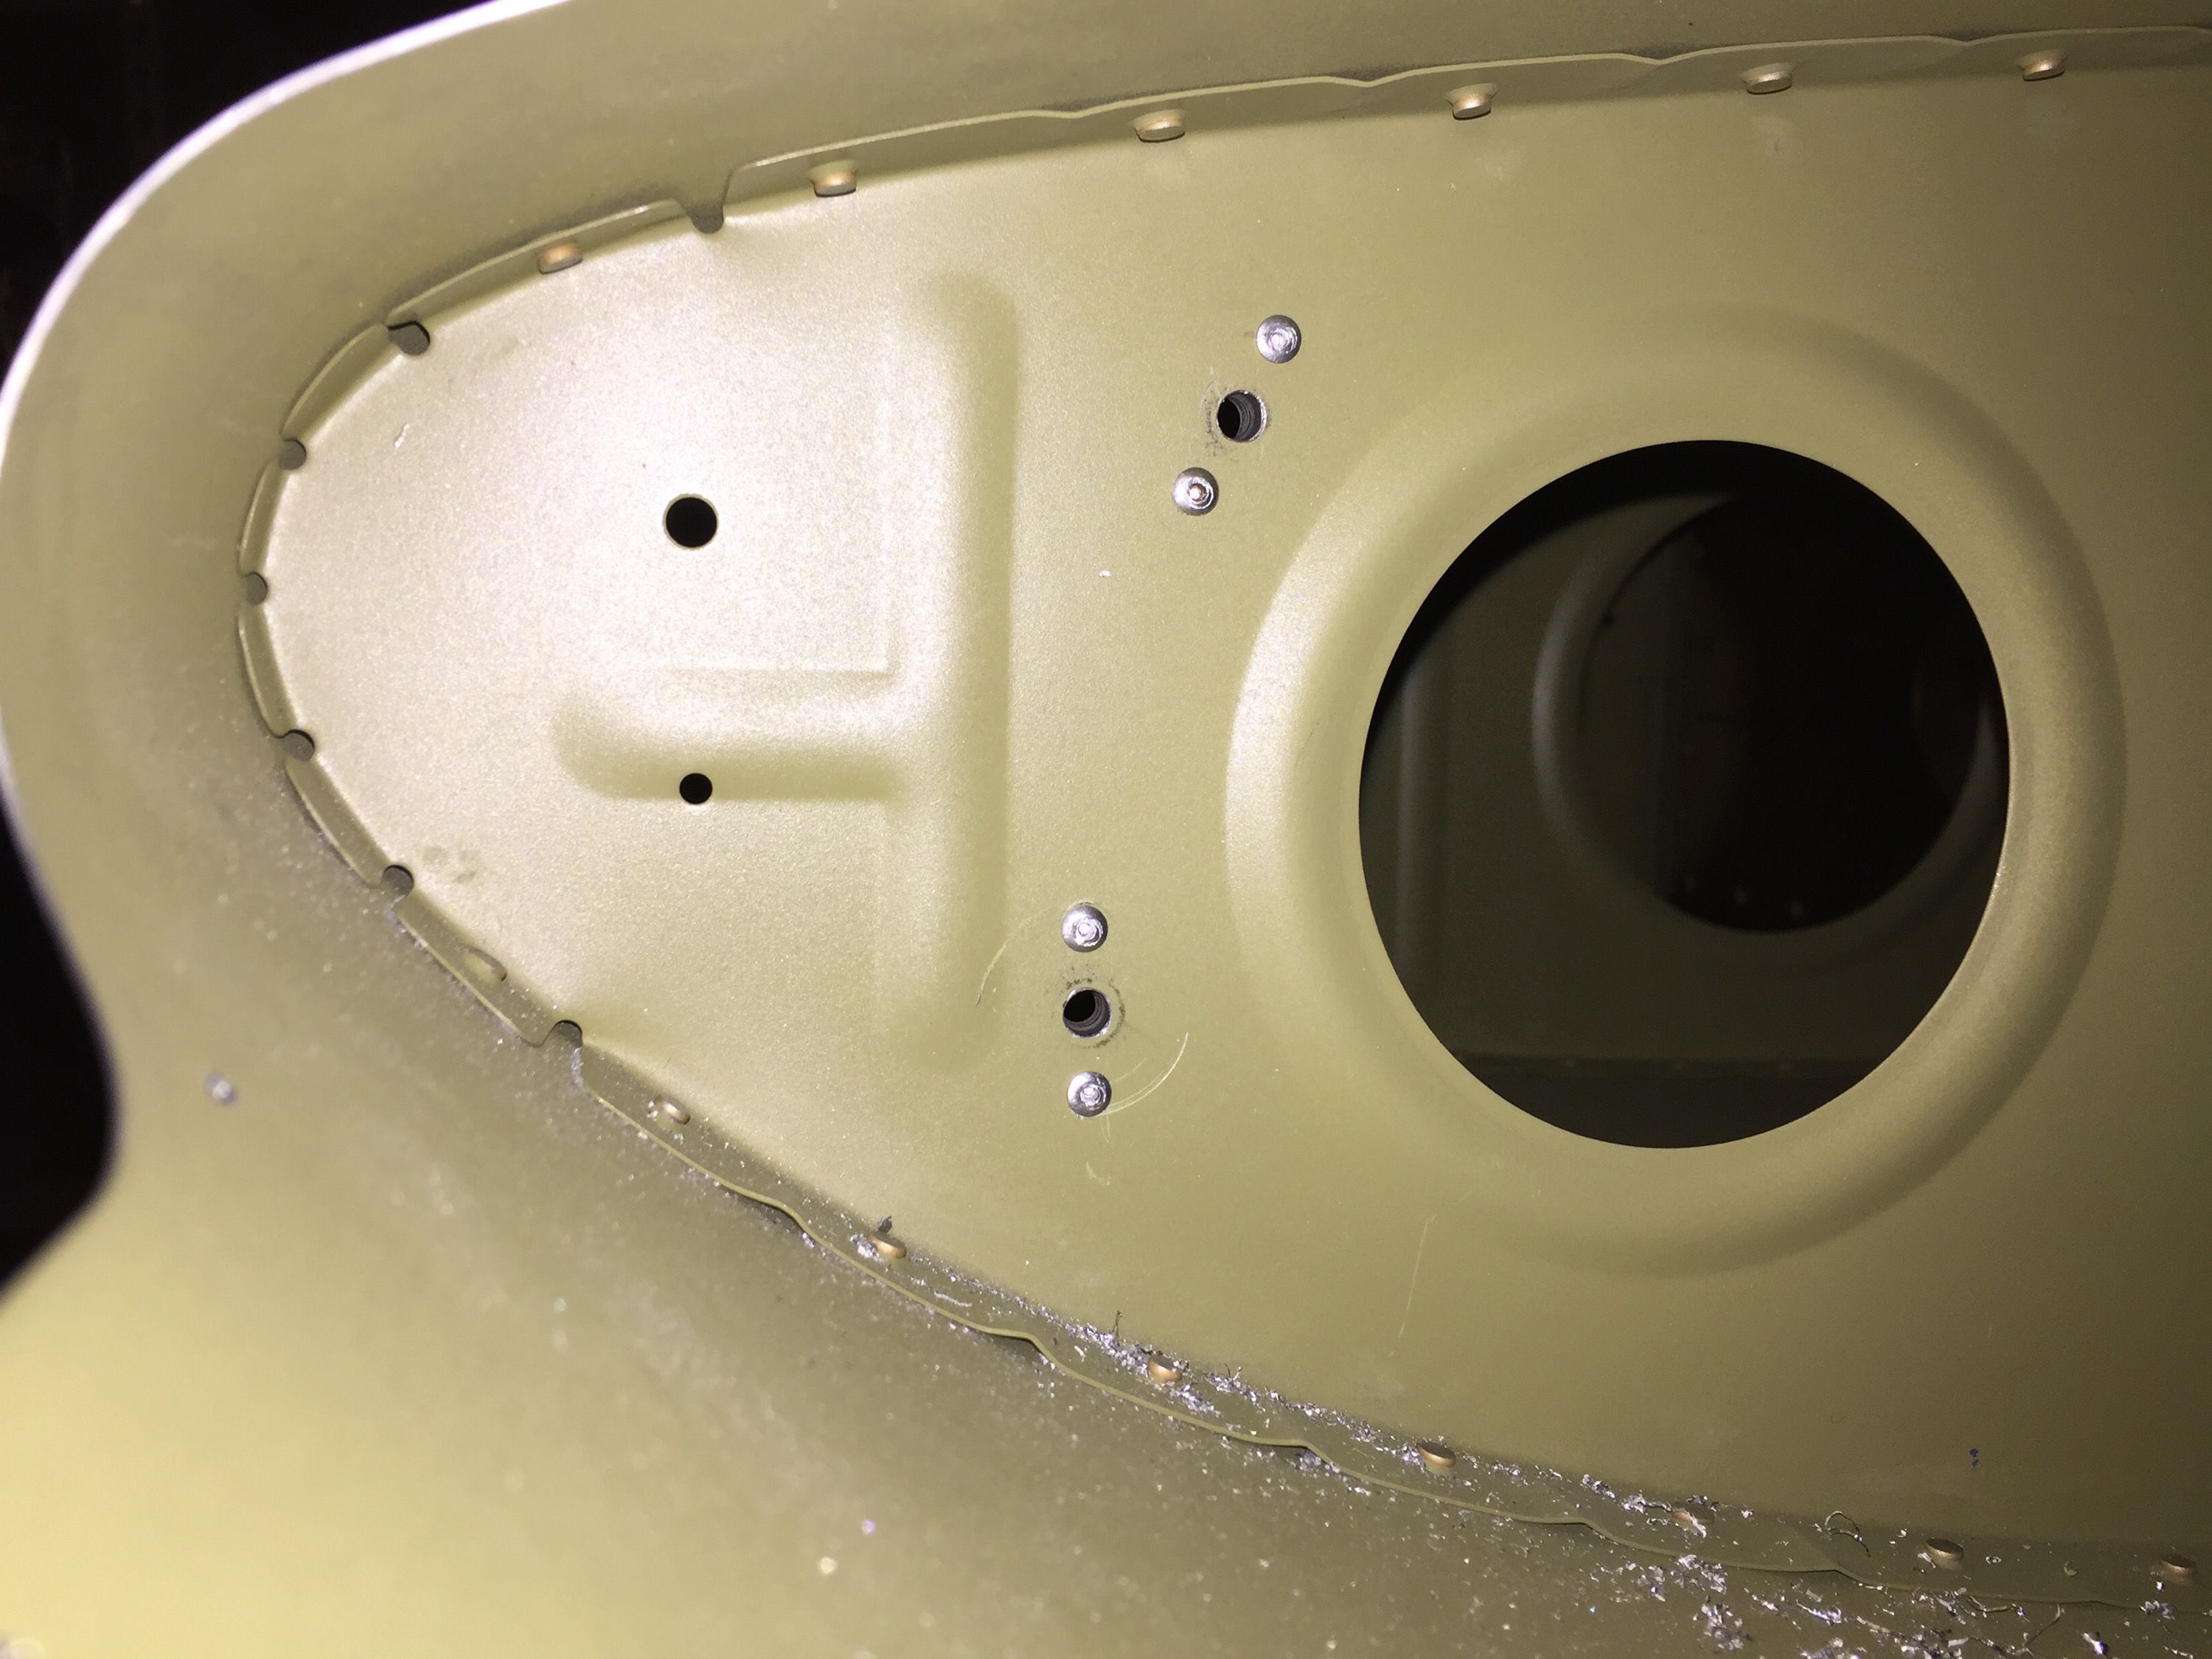
Then after drilling, I clecoed the nut plates in place and drilled.
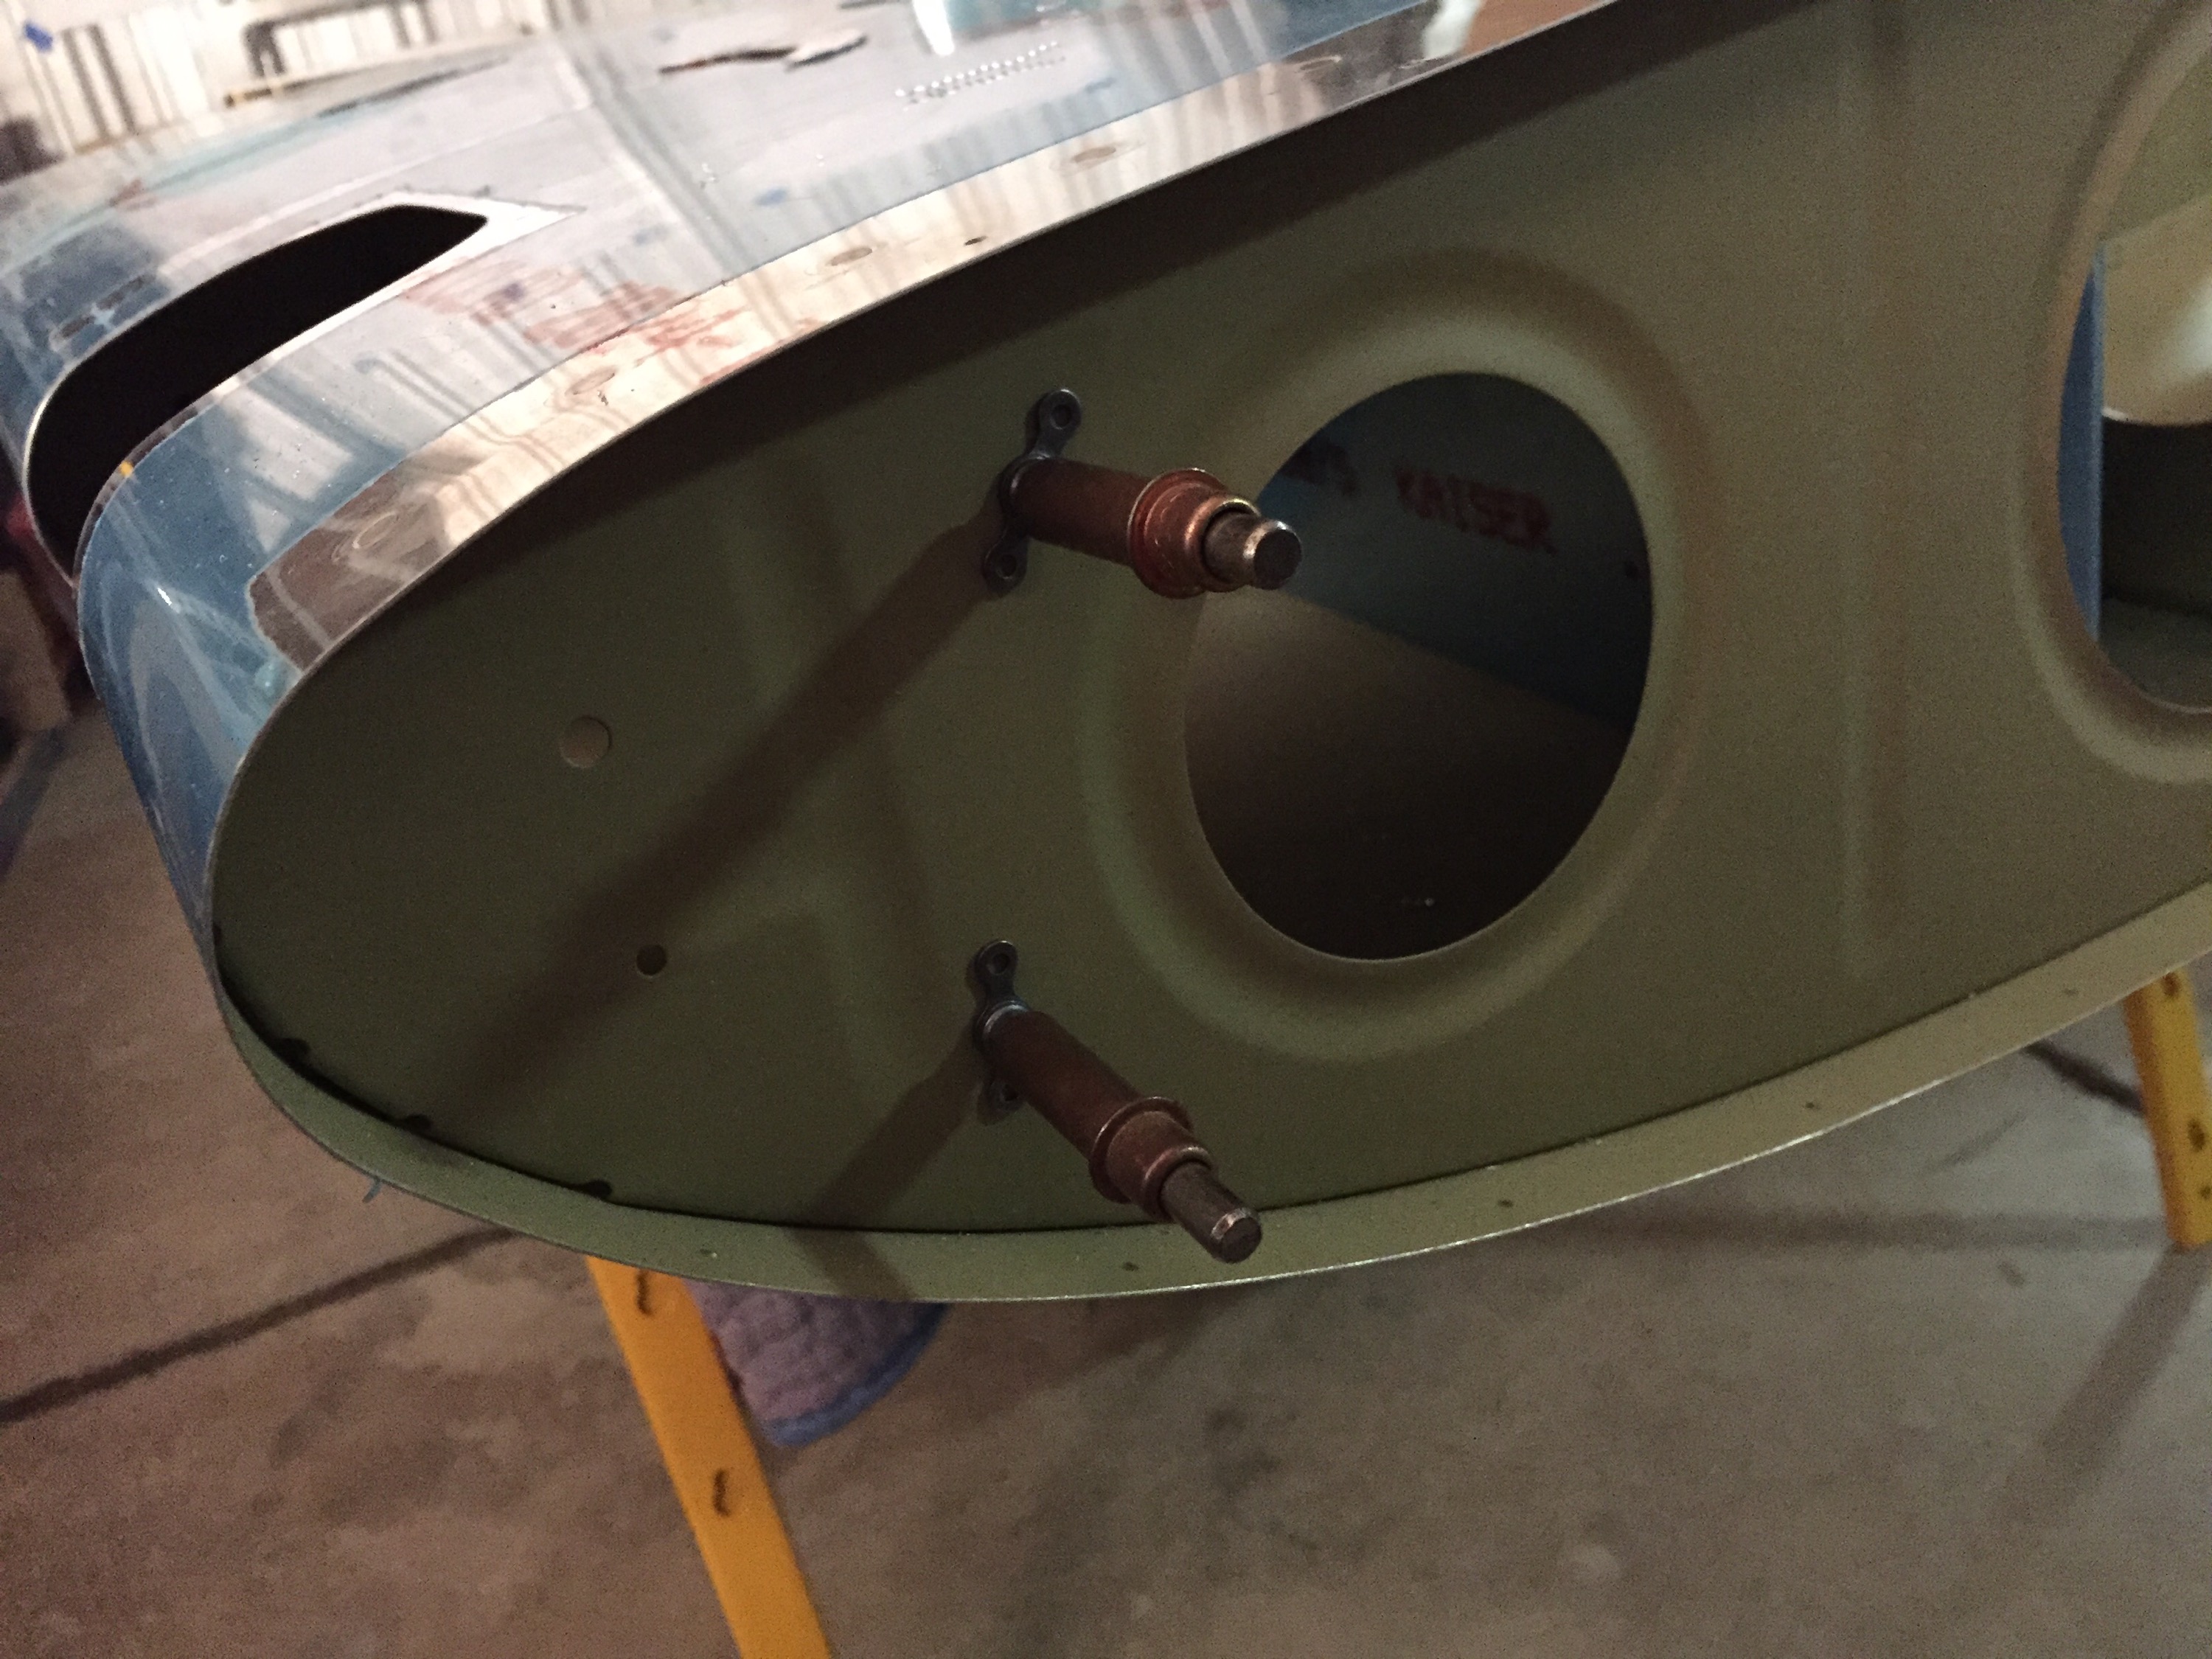
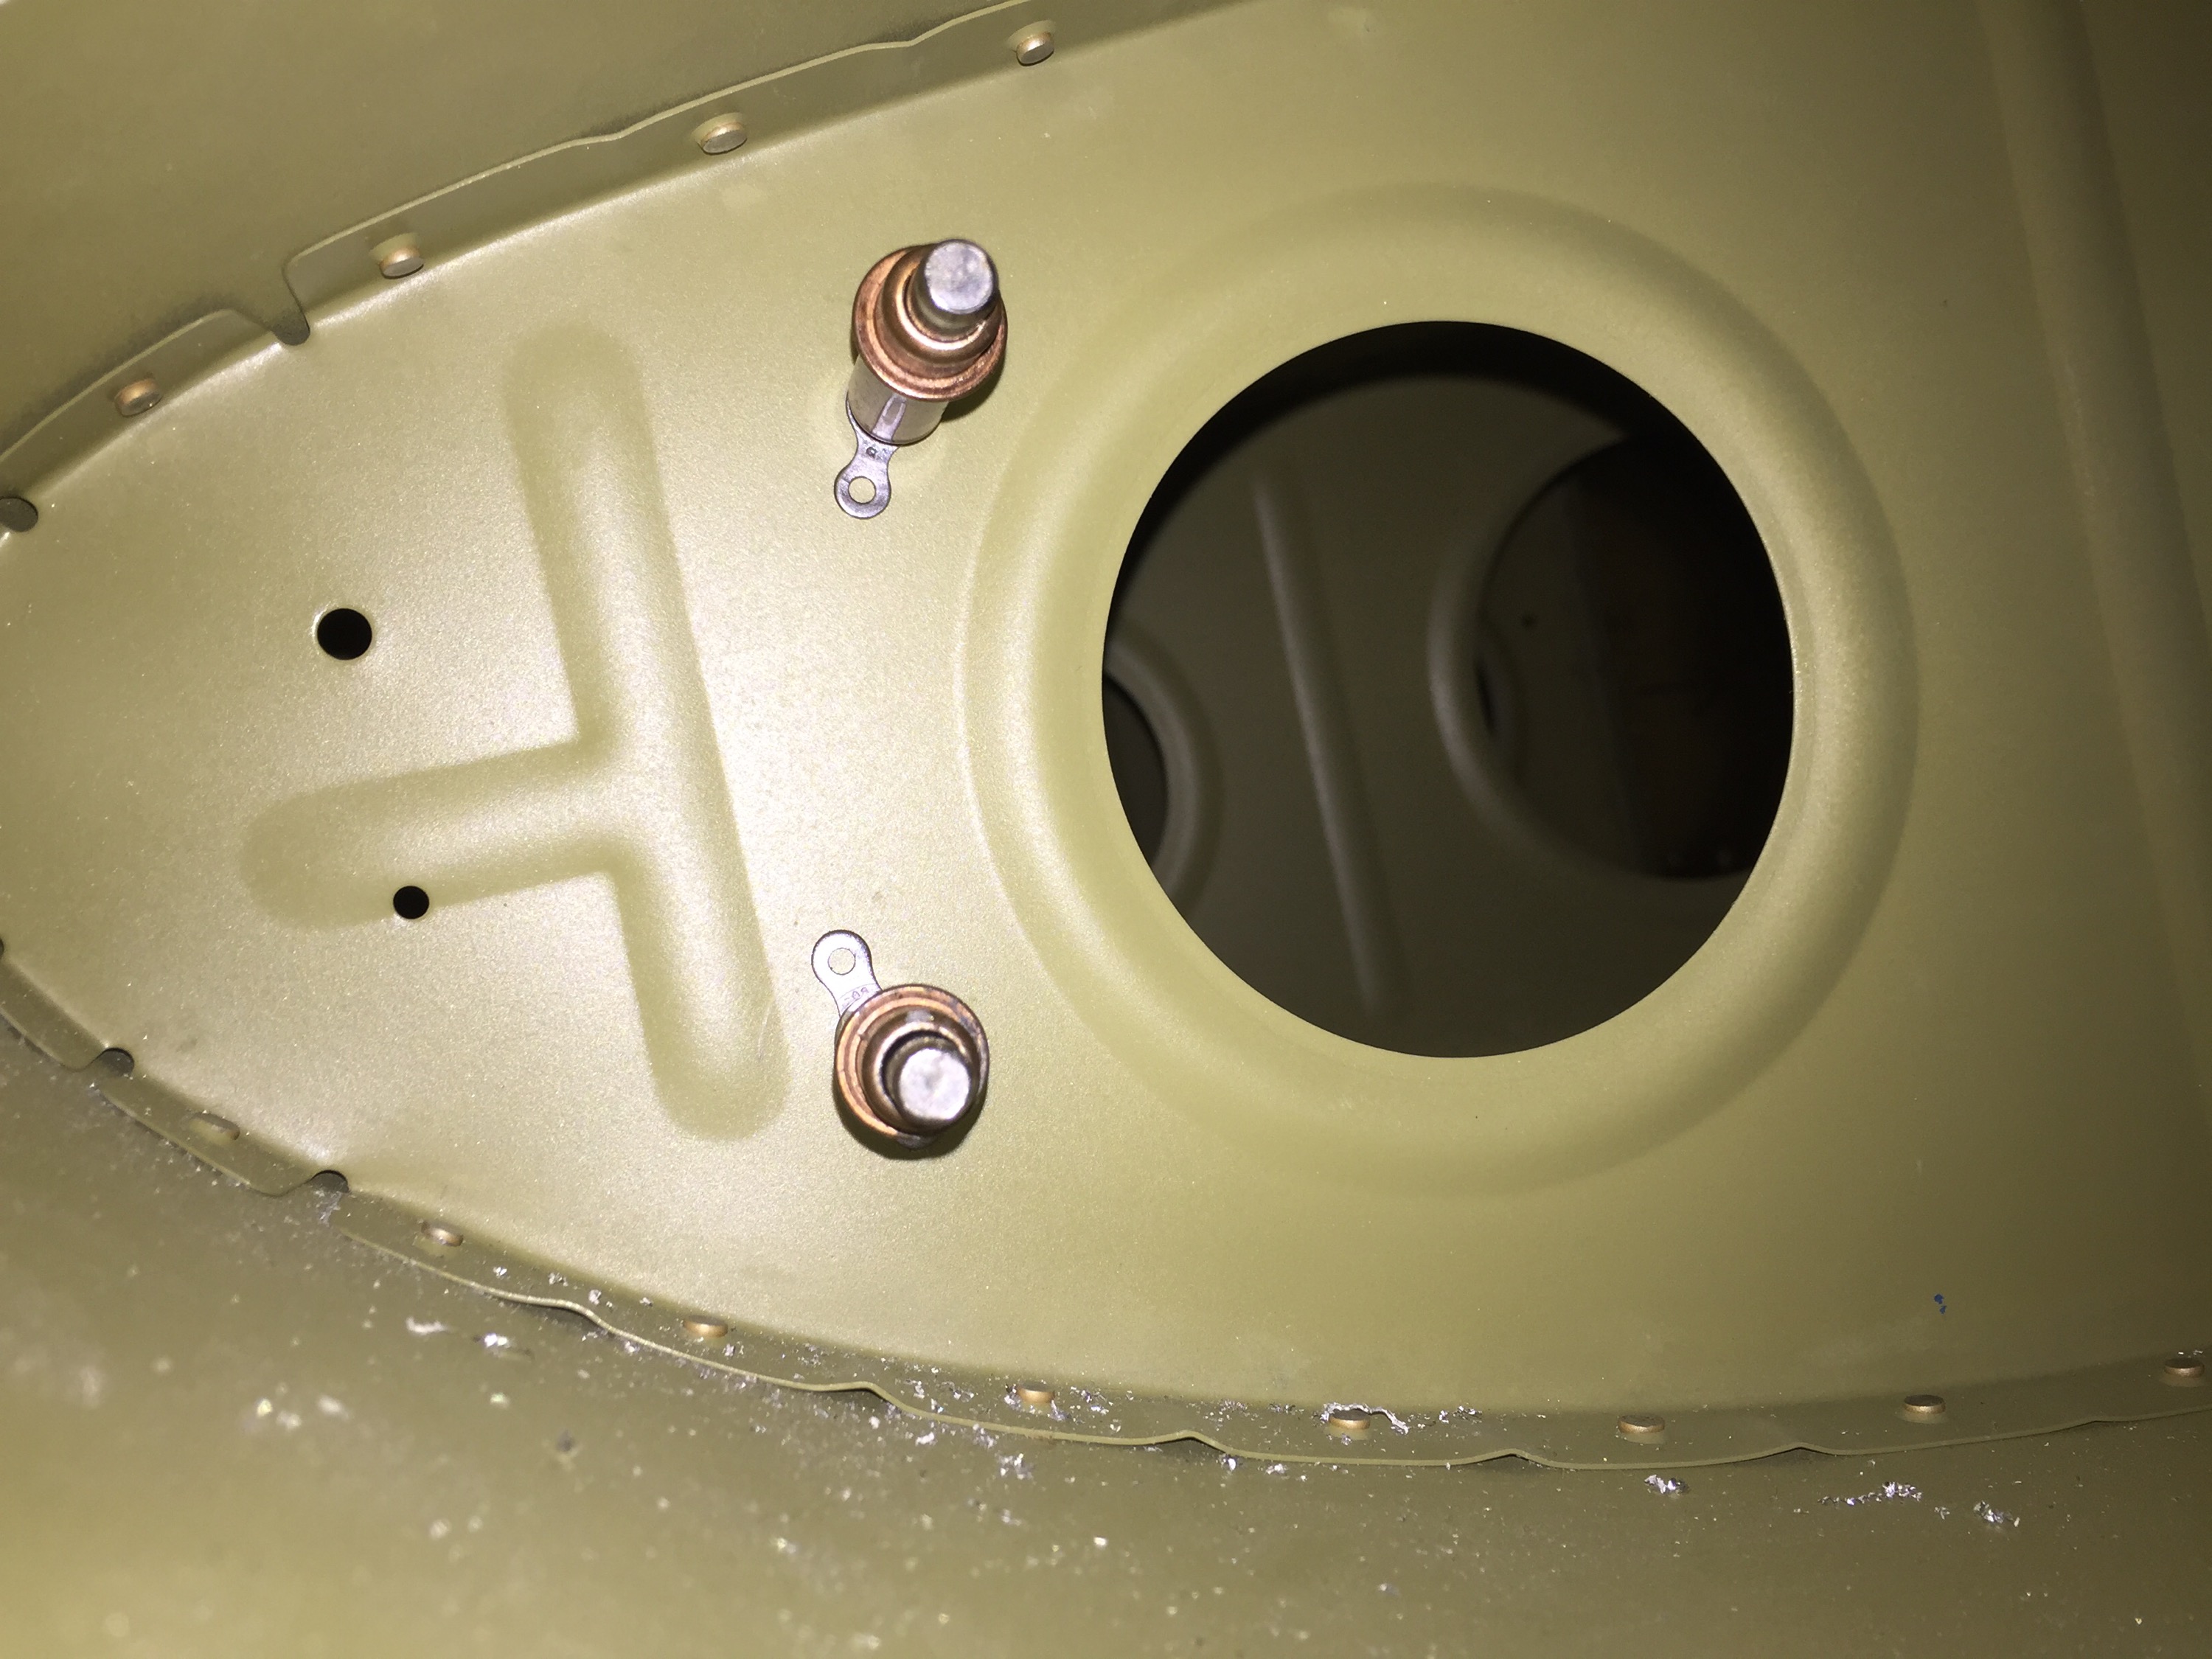
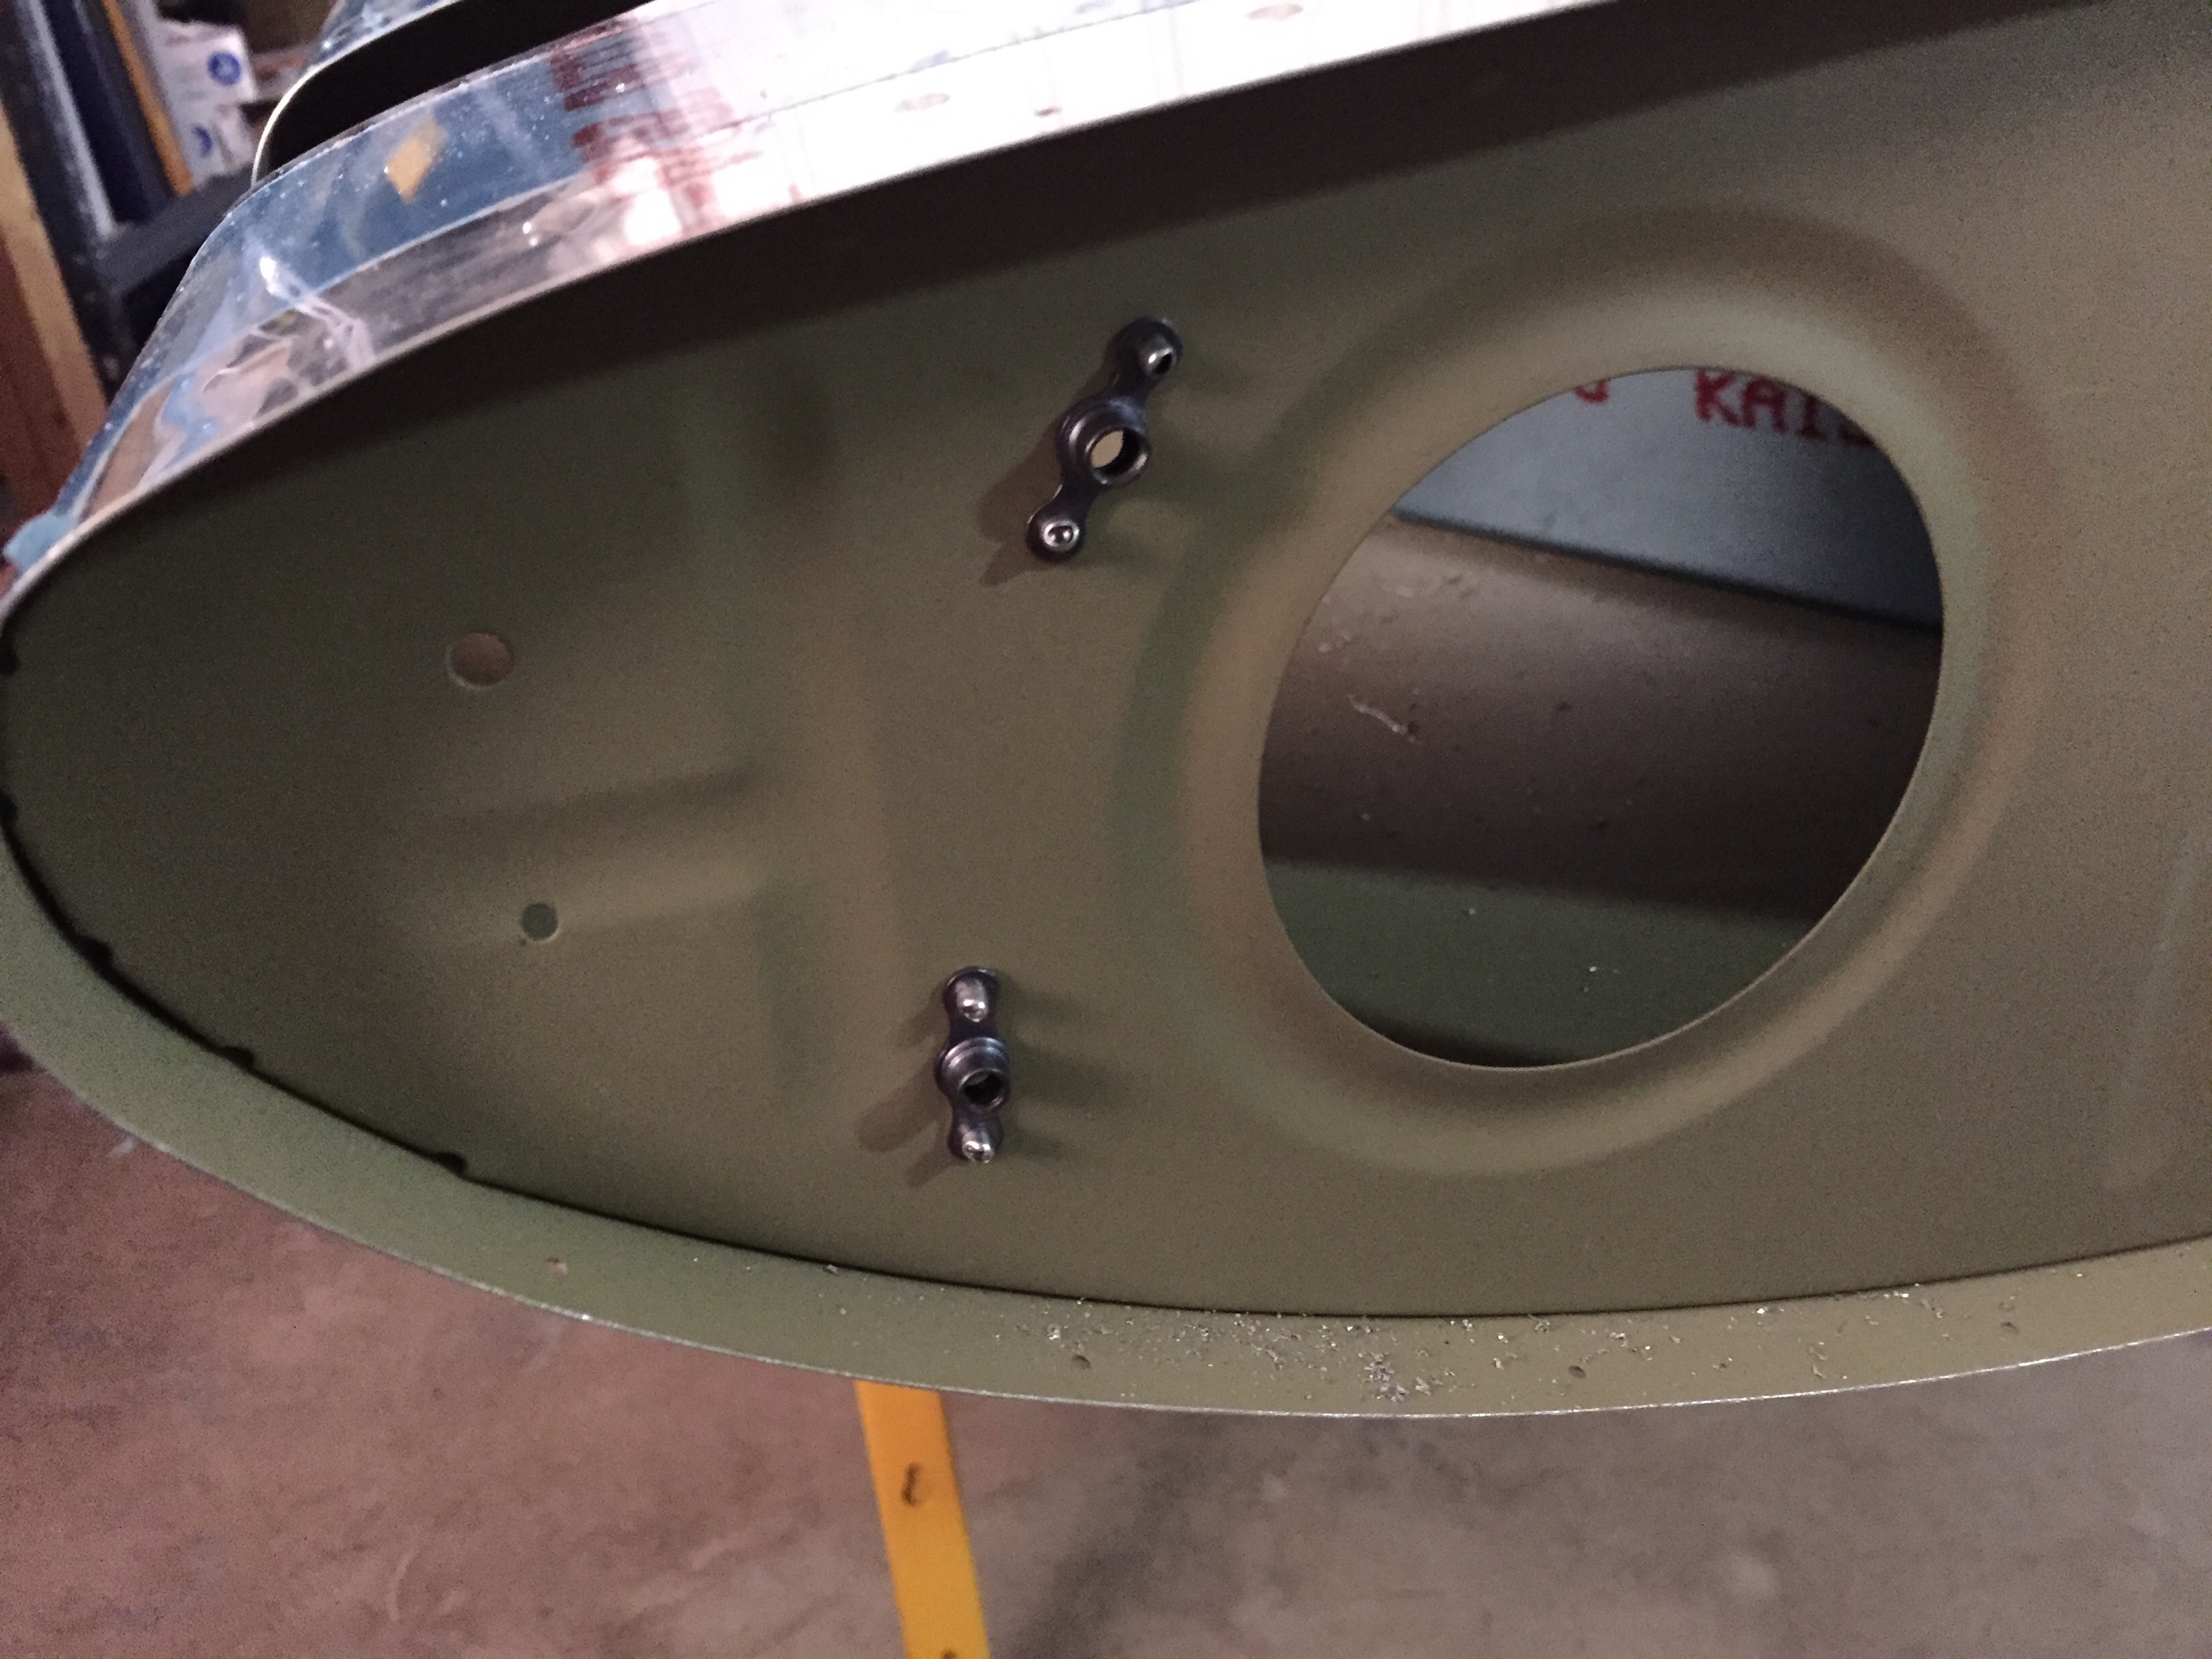
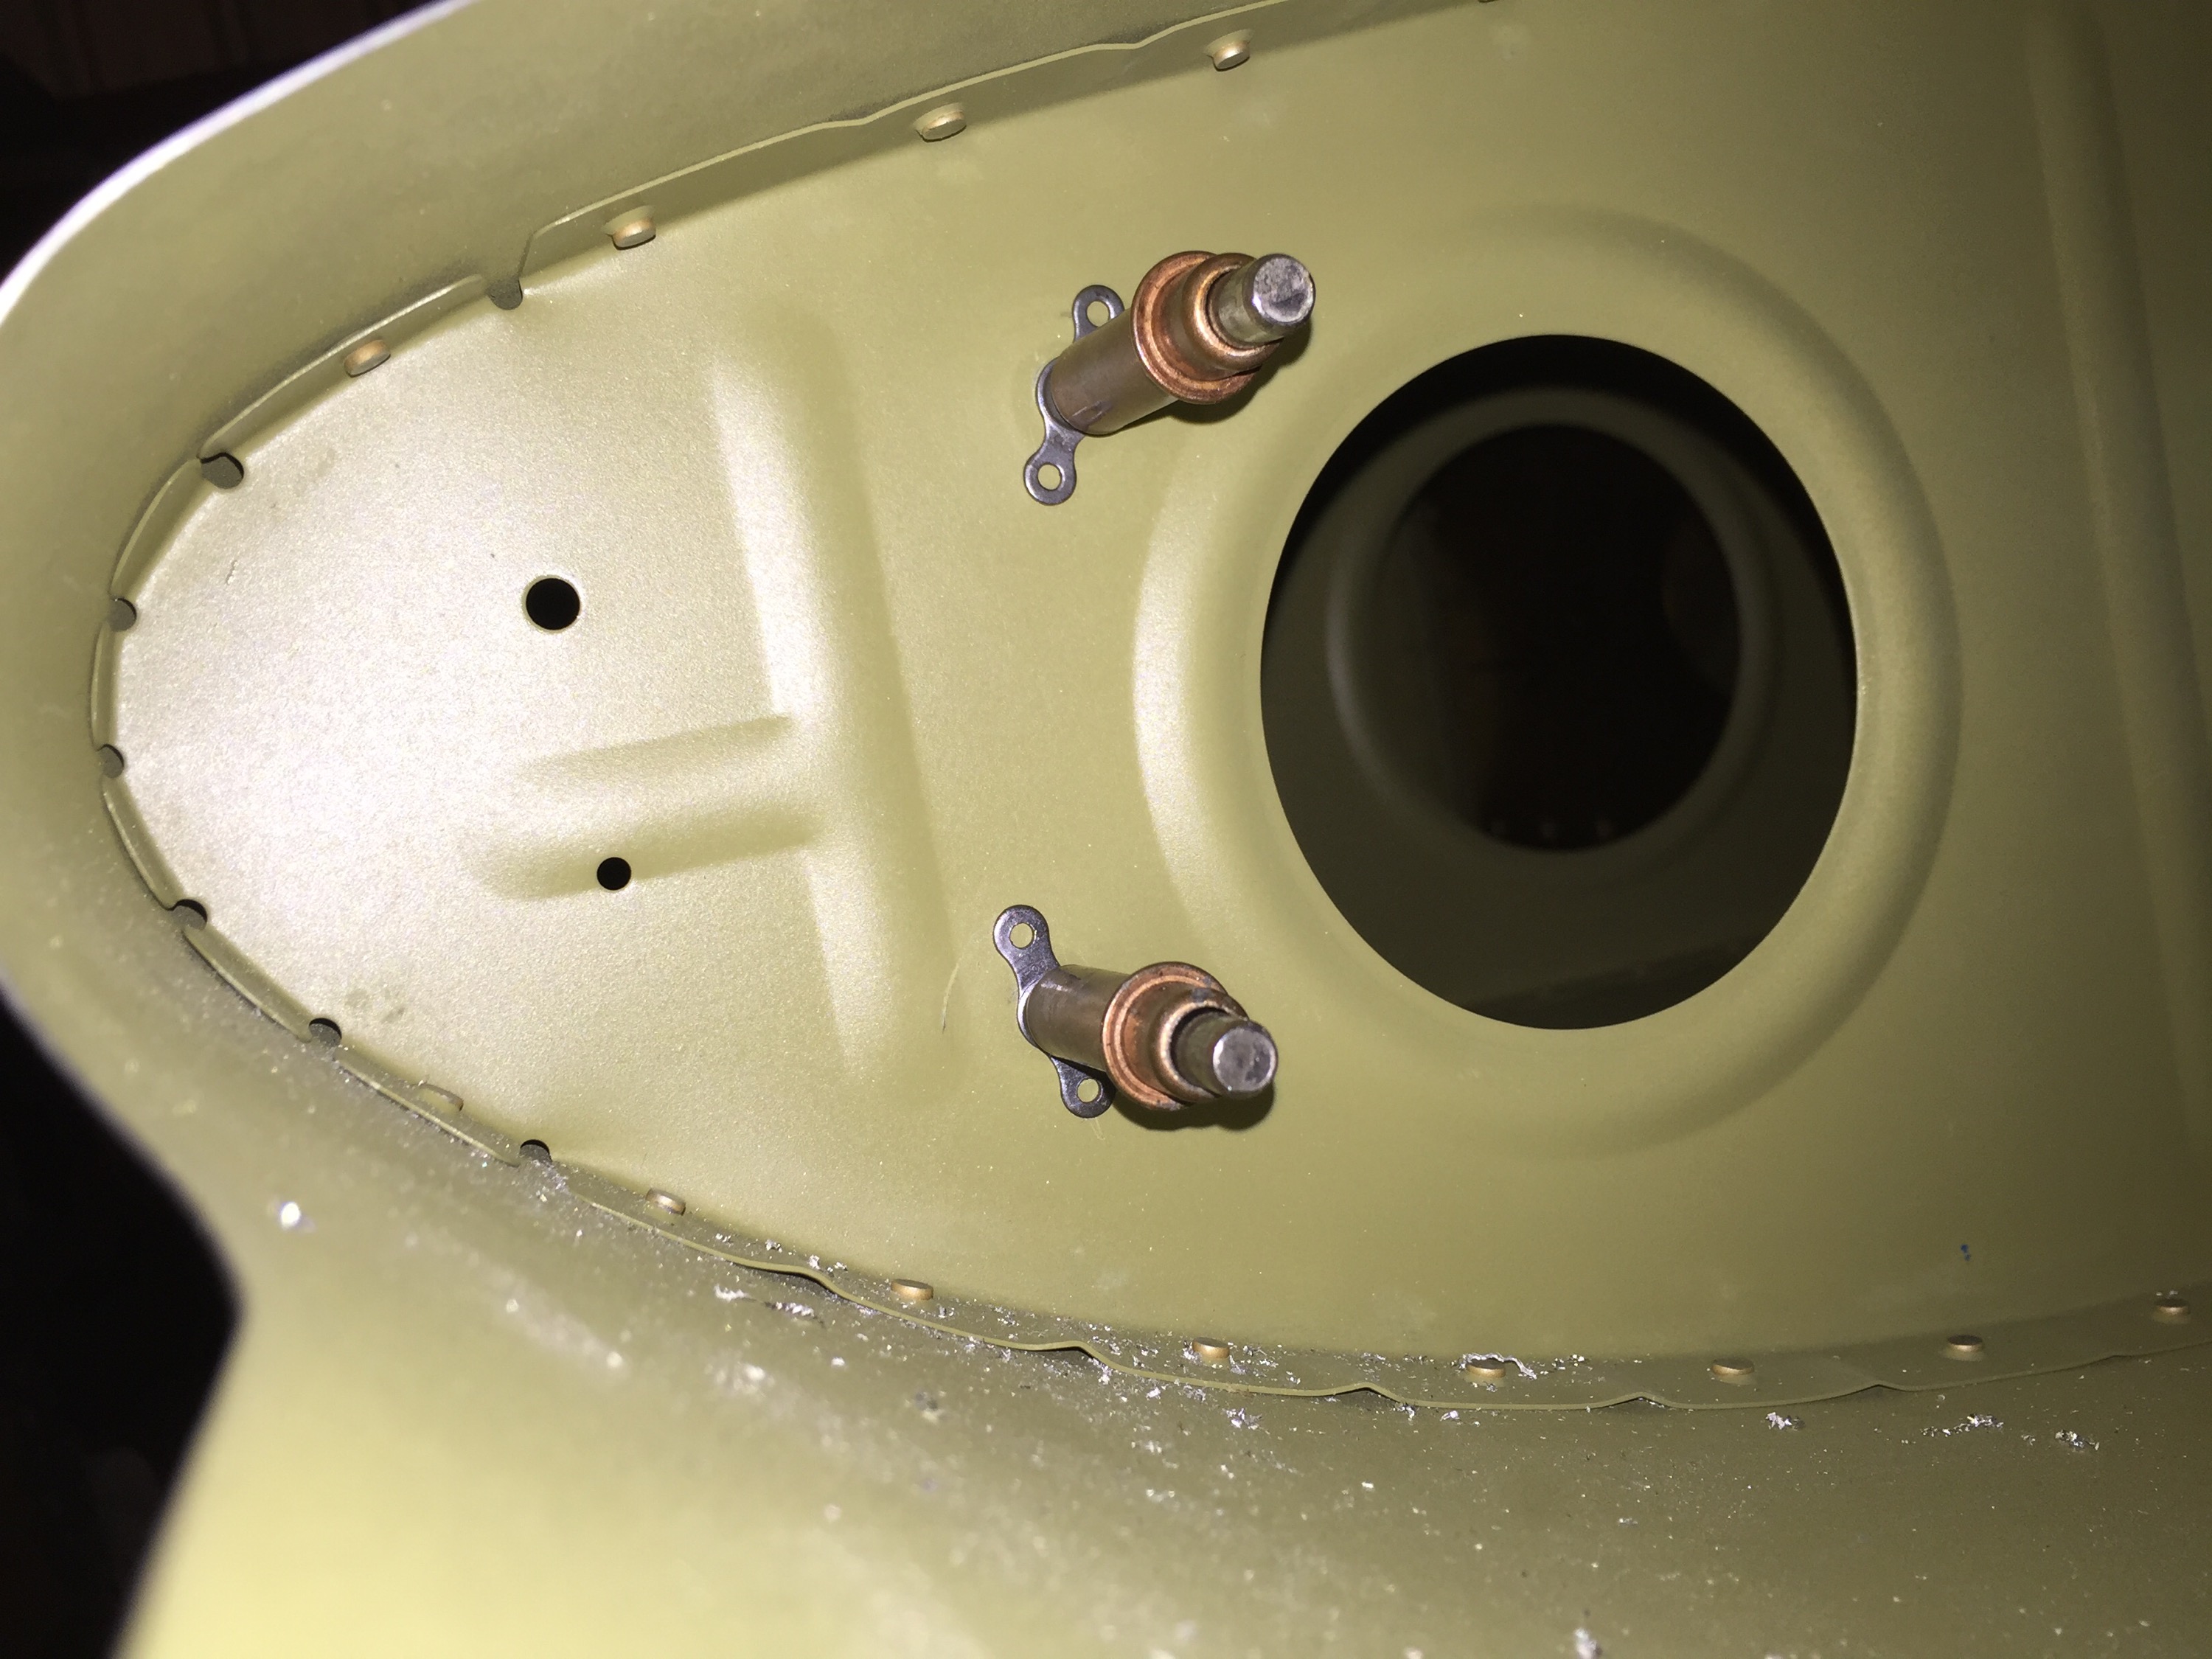
Here are the nut plates after drilling and riveting with pop-rivets. Drilling the inner rib was challenging. I used my 90 degree offset adapter in order to drill.
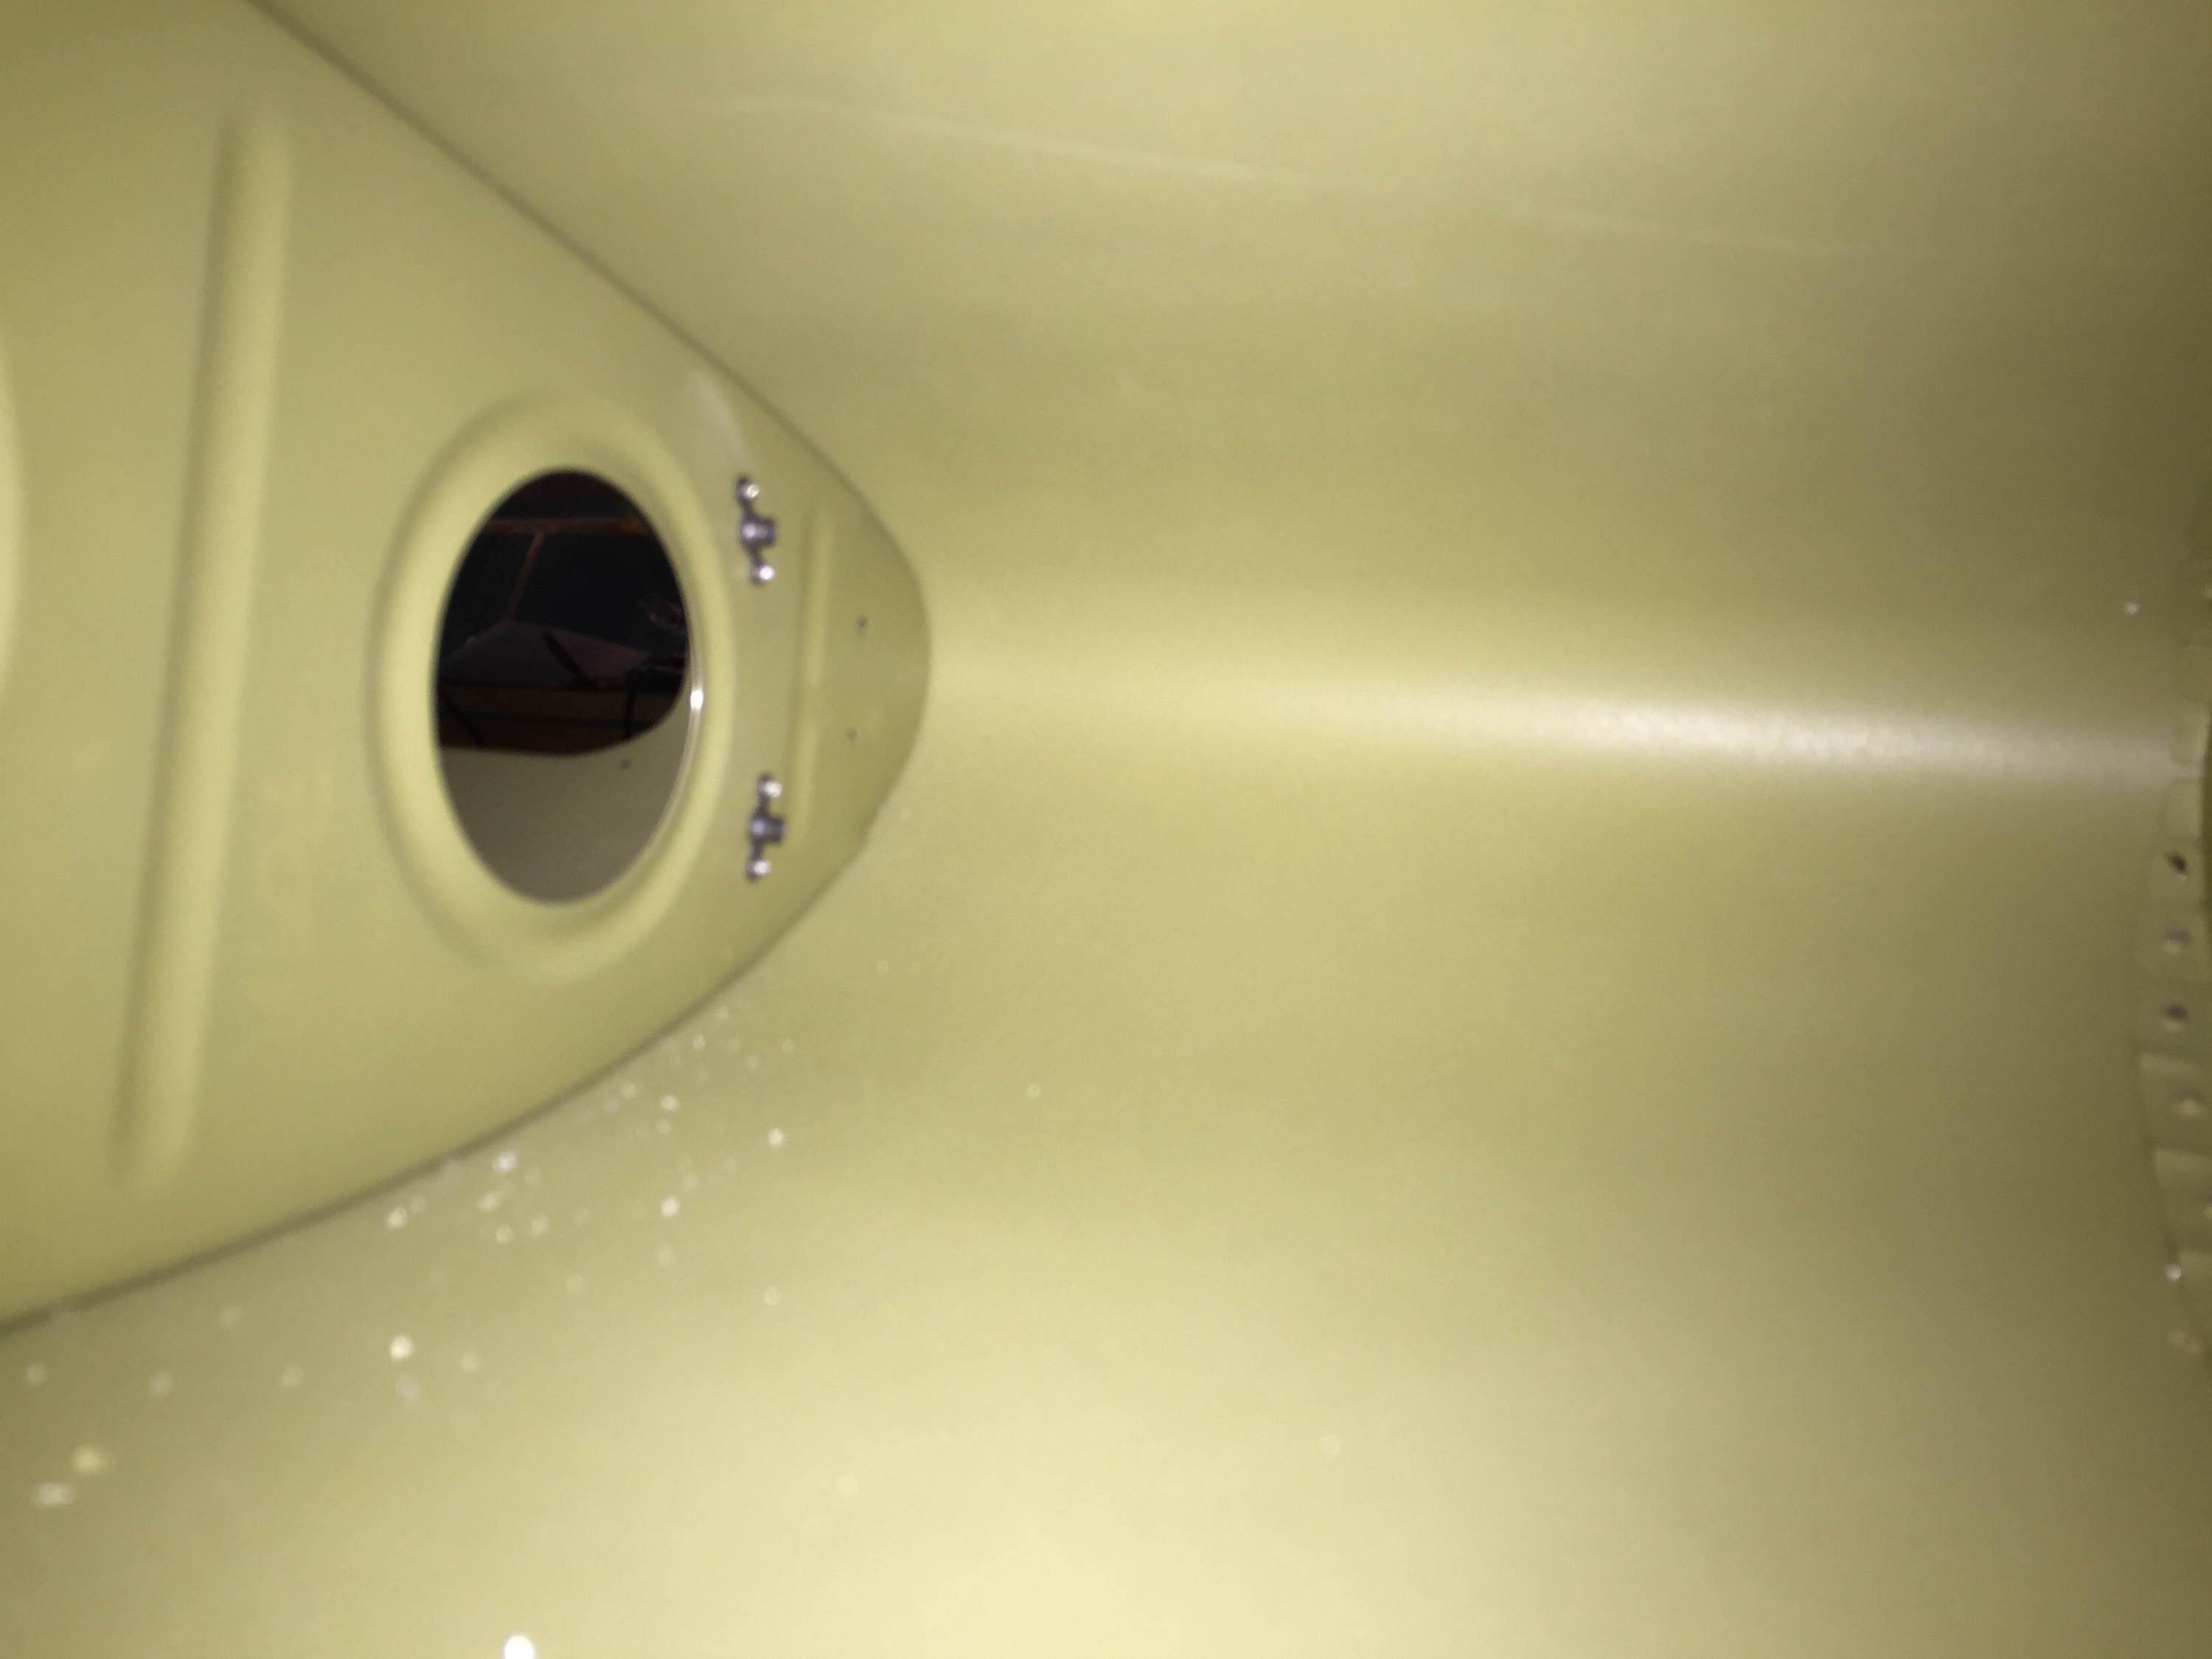
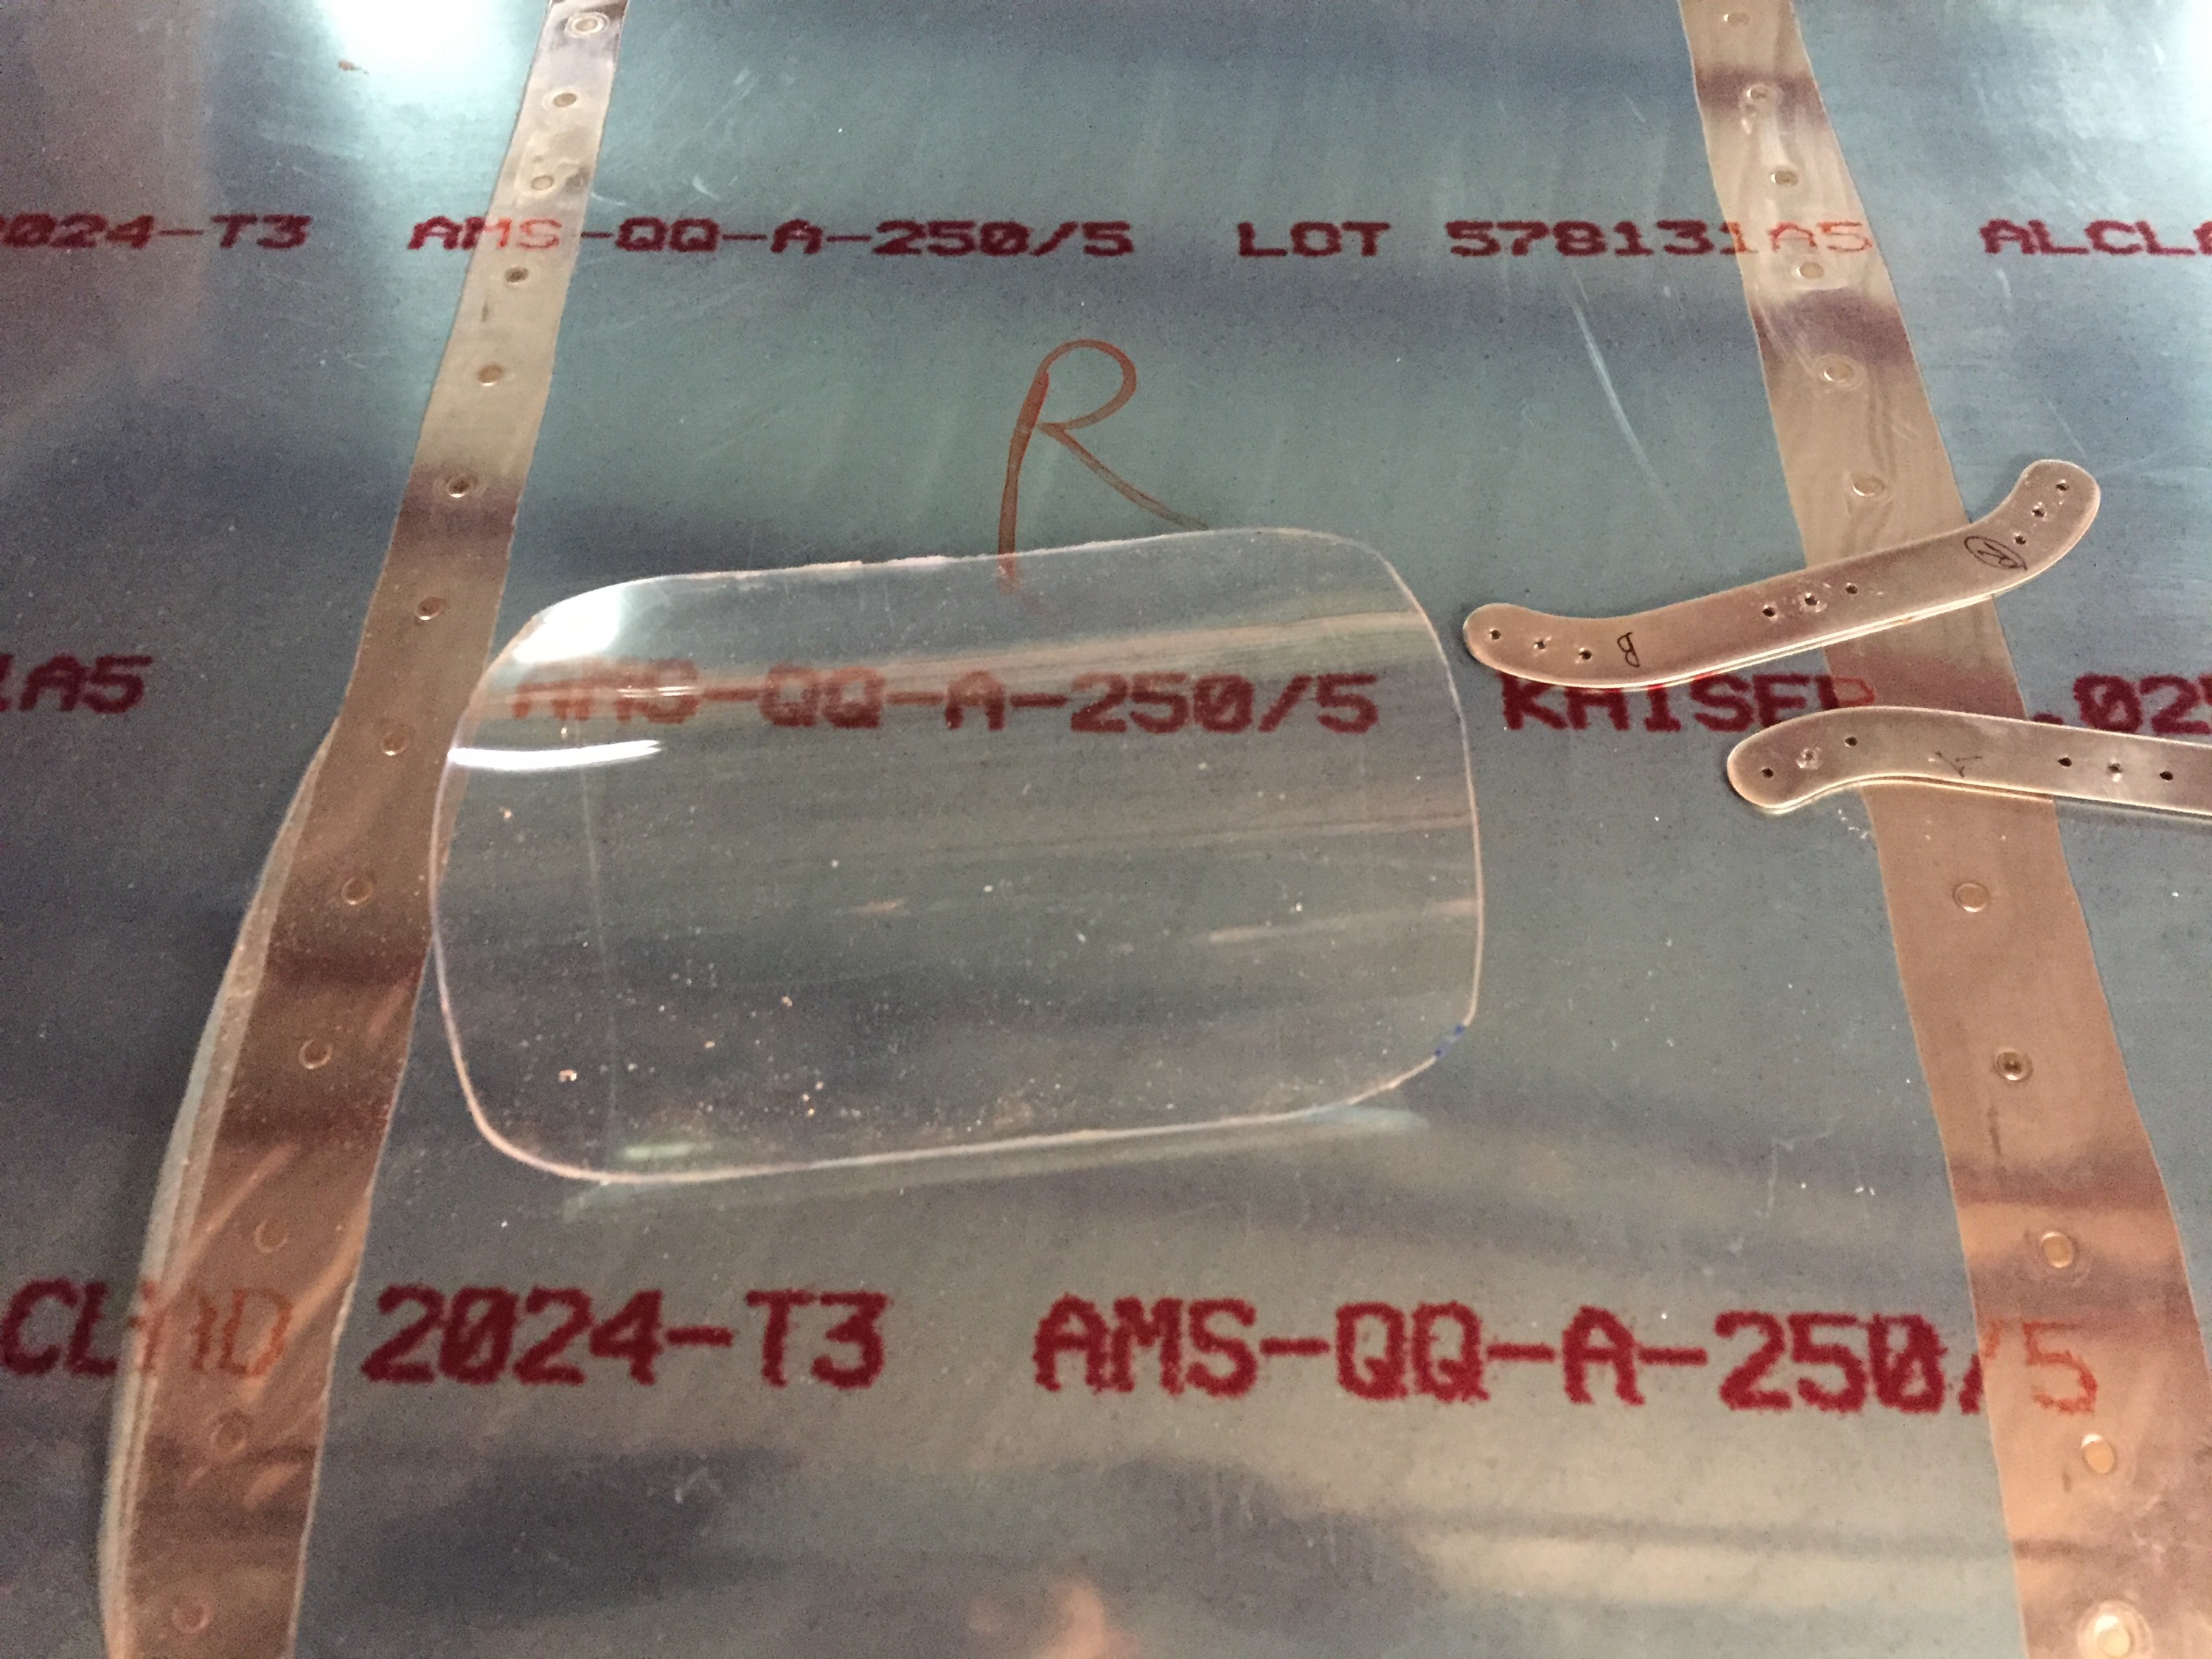
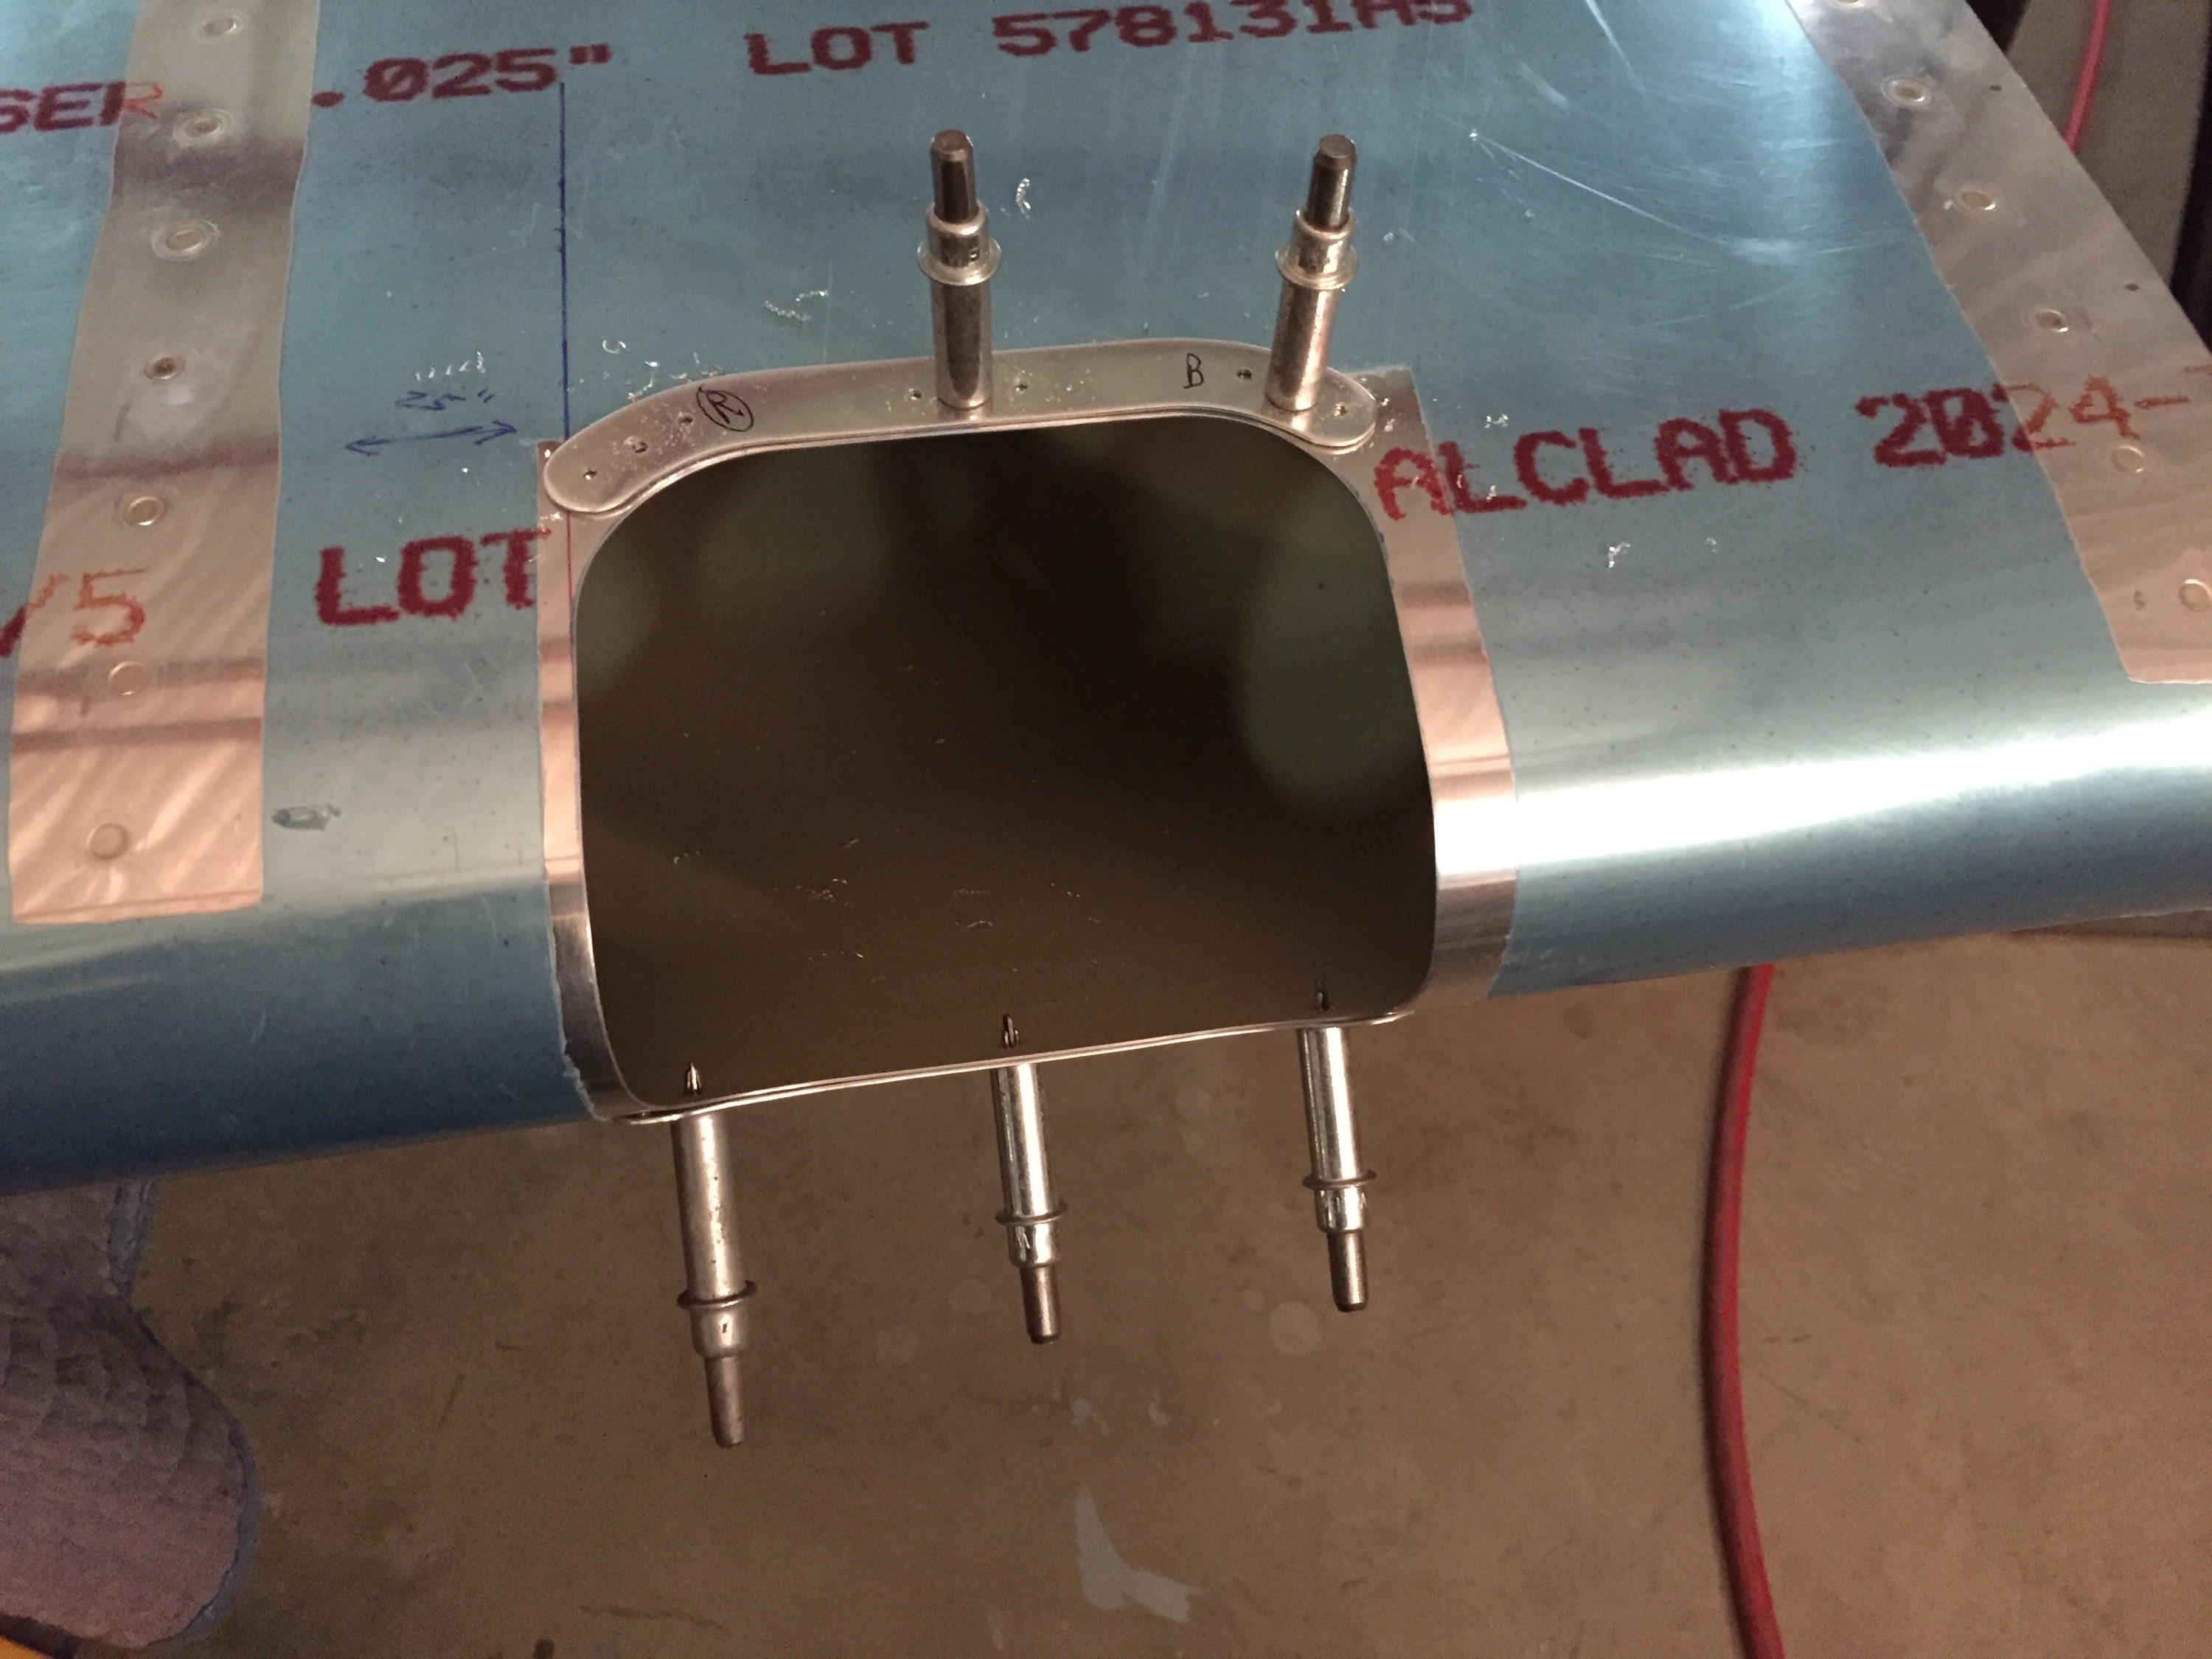
My final task for the session was to cut the plexiglass to size. I first marked for the cut according to the instructions and then using the dremel made the cut.
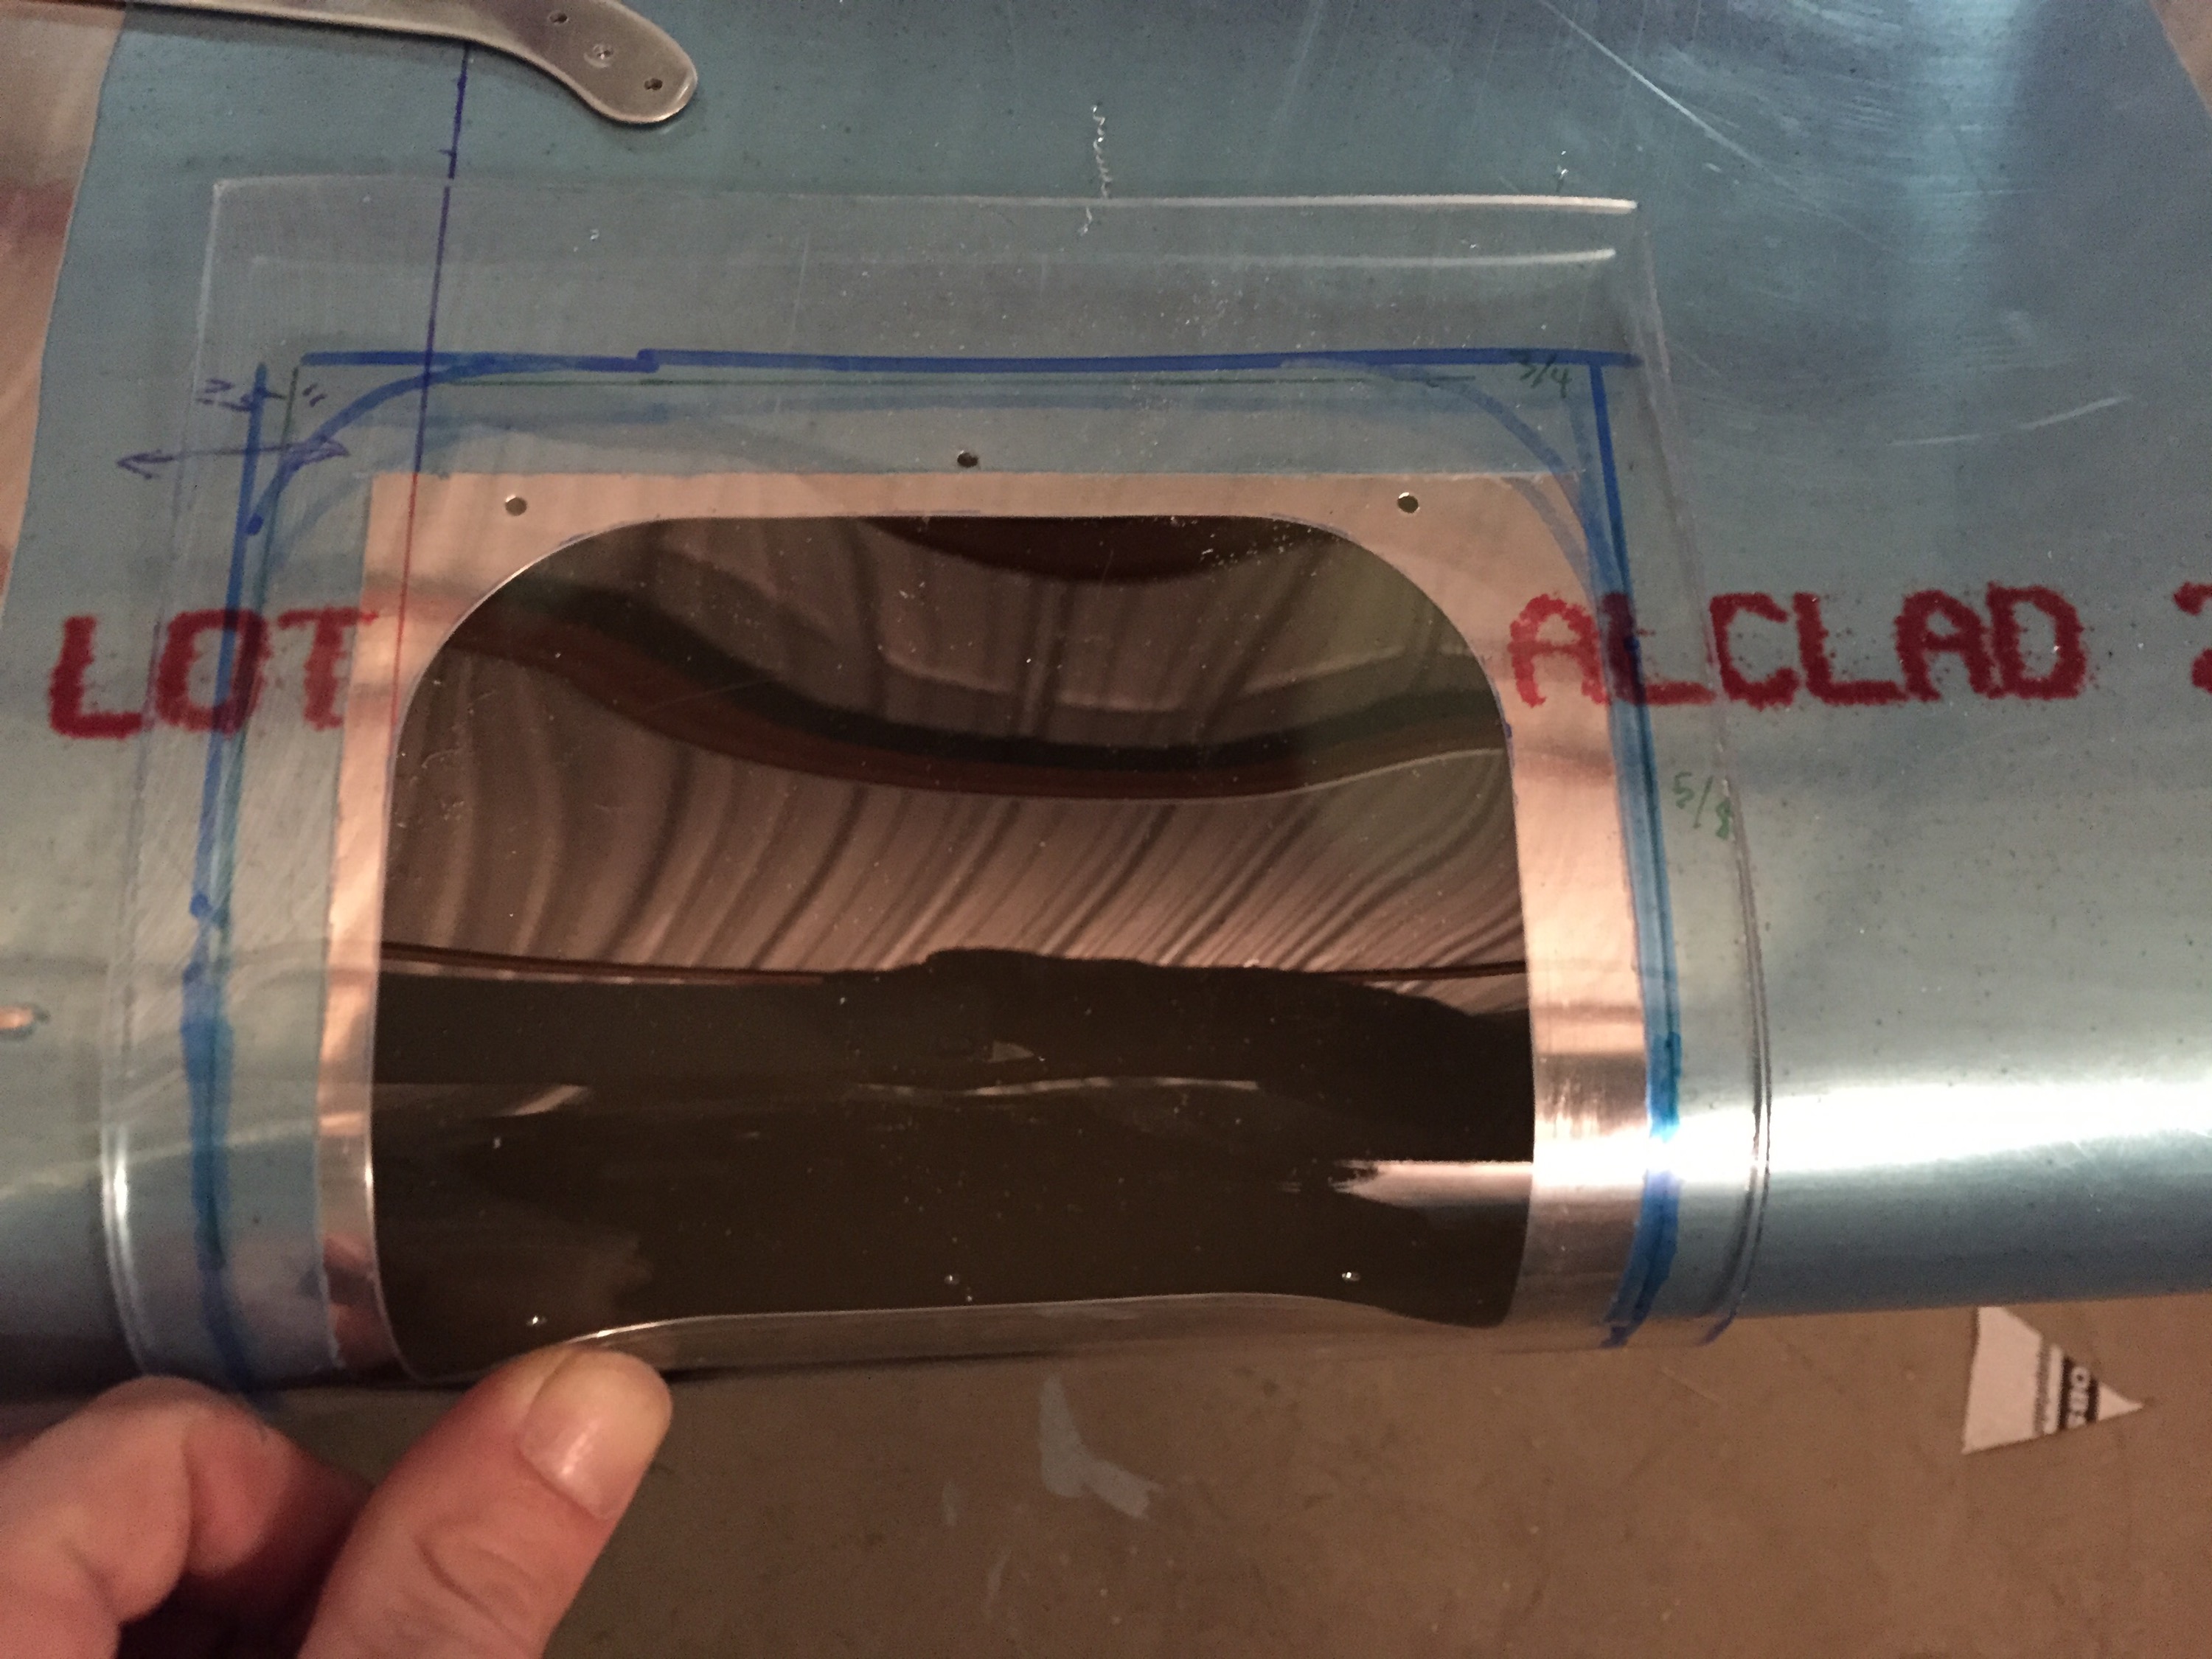
Pictured here is the rough cut. I still need to clean the edges properly to prevent cracks. In the meantime, I’m off to Santiago Chile, and Lima Peru for some vacation!!