Page
Lessons Learned
Lessons learned during the course of building a Van's Aircraft RV-8.
This page collects the practical lessons that kept showing up during the build. Some came from individual posts, some came from other builders, and some came from doing a thing the hard way once.
For a focused build-specific retrospective, see Showplanes Fastback lessons learned.
Getting Started
If you have not built before, take a class if you can. I wanted to take an EAA SportAir course, but the local timing did not work out. With help from my EAA chapter and a few RV builders I learned what I needed, but progress was slower and my confidence took longer to build.
For a first-time builder, I would be cautious about buying a used kit. My empennage kit was in good shape and the previous owner had done good work, but I had to understand what had been completed, what had been done out of order, and what still needed correction. If I were doing that first step again, I would probably buy the empennage kit new. I would still consider a used kit later, once I knew what I was looking at.
Builder Support
Join EAA if you are serious about building. Meeting other builders gave me the support and confidence to start.
Van’s Air Force and RivetBangers are useful places to research problems and compare ideas. At the end of the day, the authority I trust most is Van’s Support. My usual process for problems outside my experience is:
- Research the plans, manuals, Van’s Air Force, and other builder logs.
- Ask experienced builders for their take.
- Contact Van’s with the clearest question I can write.
Tools Worth Having
- Get a band saw day one. Just do it.
- Bench sander. Another day one purchase.
- Tungsten bucking bars are awesome. I initially wasn’t going to buy them. They are way more expensive than regular bucking bars, and I was highly skeptical of them being worth the money. They are expensive, but absolutely worth it, I cannot recommend them highly enough. Bite the bullet and buy them.
- Additionally, the hand squeezers with cams in them (Avery and Cleveland Tools sell these) are another absolute must have.
- Digital calipers, and clear plastic rulers are a few other great items that I’m glad I got.
- Lots of small containers for rivets and clecos are a big help. The previous owner of my empennage kit bought portable storage containers with separate compartments for each rivet. He even labeled each container, and this has been a huge time saver. I can just grab each individual container and take it to where I’m working.
- Jack’s bag of lead shot has been more useful than I could have imagined. It takes the place of clamps constantly. With the lead shot, making things stable for riveting is as easy as throwing the bag on it.
- Pneumatic cleco tools are also, IMHO a waste. Unless you have bad hands, the cleco pliers are just as quick. If you’re working on the kit enough, your forearm will be in “cleco-shape.” If your hands get tired or sore from cleco pliers, that’s a sure sign you need to spend more time working on the kit.
- Swivel Head Mushroom Set. Jack Savage lent me this rivet set. It is a godsend for riveting, especially if you are riveting difficult to reach places solo. This is at the absolute top of my list for must have tools. (http://www.cleavelandtool.com/Swivel-Mushroom-Set/productinfo/RSMS75/#.UWVPGTfLvBY)
- DRDT-2. Here’s a tool I don’t have, and have no experience with. I’m very skeptical of it being worth the hefty price tag. I find the C-Frame and dead blow hammer to be easy, and way cheaper. I’m sure it’s easy and probably saves a little time. You are also probably less likely to have an “oops dimple” with the DRDT-2.
- Yokes. The more the better. I now have two hand squeezers and a pneumatic squeezer. The pneumatic squeezer came with four yokes (ebay!). Very valuable to have multiple types of yokes for various locations.
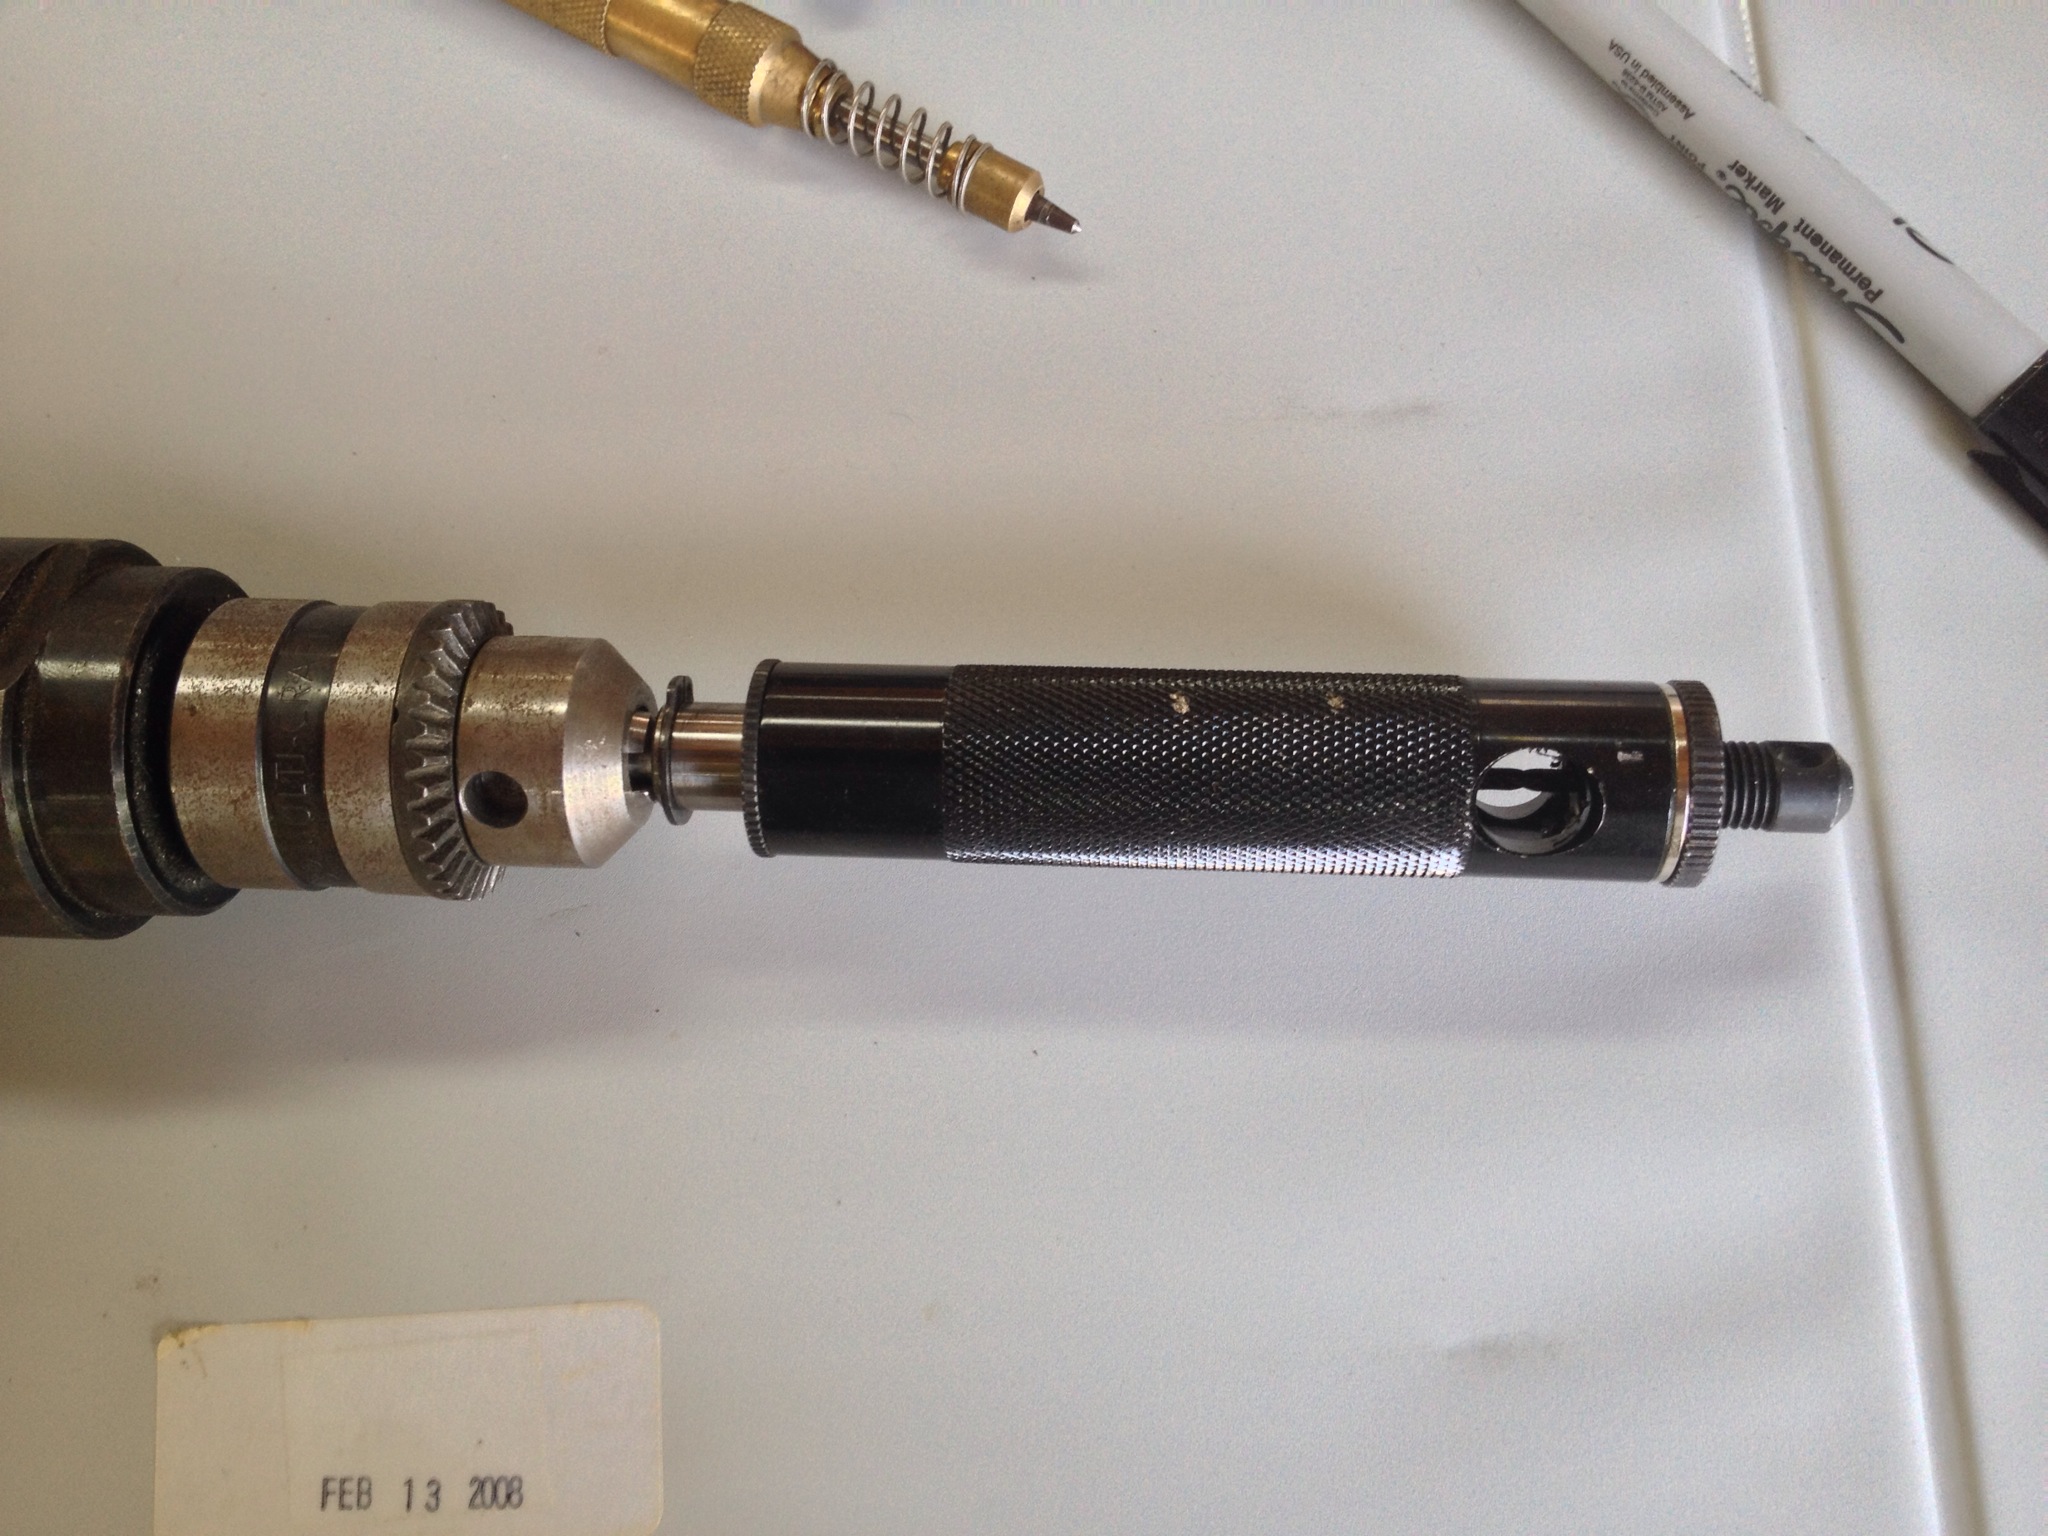
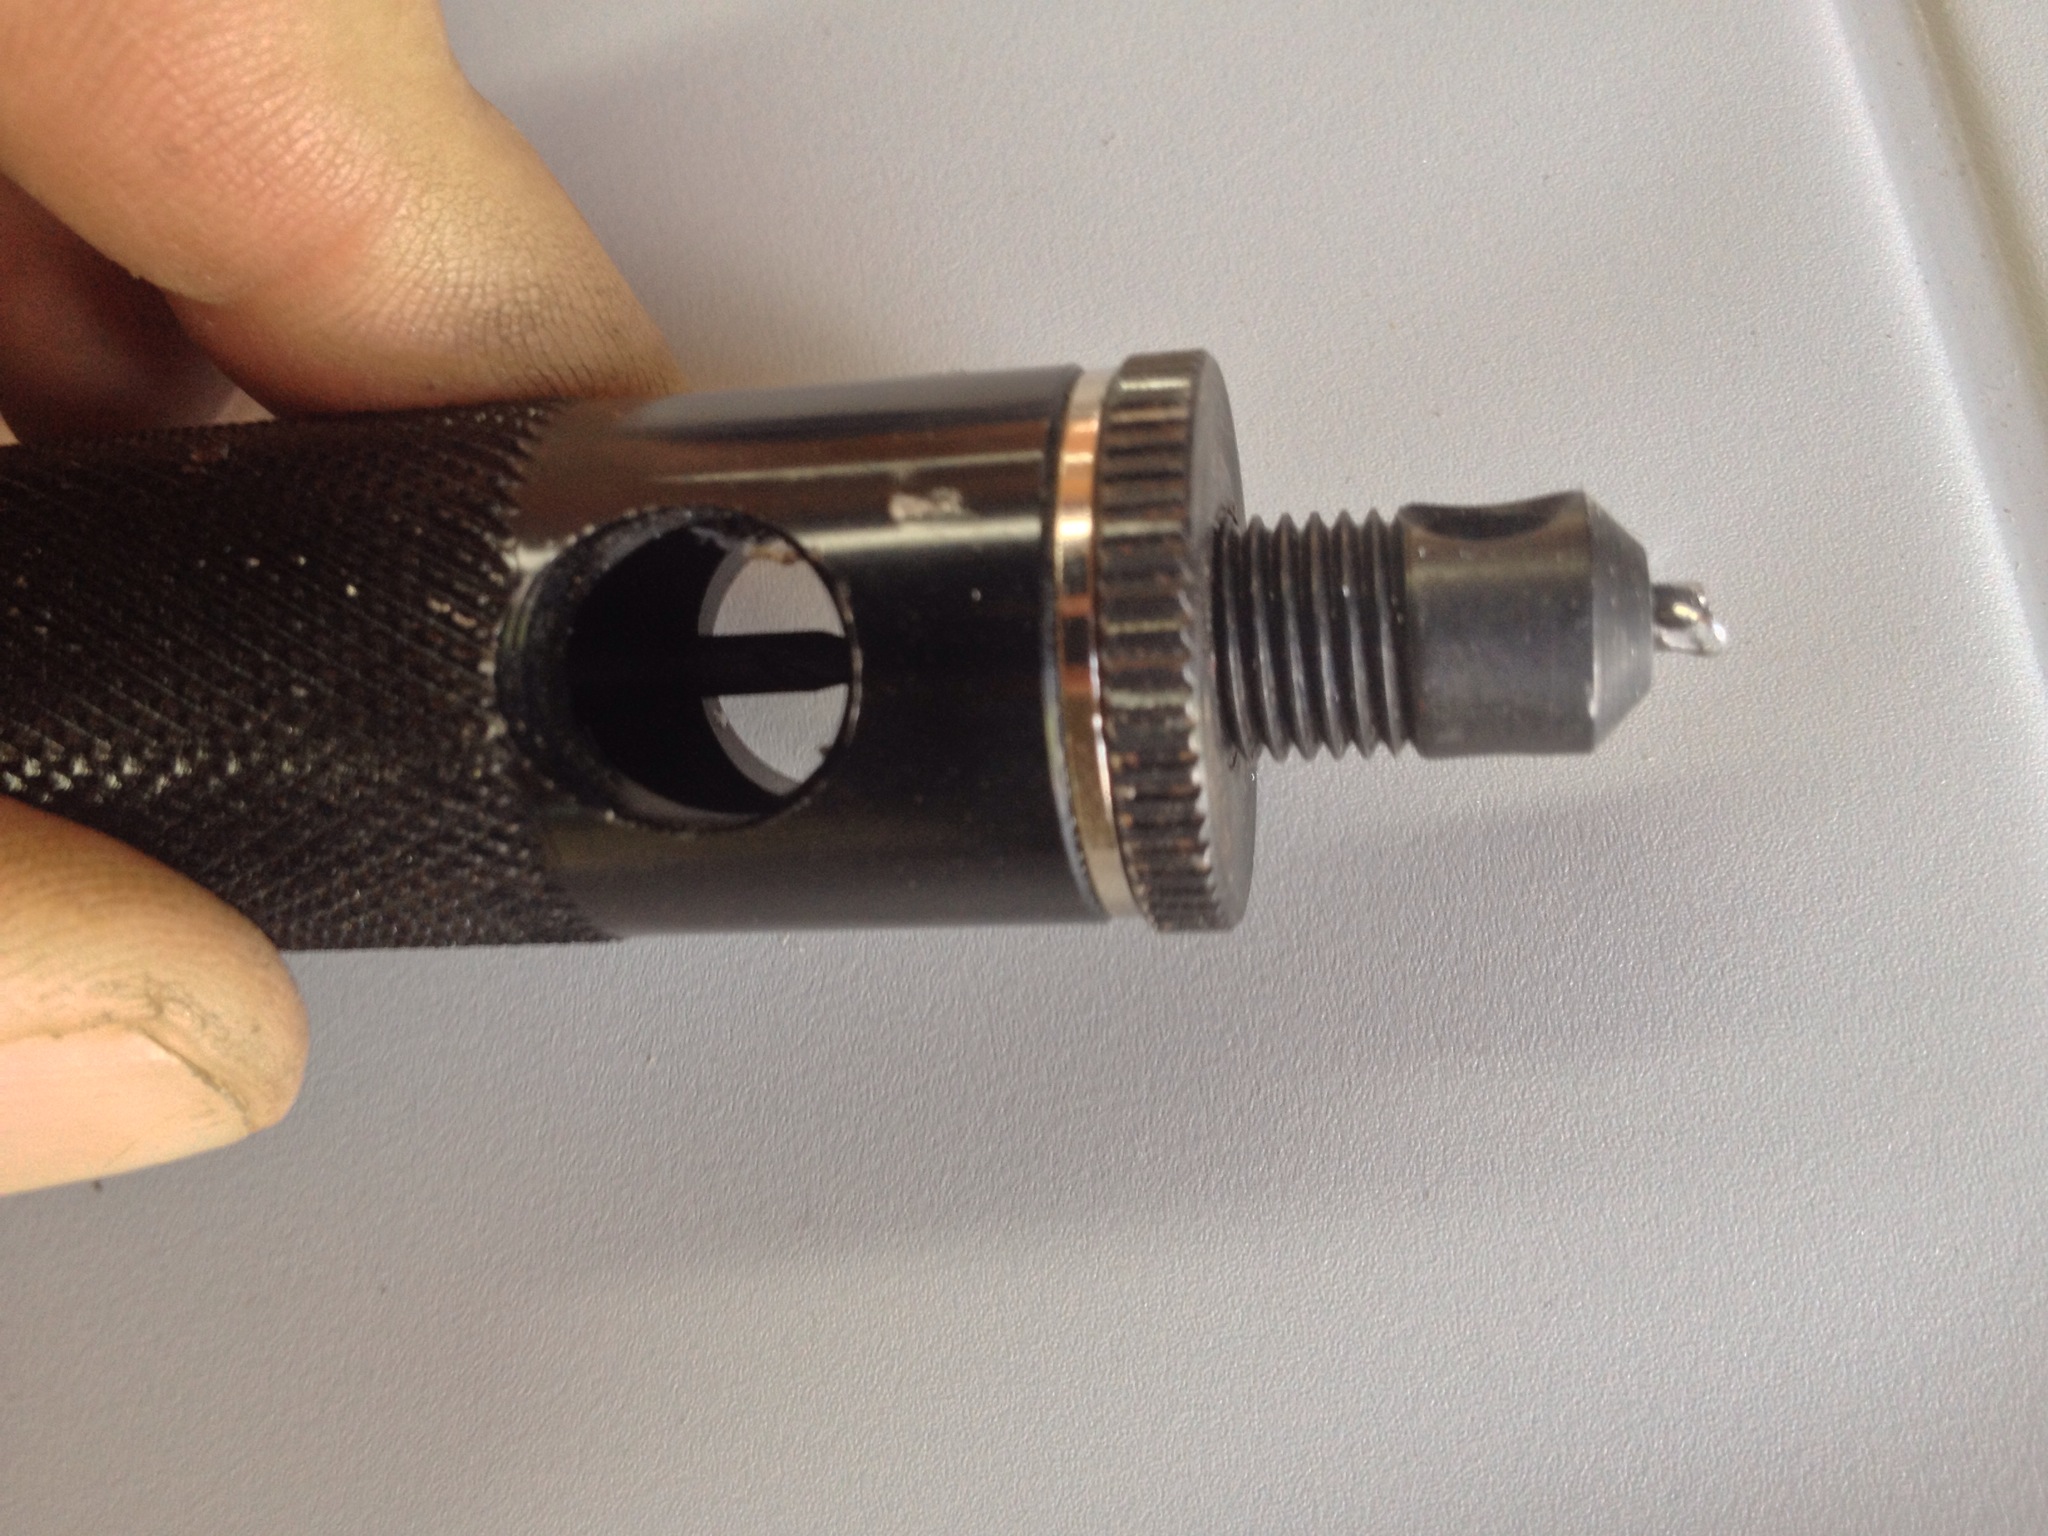
- Rivet Removal Tool. This is a fantastic tool for removing universal rivets. Multiple heads allow you to perfectly center your drill bit on the universal head. The adjustable depth also allows you to perfectly set the drill depth. I just bought the tool, and on the very first rivet I removed it came out absolutely perfectly. I cannot recommend this enough.
- Pneumatic Squeezer. Expensive and heavy, but hard to beat for squeezing rivets. I do not like it for dimpling because dimpling is easy to overdo with air power. Do not oil the tool, and disconnect the air before changing dies.
- Avery Tools “Oops Rivet Kit”: With a rivet removal tool and a set of “oops” rivets on hand, recovery gets much easier.
- Clamps: It is hard to have too many clamps.
- Clecos: The more the better. Cleco clamps are a must.
- Drill Bits: Buy good numbered bits for the sizes you use constantly: #40, #30, #28, #21, #19, #12, and #10.
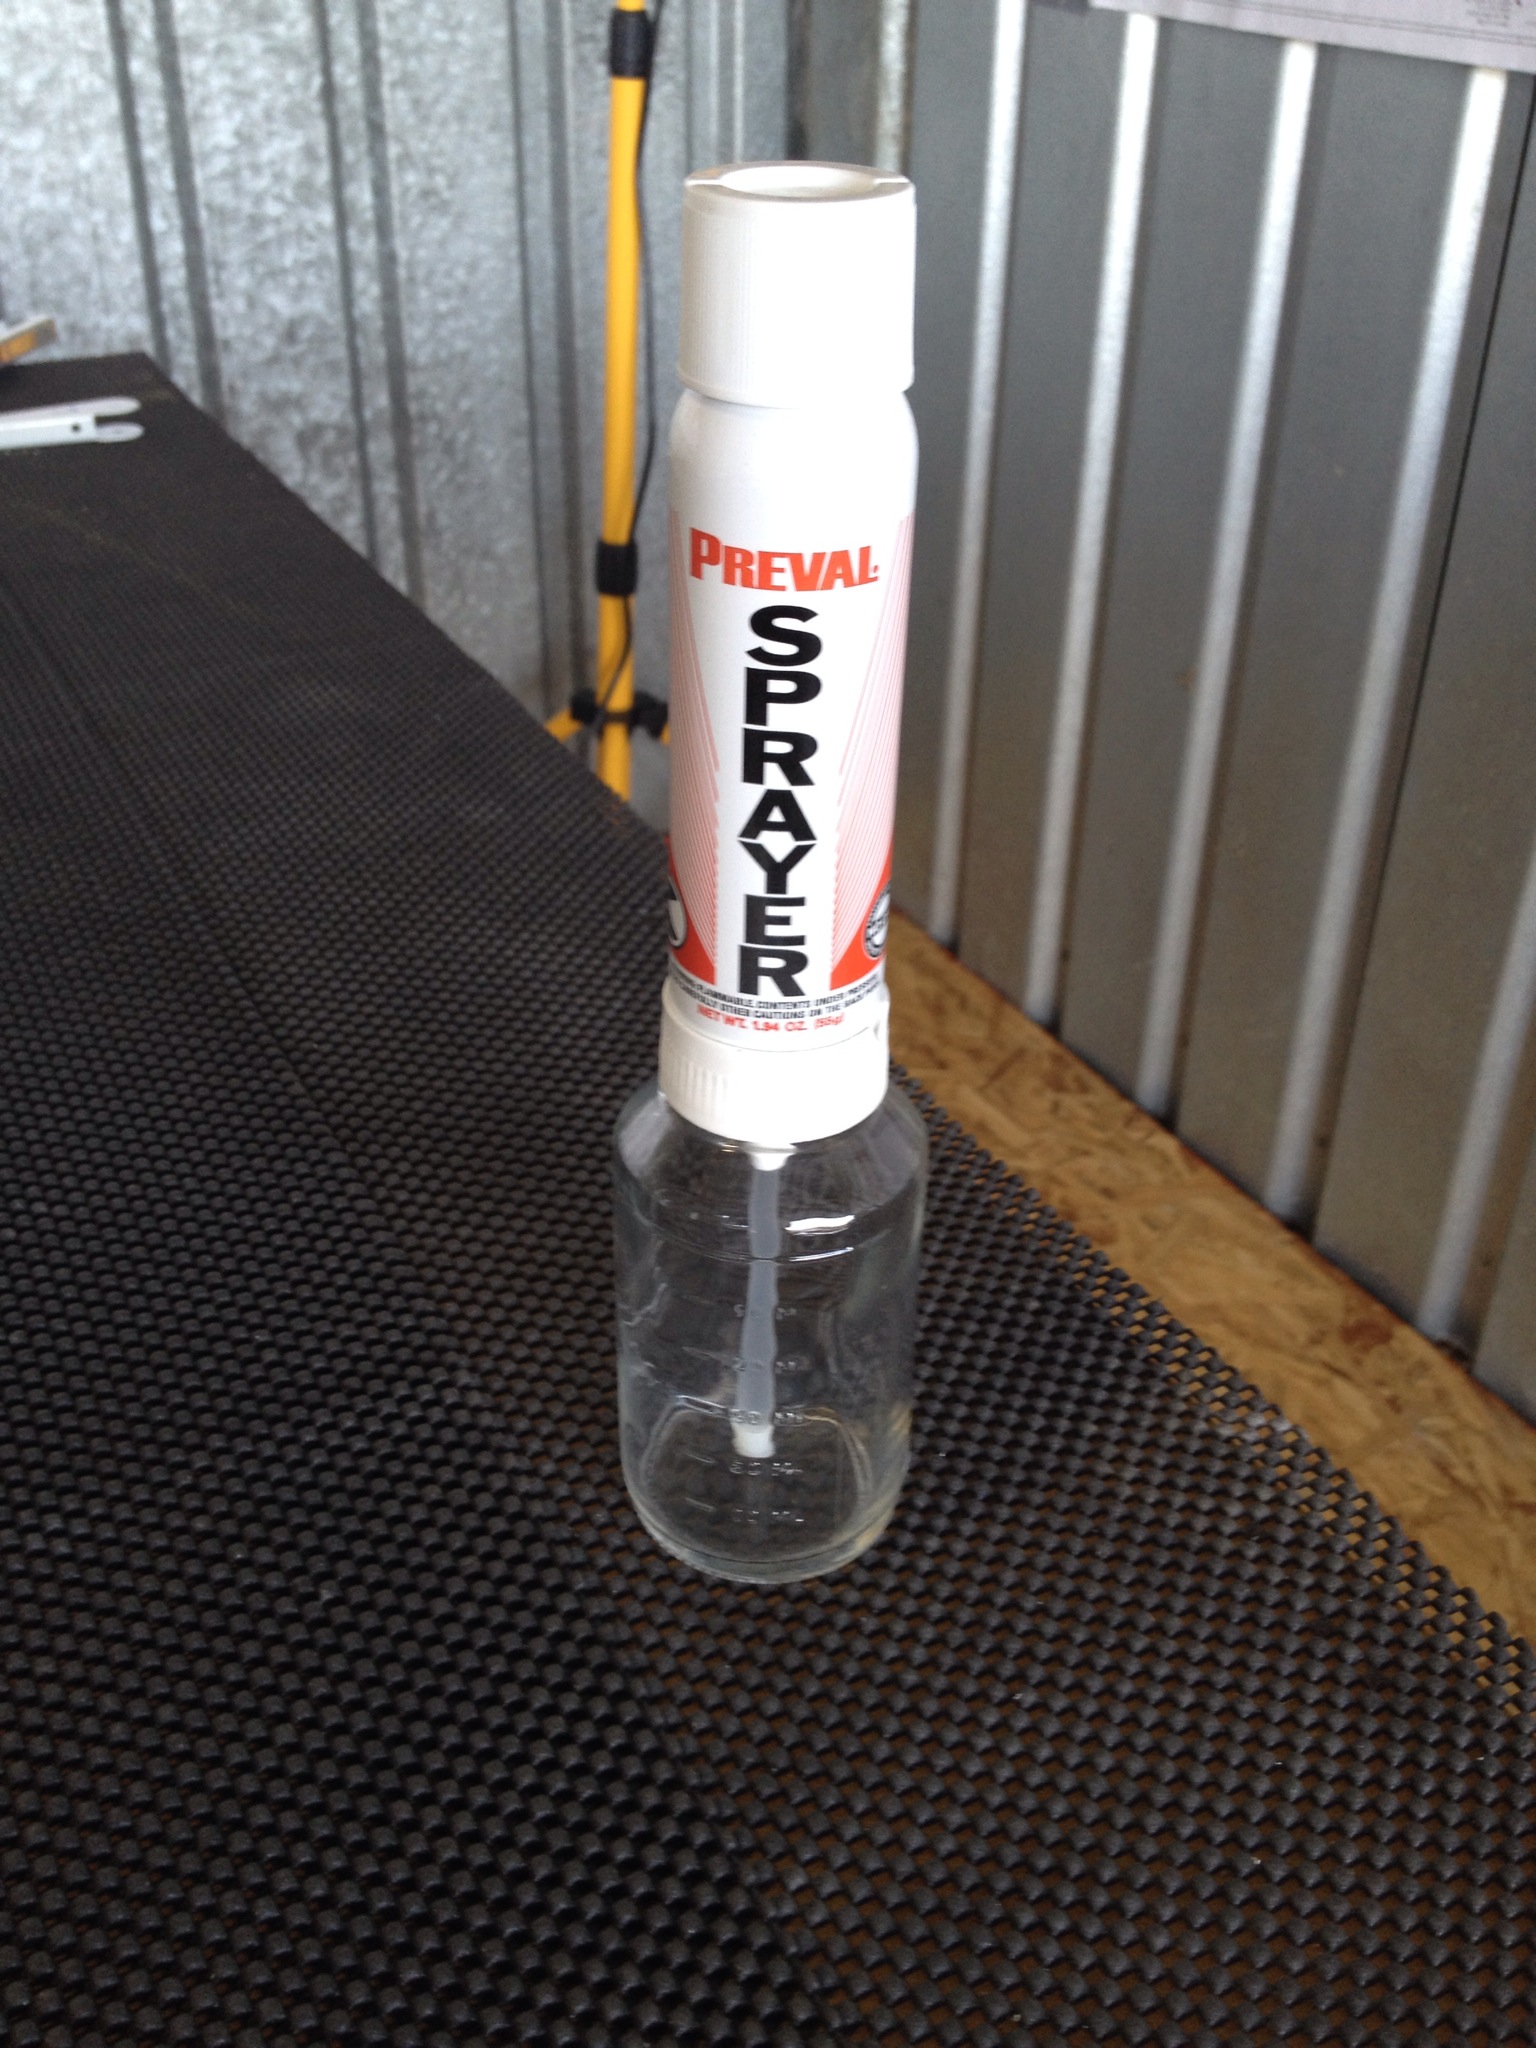
- PREVAL Sprayer: Useful for quick priming and touch-up jobs without setting up the full compressor and spray gun.

Areas Where I Wanted More Detail
- Fuel Tank Baffle to Z-Bracket Alignment: Use the Checkoway Method instead. I provide a brief synopsis during my early posts on the fuel tank, or you can reference other builder’s sites.
- Fuel Tank Flop Tubes, and Vents: No instructions, only diagrams. Be sure to understand the layout early in the tank build.
- Dimpling the aileron leading edges: No mention of a good technique. Check out my post here to see the best way to go about this.
Priming
This is a source of never ending debate, and everyone has a differing opinion on the subject. Discussion of priming invokes such heated debates that it has almost become a taboo to discuss (which is ridiculous). I’ve decided to prime all interior parts with AKZO two part epoxy primer. I’ve included the datasheet among the reference documents on this site. Here’s my priming process (which I’ve basically stolen from Mike at www.rvplane.com):
- ETCH. Some people will use an acid etch solution such as alumiprep. I simply scuff all surfaces with a scotchbrite pad. This is deemed sufficient preparation by AKZO staff, and it works well in my experience. It’s also quicker and easier than an acid etch.
- CLEAN. There are many methods here. Many builders clean with water, then etch, then clean again with a solvent and so on. I clean the surface first with water. I use a rag and a hose. After the parts have dried I use acetone to remove all other contaminates. I wear latex gloves for handling the parts beginning with the etching process.
- PRIME. Mix the AKZO 50/50 and allow it to set for 30 min. Load up your spray gun, make the necessary adjustments and always perform a test spray on a non aircraft part first. Apply a thin even coat of primer.
- CLEANUP. I rinse the cup with a solvent and then run some solvent through the gun to remove as much primer as possible. I remove the two nozzle pieces and soak them in solvent overnight, and do a basic wipedown of the entire gun. DONE!
Painting With Single-Stage Paint and Flattening Agent
- Air supply:
- Compressor: I have a large oil-less portable compressor that can handle the volume adequately. It is a 33 gallon husky that can handle 5.1 SCFM at 90 psi. Ideally you’d want the largest compressor with the highest SCFM you can get. I opted for this model as it runs on 120VAC and can be somewhat easily transported. For an HVLP gun running at 20psi it’s more than sufficient.
- Filters: I have three filters between the compressor and the gun. The first is at the compressor exit. This filters particulate well, but being so close the compressor means it does a poor job of removing moisture. Next, after 50 feet of hose, I have a home-made desiccant dryer. You can see the details of that dryer here. Finally, I have a disposable inline filter at the gun.
- Ambient air:
- Dust free: I have done my best to create a paint booth that can ensure I have clean dust free air inside. I have used two fans and HVAC filters to achieve this. It is not perfect. For more details on my paint booth check here.
- Humidity and Temperature: I have no way to control humidity or temperature in my paint booth. I have a temperature and humidity sensor in the paint booth and I do my best to achieve a temperature greater than 70 degrees F and a humidity lower than 50%. The warmer the temp, and the dryer the air, the quicker the paint will dry.
- Mixing with a single stage:
- Thoroughly mix your paint and flattening agent using a drill mixer. Do not rely on hand mixing no matter how thoroughly you think you have it mixed.
- Combine your paint with activators and hardeners as necessary.
- Combine activated paint with flattening agent via a cone filter. Mix thoroughly again using a drill mixer.
- Transfer the mixed paint to the gun again via a cone filter. It is vital to ensure the flattening agent has thoroughly mixed and that any clumps are filtered out.
- Paint Gun:
- Setup: I use a 1.2mm tip for single stage paint. For priming I use a 1.8mm tip. The compressor tank is pressurized to full capacity (approx 165psi). I then step this down to about 60psi exiting the compressor. I then step the pressure down again at the gun to 20psi. Your numbers will likely vary, but here is the goal. The gun should have 20psi at the inlet. If you use a regulator at the gun it will have an initial residual pressure greater than your setting and the initial burst from the gun will be at a greater pressure (for a fraction of a second). As you continue to hold the trigger, the pressure will fall to an even pressure. I play with each of the regulators to do two things. First, ensure that with the trigger pulled and held the pressure remains 20psi. Second, that the difference from the initial trigger pull to even pressure is as minimal, or nonexistent as possible.
- Use: It’s imperative that you spray perpendicularly to the surface at a consistent distance and at a right angle to the surface. Here is a great video from Eastwood on painting technique.
- Cleanup:
- Remove remaining paint
- Add acetone to the spray cup. Swirl around and shake cup. Spray a portion. Dump acetone out. This will remove the majority of the paint.
- Add a second set of acetone. Swirl around and shake. Spray this acetone through the gun. Vary all the gun settings as you do so. If step do is done thoroughly, the spray in step 3 should be almost clear.
- Break the gun into all its components and clean with brushes, acetone, and rags every crevice, hole, and surface until it is free of paint.
- Store tips, needles, and components in acetone.
- Working with flattening agent: The flattening agent is a suspension of what is basically a white chalk. When dried without mixing it makes a flaky chalky mess. The mixture is very sensitive to proper mixing. Additionally, the amount of spray will affect the gloss level of your paint. A light coat will appear more flat, and a thick coat will have more gloss. As a result if you are uneven in your painting technique, your result will have varying amounts of gloss. It is critical with a flattening agent to do three things.
- Ensure a consistent mixture ratio
- Mix thoroughly before mixing with the paint, and after mixing with the paint. Use a cone filter before placing in the gun, and use a filter at the bottom of your paint cup!
- Spray evenly and consistently!