I regret not taking pictures during the assembly of the stall warning, however I have several pictures of the completed product. In the last shop session, I countersunk and primed the required parts, so today was quick. I riveted the two nutplates and put the assembly together. A few notes for anyone assembling this part below.
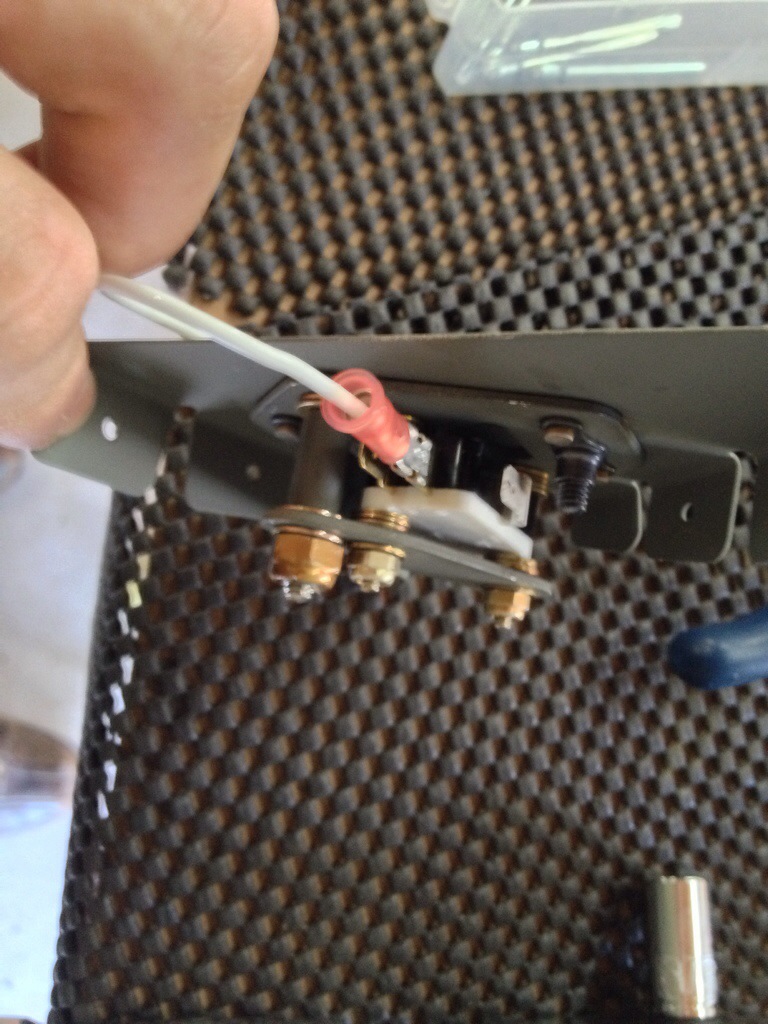
Van’s instructs you not to over torque this bolt. The stall warning vane must move freely so you can’t over tighten. Avoid over tightening the other two bolts as well.
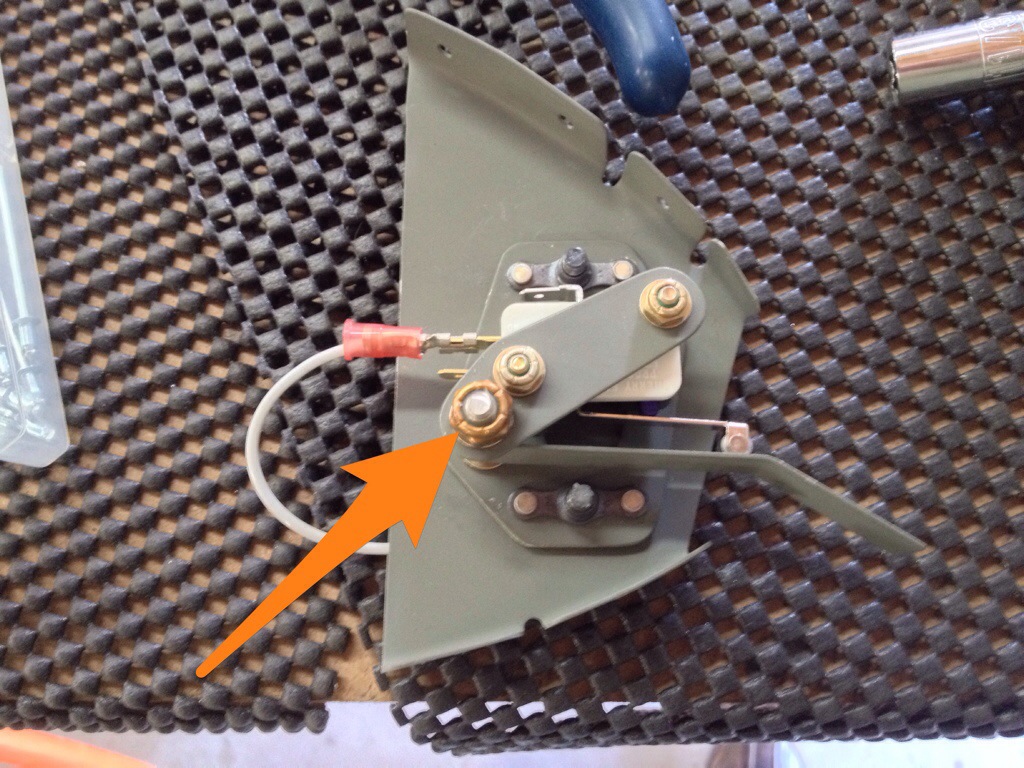
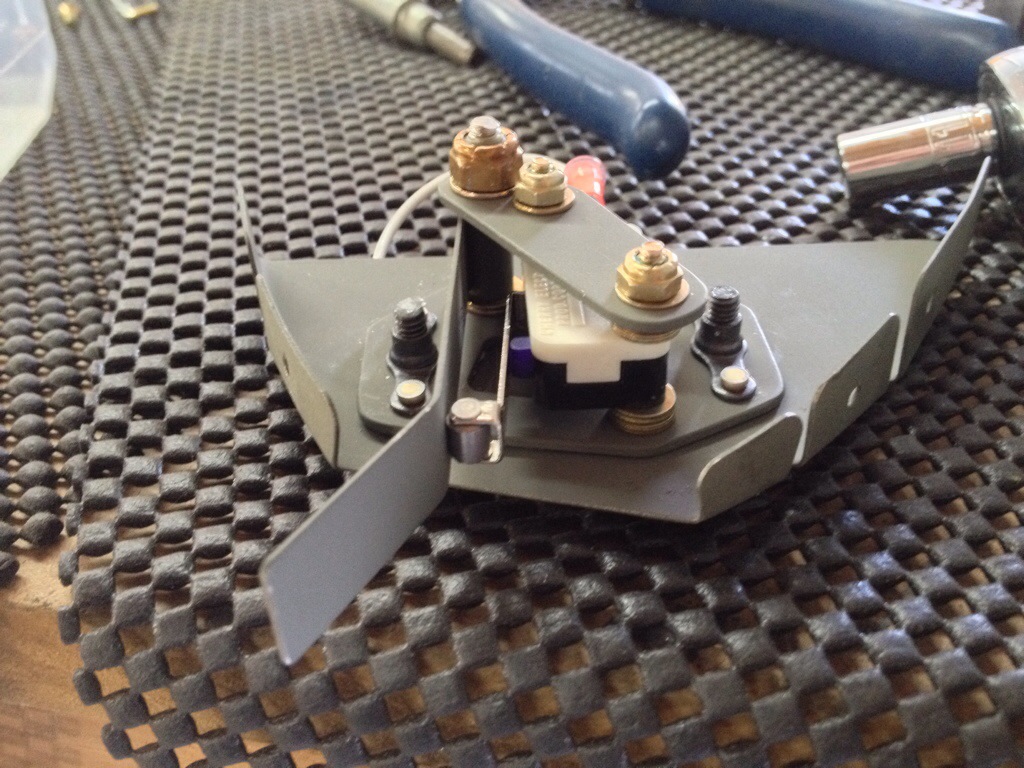
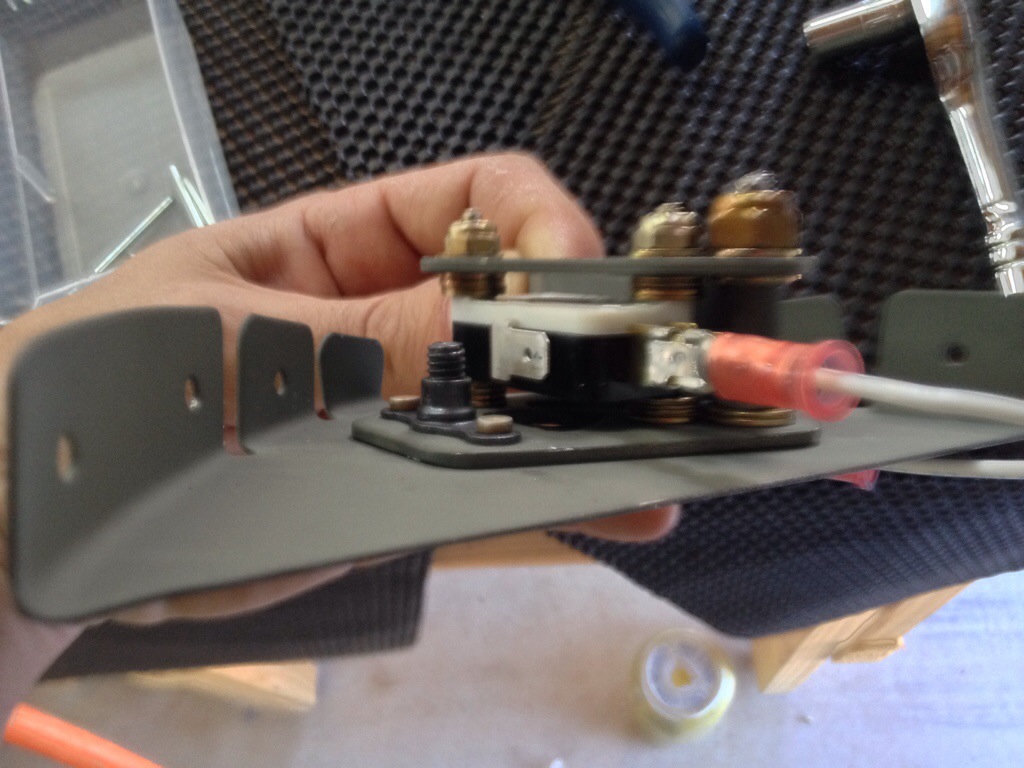
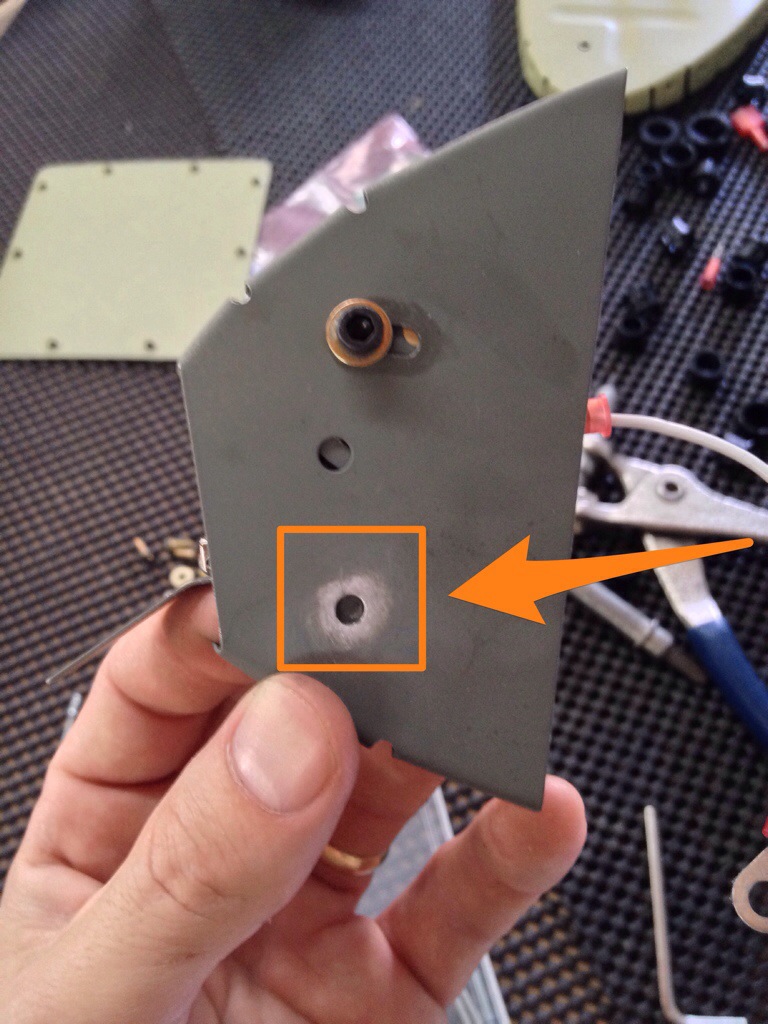
Also, don’t forget to ensure your grounding wire has a good contact point. I used a little scotchbrite to remove the primer.
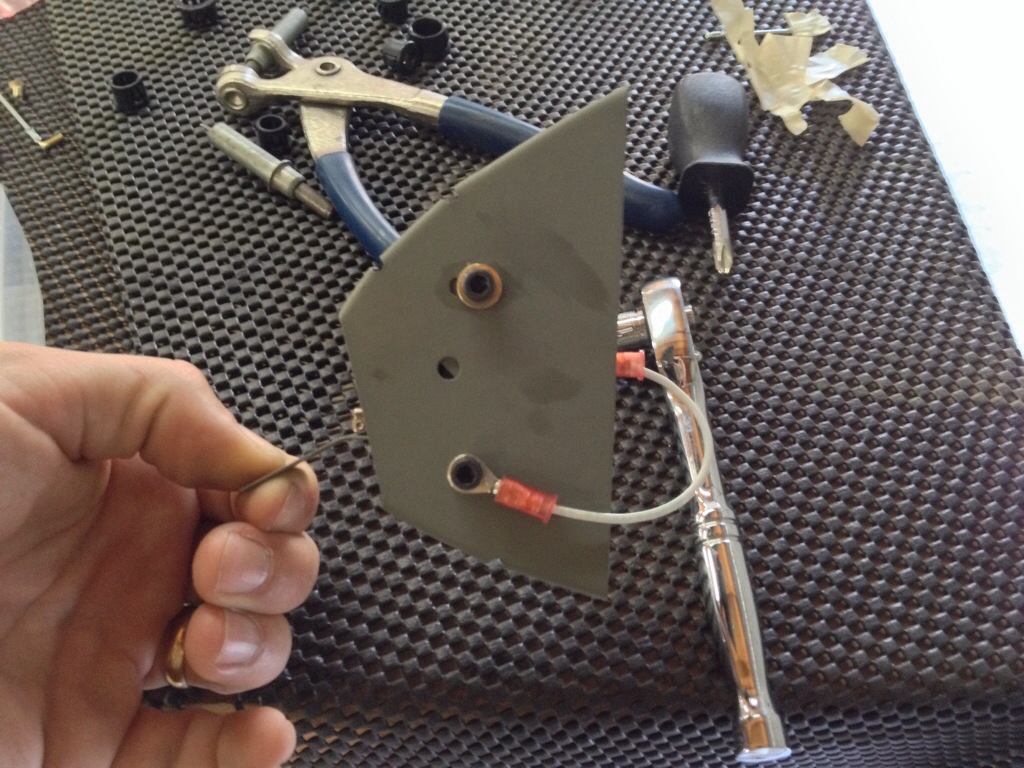
I wanted to install the assembly in the leading edge today, but found that there is currently interference between the skin and the vane. I will need to play around with the bracket alignment and possibly do a little more filing for clearance during the next session.