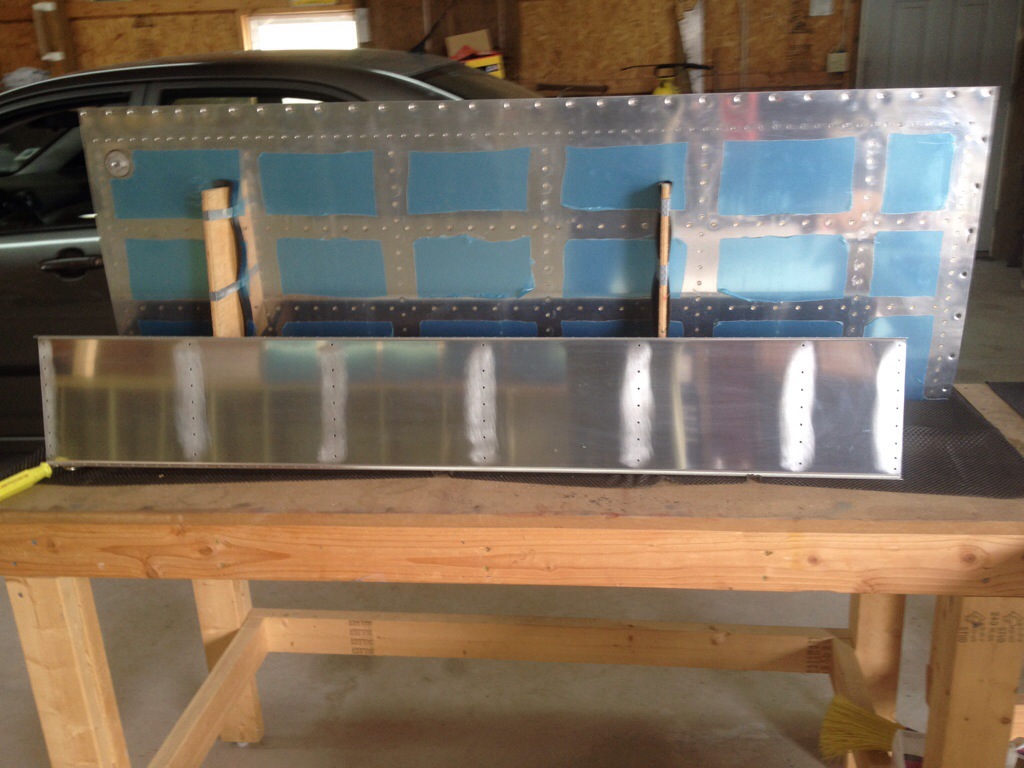
Well, both tanks are almost complete. For the second time. Now, if my fuel tank luck continues at its current rate, I’ll likely have several leaks! Today I installed the new baffle on the right fuel tank. I completed the installation including the z-brackets and now the only remaining part is to seal the access plate. I started by drilling, deburring and scuffing the new baffle. Then I cleaned all the parts with acetone and cheesecloth. The z-brackets took quite a bit of work to get all the old sealant and primer off. (Priming them was a stupid idea in retrospect especially considering I would need the sealant to adhere to them.)
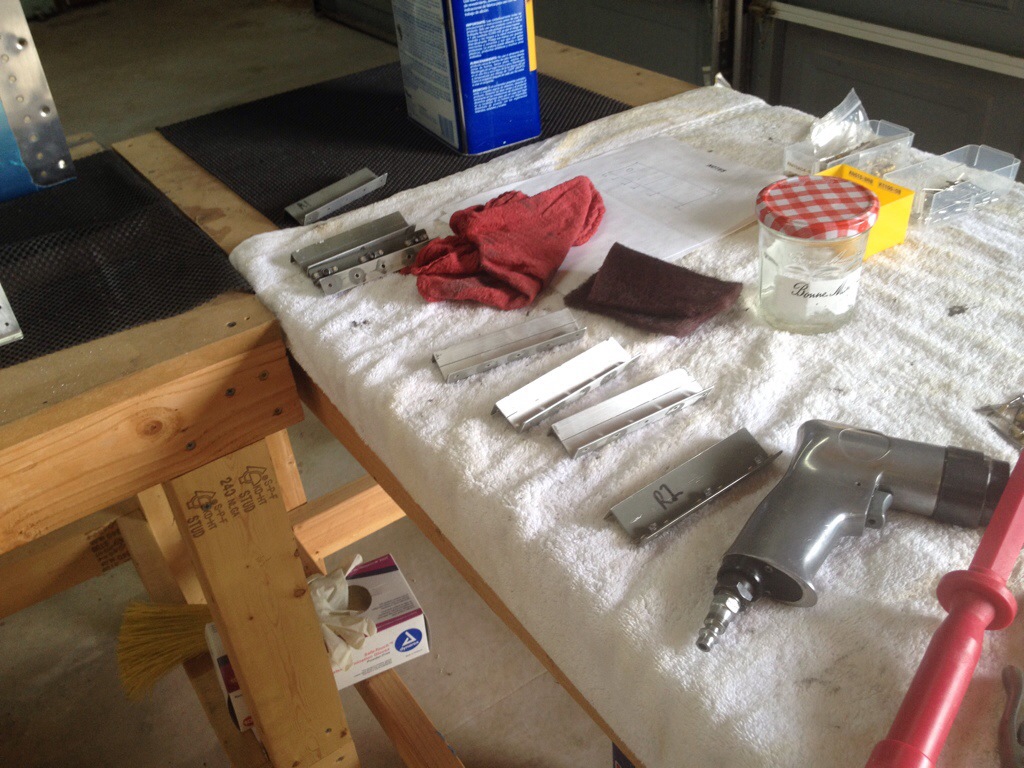
Here are the z-brackets in the process of cleaning. I used my typical acetone, scotchbrite, acetone again approach.
The instructions say to cleco every hole for the skin to baffle joint.
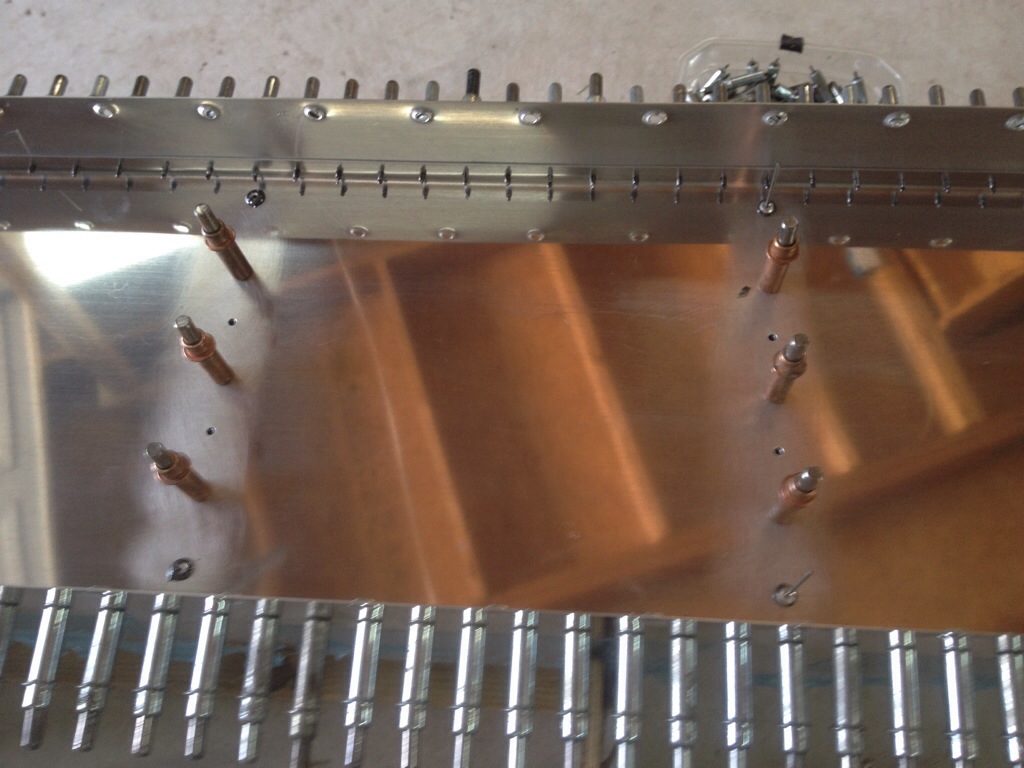
Next I quadruple checked my z-bracket alignment and installed with the closed end pop rivets.
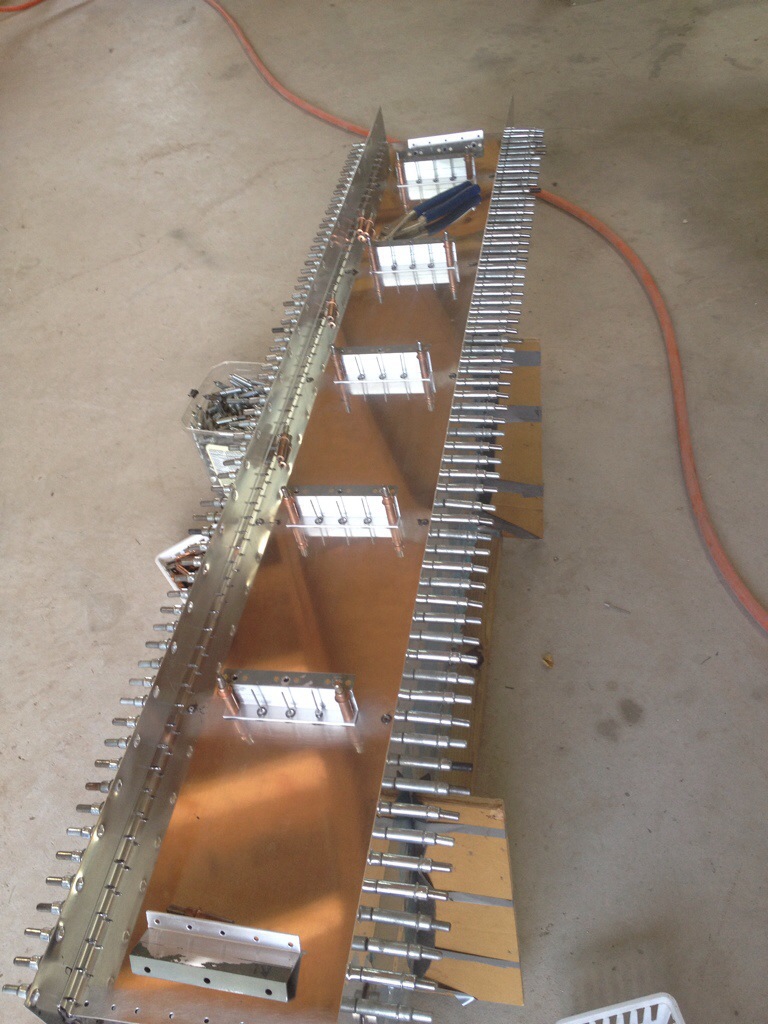
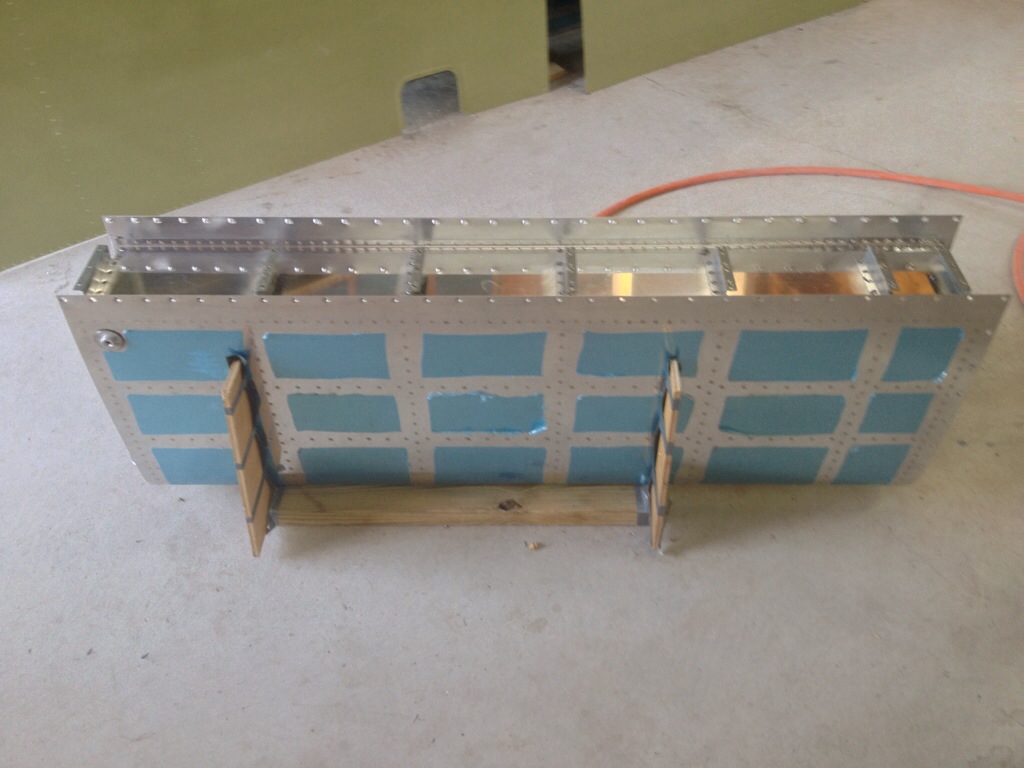
And finally I used the pneumatic squeezer to rivet the skin to the baffle. Peaking inside through the access hole, there appears to be a good bead of sealant. Hopefully I don’t have any leaks.